Adjusting the Brakes
5 |
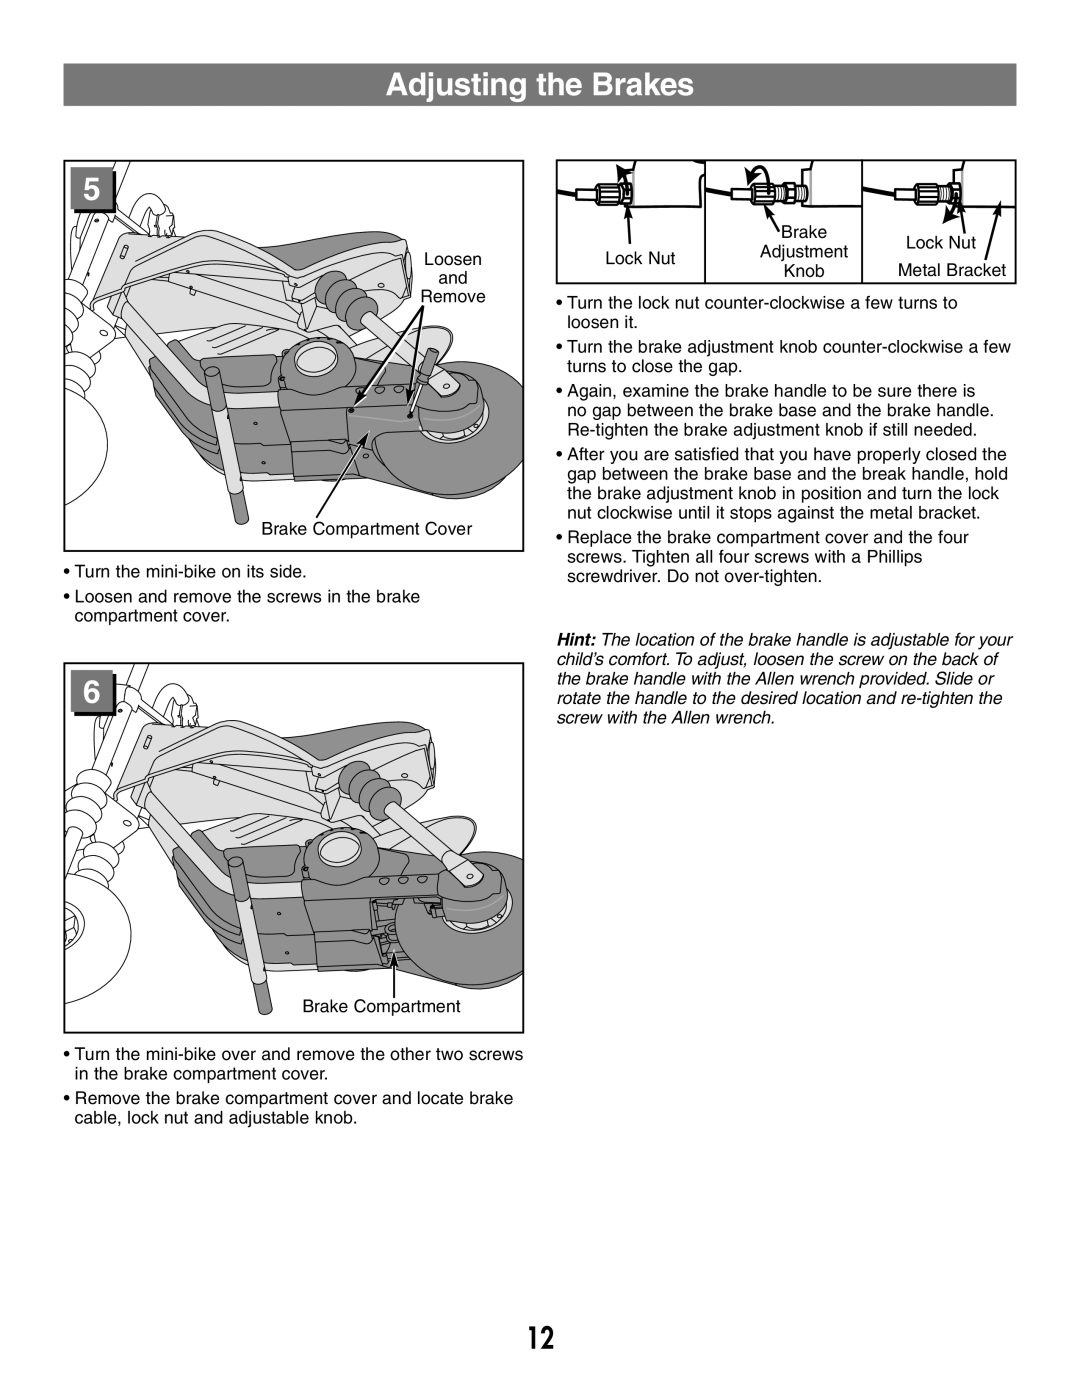
Loosen |
and |
Remove |
Brake Compartment Cover |
•Turn the
•Loosen and remove the screws in the brake compartment cover.
6 |
Brake Compartment |
•Turn the
•Remove the brake compartment cover and locate brake cable, lock nut and adjustable knob.
| Brake | Lock Nut | |
Lock Nut | Adjustment | ||
Metal Bracket | |||
Knob | |||
|
•Turn the lock nut
•Turn the brake adjustment knob
•Again, examine the brake handle to be sure there is no gap between the brake base and the brake handle.
•After you are satisfied that you have properly closed the gap between the brake base and the break handle, hold the brake adjustment knob in position and turn the lock nut clockwise until it stops against the metal bracket.
•Replace the brake compartment cover and the four screws. Tighten all four screws with a Phillips screwdriver. Do not
Hint: The location of the brake handle is adjustable for your child’s comfort. To adjust, loosen the screw on the back of the brake handle with the Allen wrench provided. Slide or rotate the handle to the desired location and
12