SETTINGS
 Manual color/black and white setting
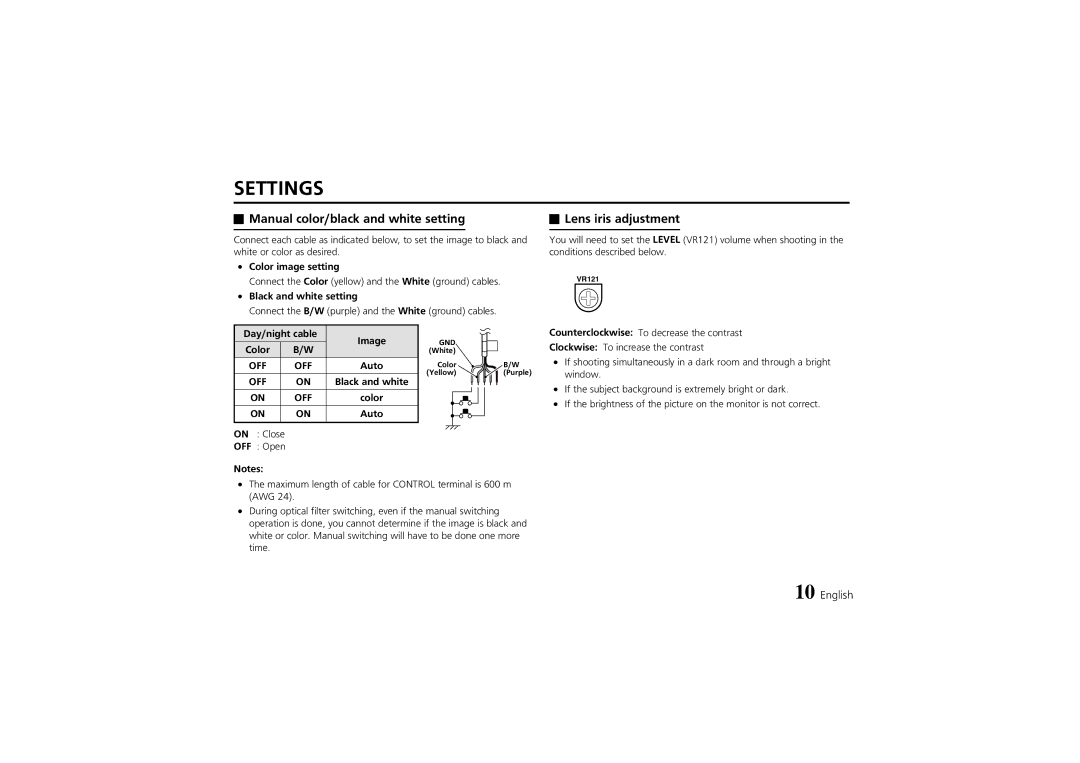
Connect each cable as indicated below, to set the image to black and white or color as desired.
•Color image setting
Connect the Color (yellow) and the White (ground) cables.
•Black and white setting
Connect the B/W (purple) and the White (ground) cables.
Day/night cable | Image | GND |
| |
Color | B/W |
| ||
| (White) |
| ||
OFF | OFF | Auto | Color | B/W |
OFF | ON | Black and white | (Yellow) | (Purple) |
|
| |||
ON | OFF | color |
|
|
ON | ON | Auto |
|
|
ON : Close
OFF : Open
Notes:
•The maximum length of cable for CONTROL terminal is 600 m (AWG 24).
•During optical filter switching, even if the manual switching operation is done, you cannot determine if the image is black and white or color. Manual switching will have to be done one more time.
 Lens iris adjustment
You will need to set the LEVEL (VR121) volume when shooting in the conditions described below.
VR121
Counterclockwise: To decrease the contrast
Clockwise: To increase the contrast
•If shooting simultaneously in a dark room and through a bright window.
•If the subject background is extremely bright or dark.
•If the brightness of the picture on the monitor is not correct.
10 English
