![]() CAUTION
CAUTION
TO REDUCE THE RISK OF DAMAGING ELECTRICAL PARTS TO YOUR TREADMILL, WE STRONGLY RECOMMEND THAT YOU PLUG YOUR TREADMILL INTO A DEDICATED 20 AMP OUTLET, WITHOUT THE USE OF AN ADDITIONAL EXTENSION CORD. PLEASE NOTE THAT THIS TREADMILL IS NOT
COMPATIBLE WITH
IF YOUR TREADMILL HAS BEEN EXPOSED TO COLDER
TEMPERATURES, WE RECOMMEND THAT THE TREADMILL IS WARMED UP TO ROOM TEMPERATURE BEFORE FIRST TIME USE. FAILURE TO DO SO MAY CAUSE ELECTRONIC FAILURE.
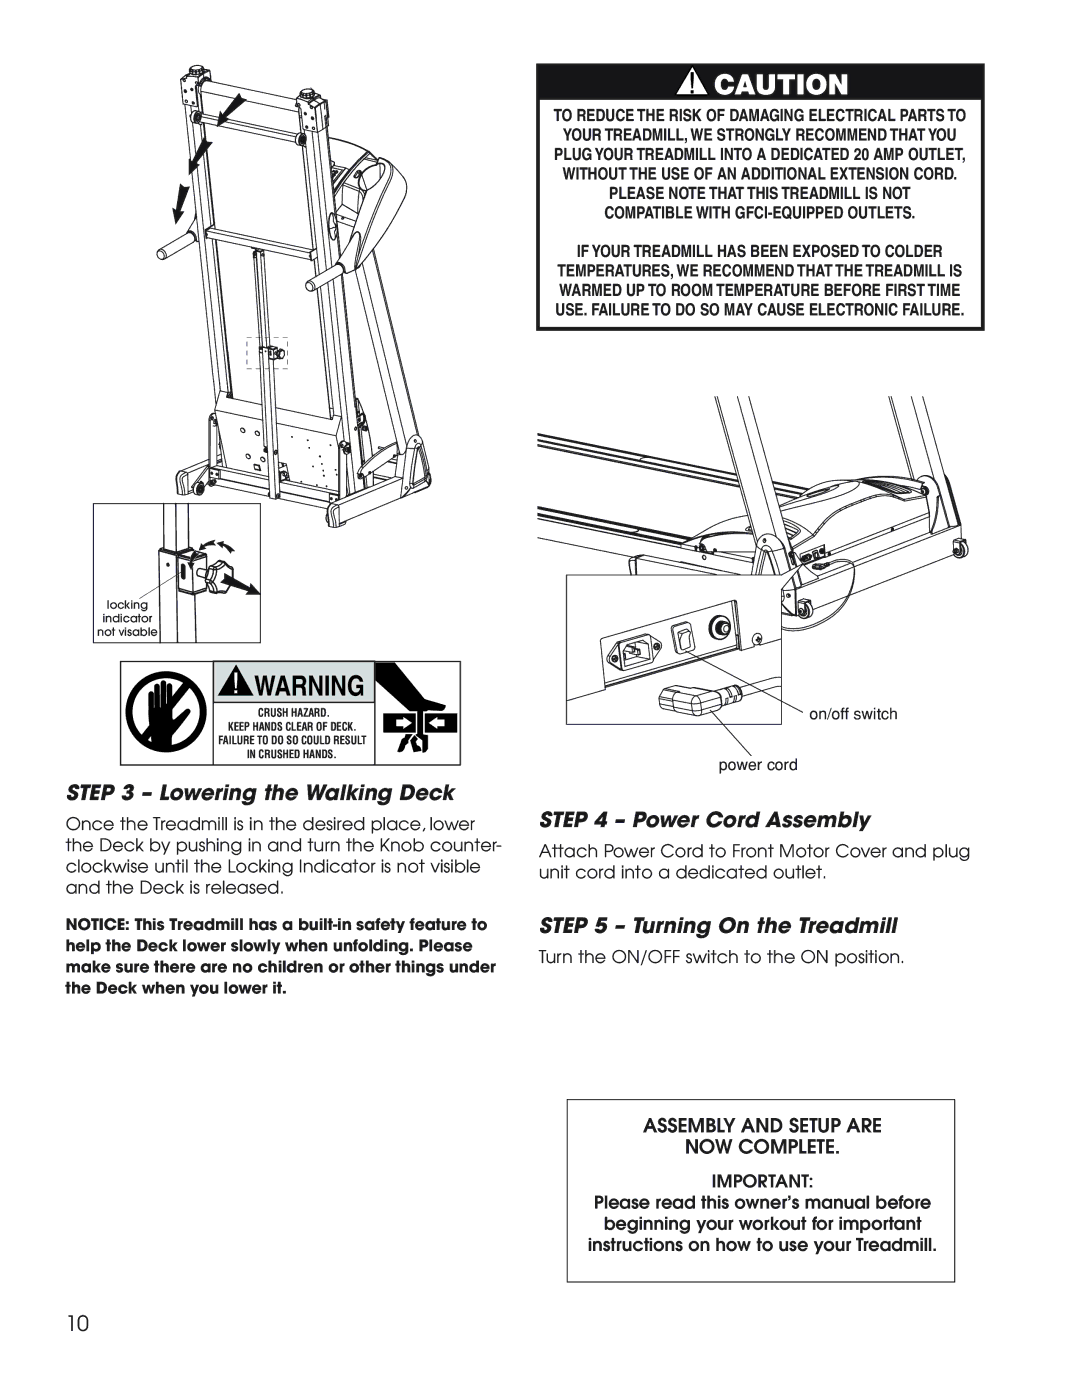
locking
indicator
not visable
WARNING |
CRUSH HAZARD. |
KEEP HANDS CLEAR OF DECK. |
FAILURE TO DO SO COULD RESULT |
IN CRUSHED HANDS. |
STEP 3 – Lowering the Walking Deck
Once the Treadmill is in the desired place, lower the Deck by pushing in and turn the Knob counter- clockwise until the Locking Indicator is not visible and the Deck is released.
NOTICE: This Treadmill has a
on/off switch
power cord
STEP 4 – Power Cord Assembly
Attach Power Cord to Front Motor Cover and plug unit cord into a dedicated outlet.
STEP 5 – Turning On the Treadmill
Turn the ON/OFF switch to the ON position.
ASSEMBLY AND SETUP ARE
NOW COMPLETE.
IMPORTANT:
Please read this owner’s manual before beginning your workout for important instructions on how to use your Treadmill.
10