Chapter 2: Hardware Installation
Step 4 Connecting Keyboard and Mouse
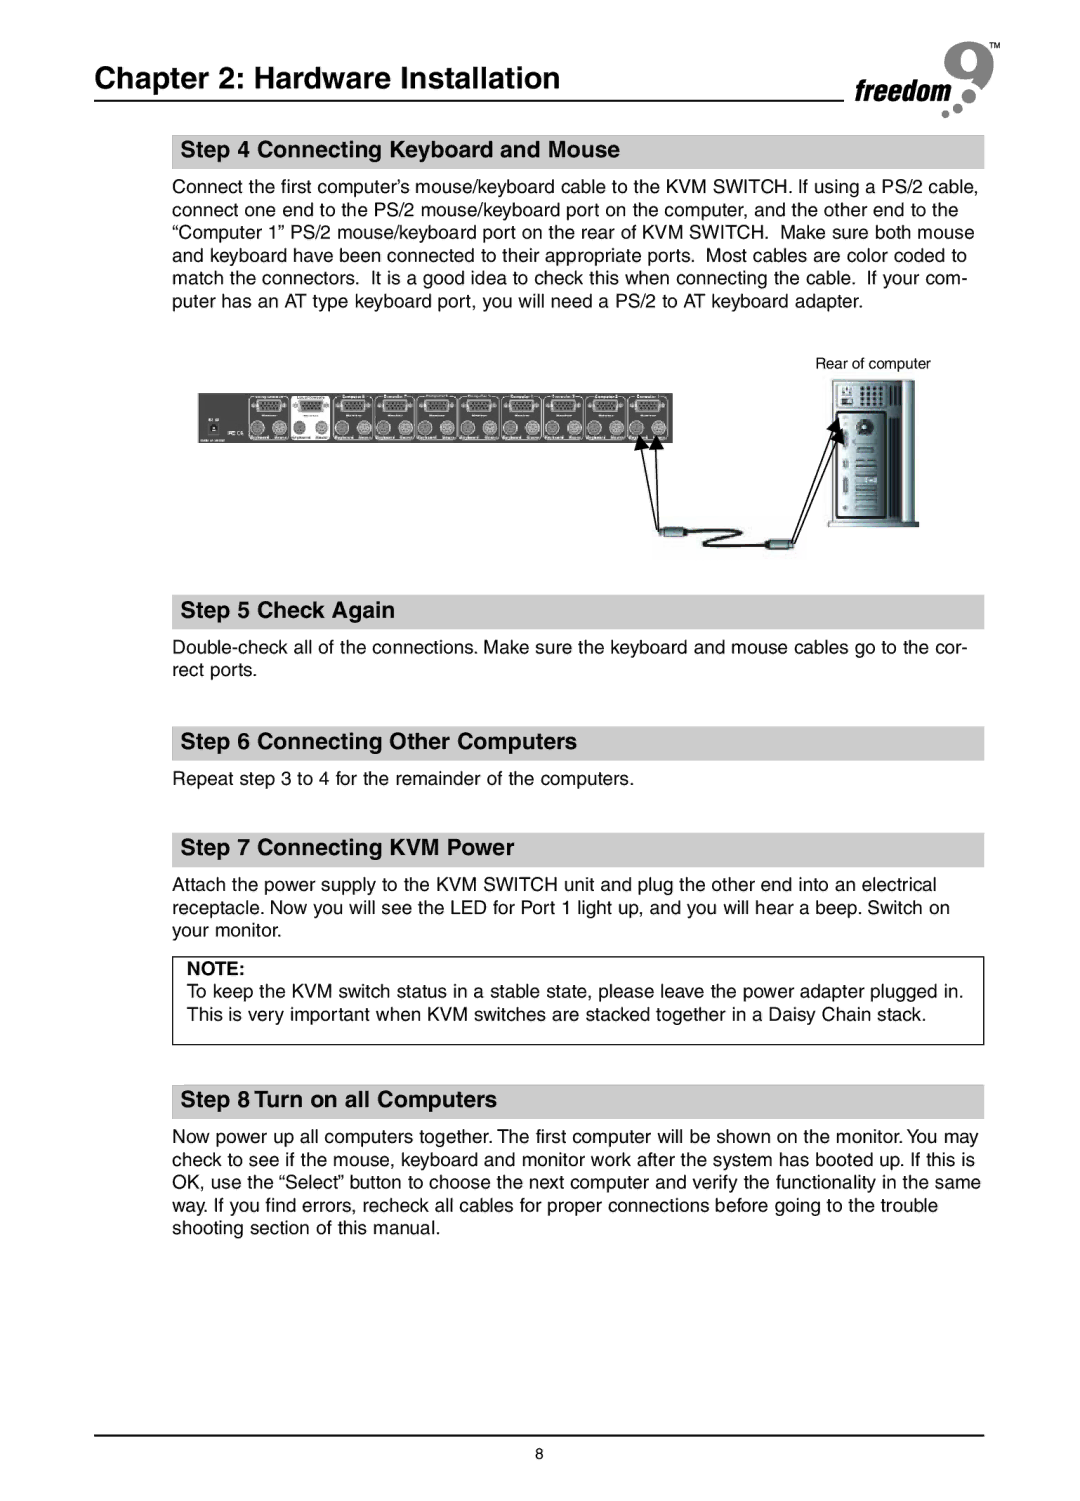
Connect the first computer’s mouse/keyboard cable to the KVM SWITCH. If using a PS/2 cable, connect one end to the PS/2 mouse/keyboard port on the computer, and the other end to the “Computer 1” PS/2 mouse/keyboard port on the rear of KVM SWITCH. Make sure both mouse and keyboard have been connected to their appropriate ports. Most cables are color coded to match the connectors. It is a good idea to check this when connecting the cable. If your com- puter has an AT type keyboard port, you will need a PS/2 to AT keyboard adapter.
Rear of computer
Step 5 Check Again
Step 6 Connecting Other Computers
Repeat step 3 to 4 for the remainder of the computers.
Step 7 Connecting KVM Power
Attach the power supply to the KVM SWITCH unit and plug the other end into an electrical receptacle. Now you will see the LED for Port 1 light up, and you will hear a beep. Switch on your monitor.
NOTE:
To keep the KVM switch status in a stable state, please leave the power adapter plugged in. This is very important when KVM switches are stacked together in a Daisy Chain stack.
Step 8 Turn on all Computers
Now power up all computers together. The first computer will be shown on the monitor. You may check to see if the mouse, keyboard and monitor work after the system has booted up. If this is OK, use the “Select” button to choose the next computer and verify the functionality in the same way. If you find errors, recheck all cables for proper connections before going to the trouble shooting section of this manual.
8
