MW24Y3F specifications
The Friedrich MW24Y3F is a standout in the world of portable air conditioning units, designed for both residential and commercial applications. With its sleek design and advanced features, this model offers exceptional cooling capabilities while ensuring energy efficiency and user comfort.One of the main features of the MW24Y3F is its powerful cooling capacity. With a BTU rating of 24,000, it is well-suited for larger rooms or open spaces, making it an ideal choice for users seeking effective temperature control without the noise and complexity of traditional central air conditioning systems. This unit can easily cool spaces of up to 1,500 square feet, providing a refreshing respite from sweltering heat.
The MW24Y3F employs cutting-edge technologies that enhance its performance and user experience. Notably, it incorporates inverter technology, allowing for more efficient energy consumption. By adjusting the compressor speed as per the cooling demand, it reduces energy usage while maintaining consistent temperatures. This translates to lower electricity bills and a reduced carbon footprint, making it an environmentally friendly choice.
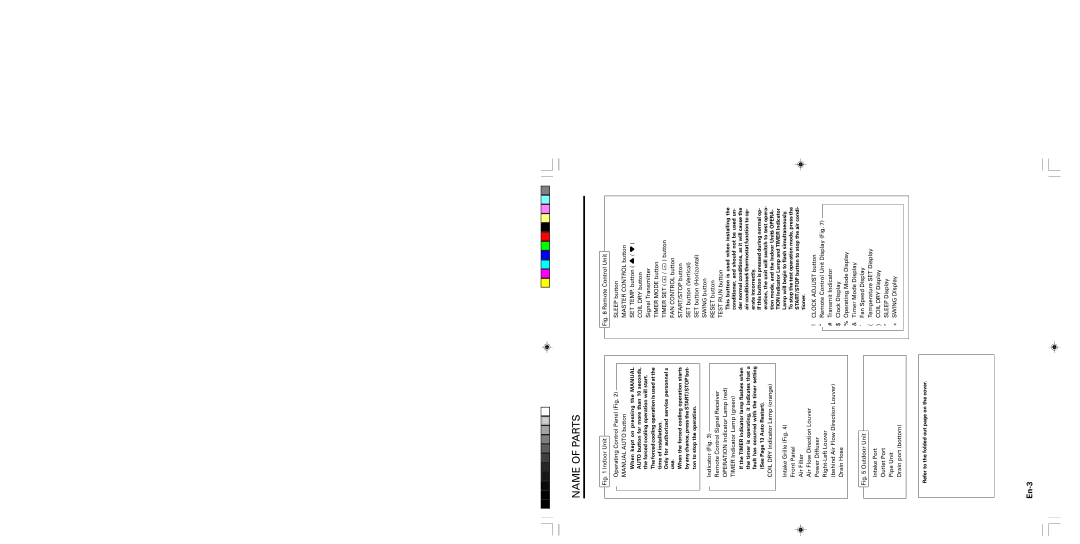
Another significant characteristic is its user-friendly interface. The unit features a digital display and remote control, enabling users to adjust settings effortlessly from across the room. Additionally, the MW24Y3F includes a programmable timer, allowing for automatic operation based on the user’s schedule, further enhancing convenience.
The air conditioning unit also prioritizes air quality, integrating a multi-stage filtration system that captures dust, allergens, and other pollutants. This feature is particularly beneficial for those with respiratory issues or allergies, providing cleaner, healthier air in the living or work environment.
In terms of installation, the MW24Y3F is designed for flexibility. It can be set up as a window or portable unit, giving users options based on their property layout and personal preferences. Its compact size allows it to fit well in various spaces without compromising aesthetics.
In summary, the Friedrich MW24Y3F combines high cooling capacity, energy efficiency, user-friendly features, and air quality improvement technologies, making it an excellent choice for anyone looking to enhance their indoor climate control.

