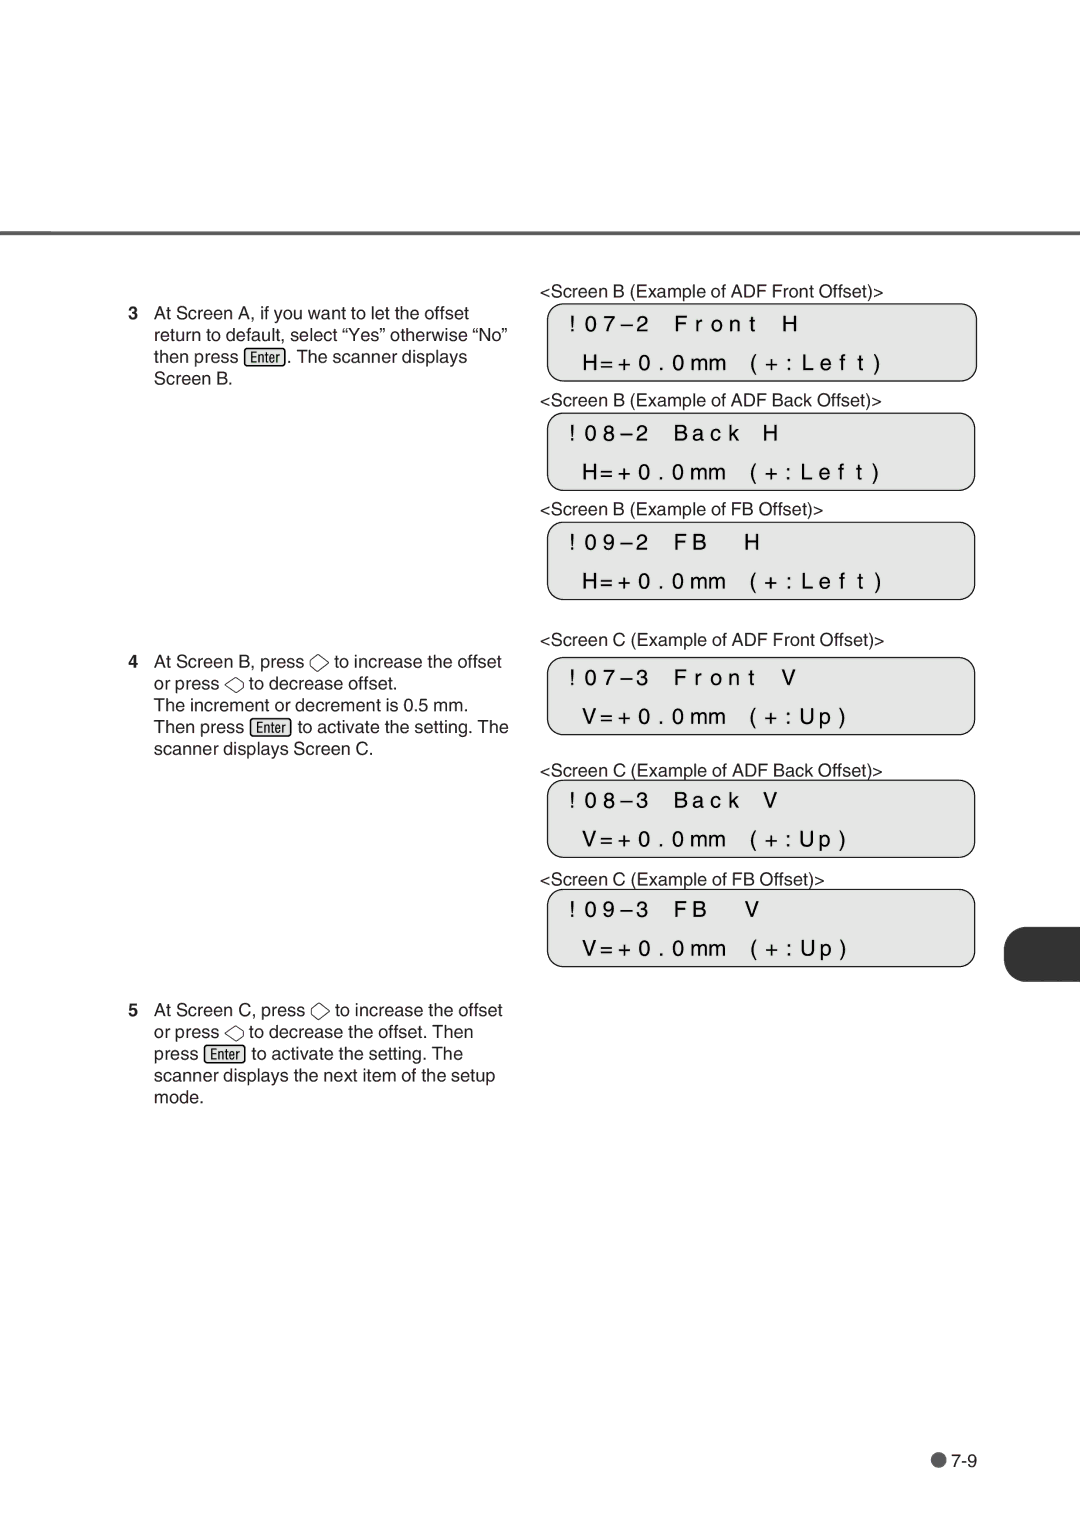
<Screen B (Example of ADF Front Offset)>
3At Screen A, if you want to let the offset return to default, select “Yes” otherwise “No”
then press ![]() . The scanner displays Screen B.
. The scanner displays Screen B.
<Screen B (Example of ADF Back Offset)>
<Screen B (Example of FB Offset)>
<Screen C (Example of ADF Front Offset)>
4At Screen B, press ![]() to increase the offset
to increase the offset
or press ![]() to decrease offset.
to decrease offset.
The increment or decrement is 0.5 mm.
Then press ![]() to activate the setting. The scanner displays Screen C.
to activate the setting. The scanner displays Screen C.
<Screen C (Example of ADF Back Offset)>
<Screen C (Example of FB Offset)>
5At Screen C, press ![]() to increase the offset
to increase the offset
or press ![]() to decrease the offset. Then
to decrease the offset. Then
press ![]() to activate the setting. The scanner displays the next item of the setup mode.
to activate the setting. The scanner displays the next item of the setup mode.
![]()