Osian_UG.book Page 26 Monday, October 9, 2006 1:24 PM
S t y l i s t i c S T 5 1 0 0 S e r i e s T a b l e t P C U s e r ’ s G u i d e – S e c t i o n T w o
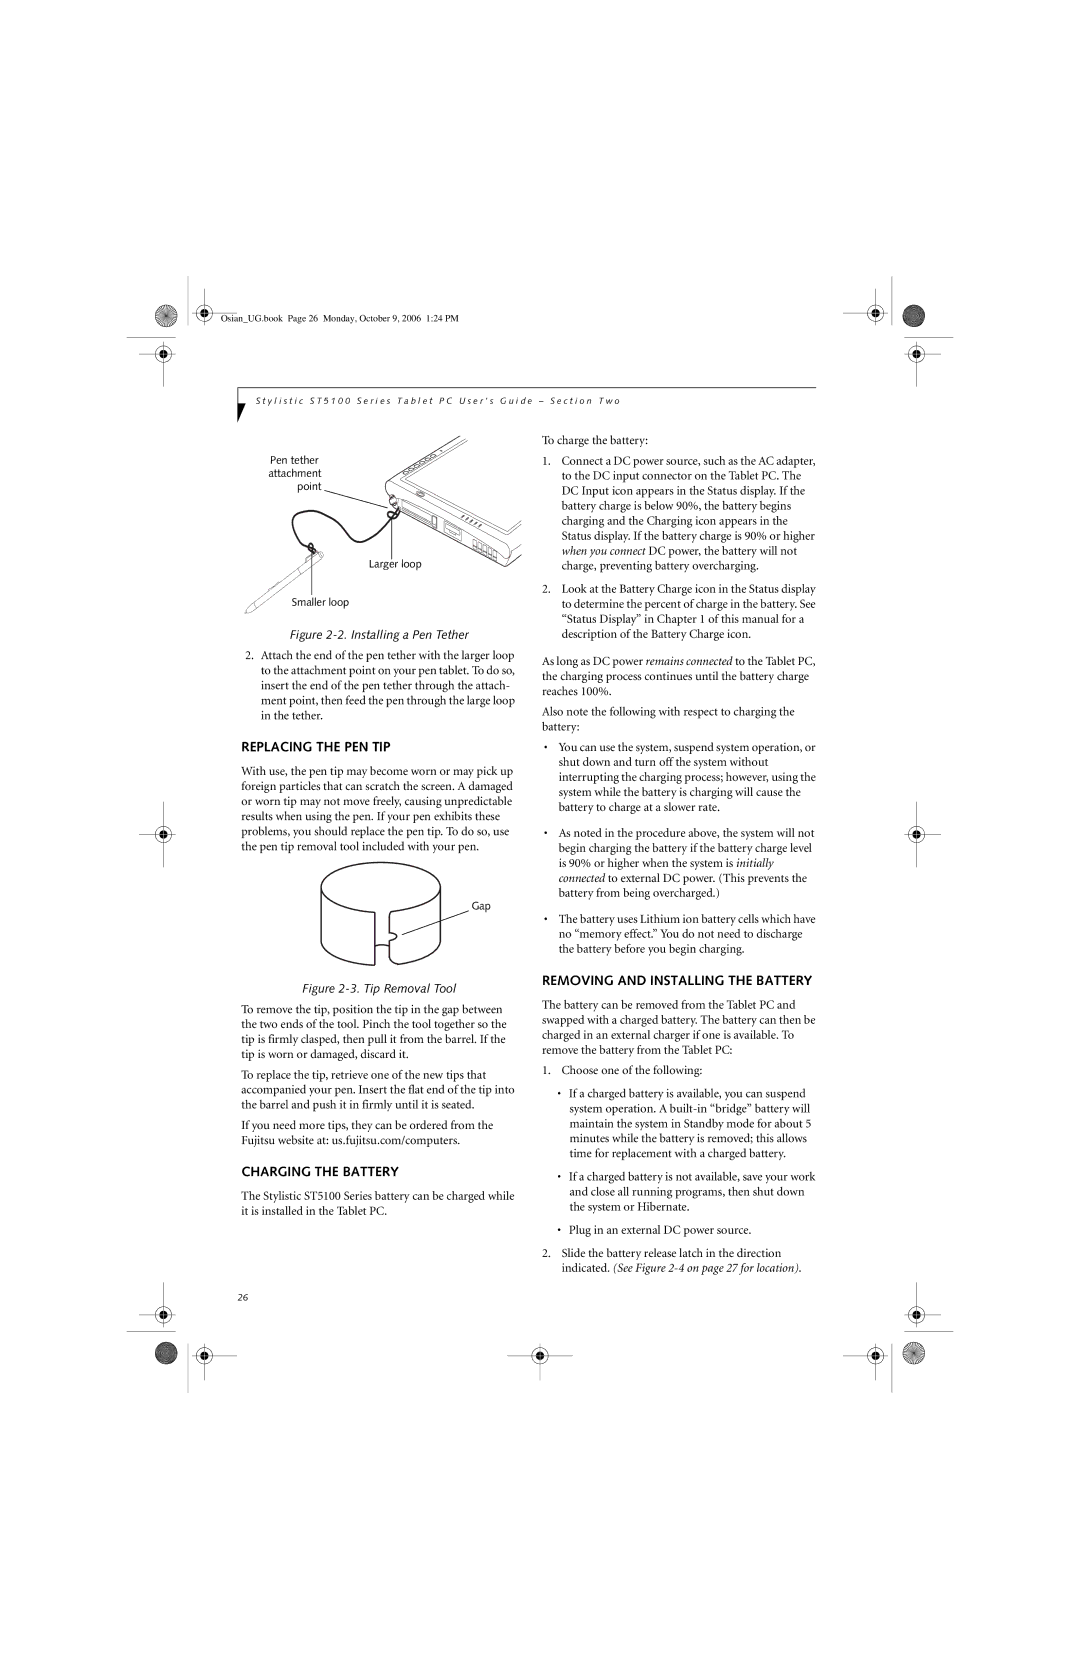
Pen tether attachment point
Larger loop
Smaller loop
Figure 2-2. Installing a Pen Tether
2.Attach the end of the pen tether with the larger loop to the attachment point on your pen tablet. To do so, insert the end of the pen tether through the attach- ment point, then feed the pen through the large loop in the tether.
REPLACING THE PEN TIP
With use, the pen tip may become worn or may pick up foreign particles that can scratch the screen. A damaged or worn tip may not move freely, causing unpredictable results when using the pen. If your pen exhibits these problems, you should replace the pen tip. To do so, use the pen tip removal tool included with your pen.
Gap
To charge the battery:
1.Connect a DC power source, such as the AC adapter, to the DC input connector on the Tablet PC. The DC Input icon appears in the Status display. If the battery charge is below 90%, the battery begins charging and the Charging icon appears in the Status display. If the battery charge is 90% or higher when you connect DC power, the battery will not charge, preventing battery overcharging.
2.Look at the Battery Charge icon in the Status display to determine the percent of charge in the battery. See “Status Display” in Chapter 1 of this manual for a description of the Battery Charge icon.
As long as DC power remains connected to the Tablet PC, the charging process continues until the battery charge reaches 100%.
Also note the following with respect to charging the battery:
•You can use the system, suspend system operation, or shut down and turn off the system without interrupting the charging process; however, using the system while the battery is charging will cause the battery to charge at a slower rate.
•As noted in the procedure above, the system will not begin charging the battery if the battery charge level is 90% or higher when the system is initially connected to external DC power. (This prevents the battery from being overcharged.)
Figure 2-3. Tip Removal Tool
• The battery uses Lithium ion battery cells which have no “memory effect.” You do not need to discharge the battery before you begin charging.
REMOVING AND INSTALLING THE BATTERY
To remove the tip, position the tip in the gap between the two ends of the tool. Pinch the tool together so the tip is firmly clasped, then pull it from the barrel. If the tip is worn or damaged, discard it.
To replace the tip, retrieve one of the new tips that accompanied your pen. Insert the flat end of the tip into the barrel and push it in firmly until it is seated.
If you need more tips, they can be ordered from the Fujitsu website at: us.fujitsu.com/computers.
CHARGING THE BATTERY
The Stylistic ST5100 Series battery can be charged while it is installed in the Tablet PC.
The battery can be removed from the Tablet PC and swapped with a charged battery. The battery can then be charged in an external charger if one is available. To remove the battery from the Tablet PC:
1.Choose one of the following:
•If a charged battery is available, you can suspend system operation. A
•If a charged battery is not available, save your work and close all running programs, then shut down the system or Hibernate.
•Plug in an external DC power source.
2.Slide the battery release latch in the direction indicated. (See Figure
26