Colour monitor 19P2
Settings with the OSD menu
To set the OSD menu, perform the following steps:
ÊPress the MENU button to activate the OSD menu.
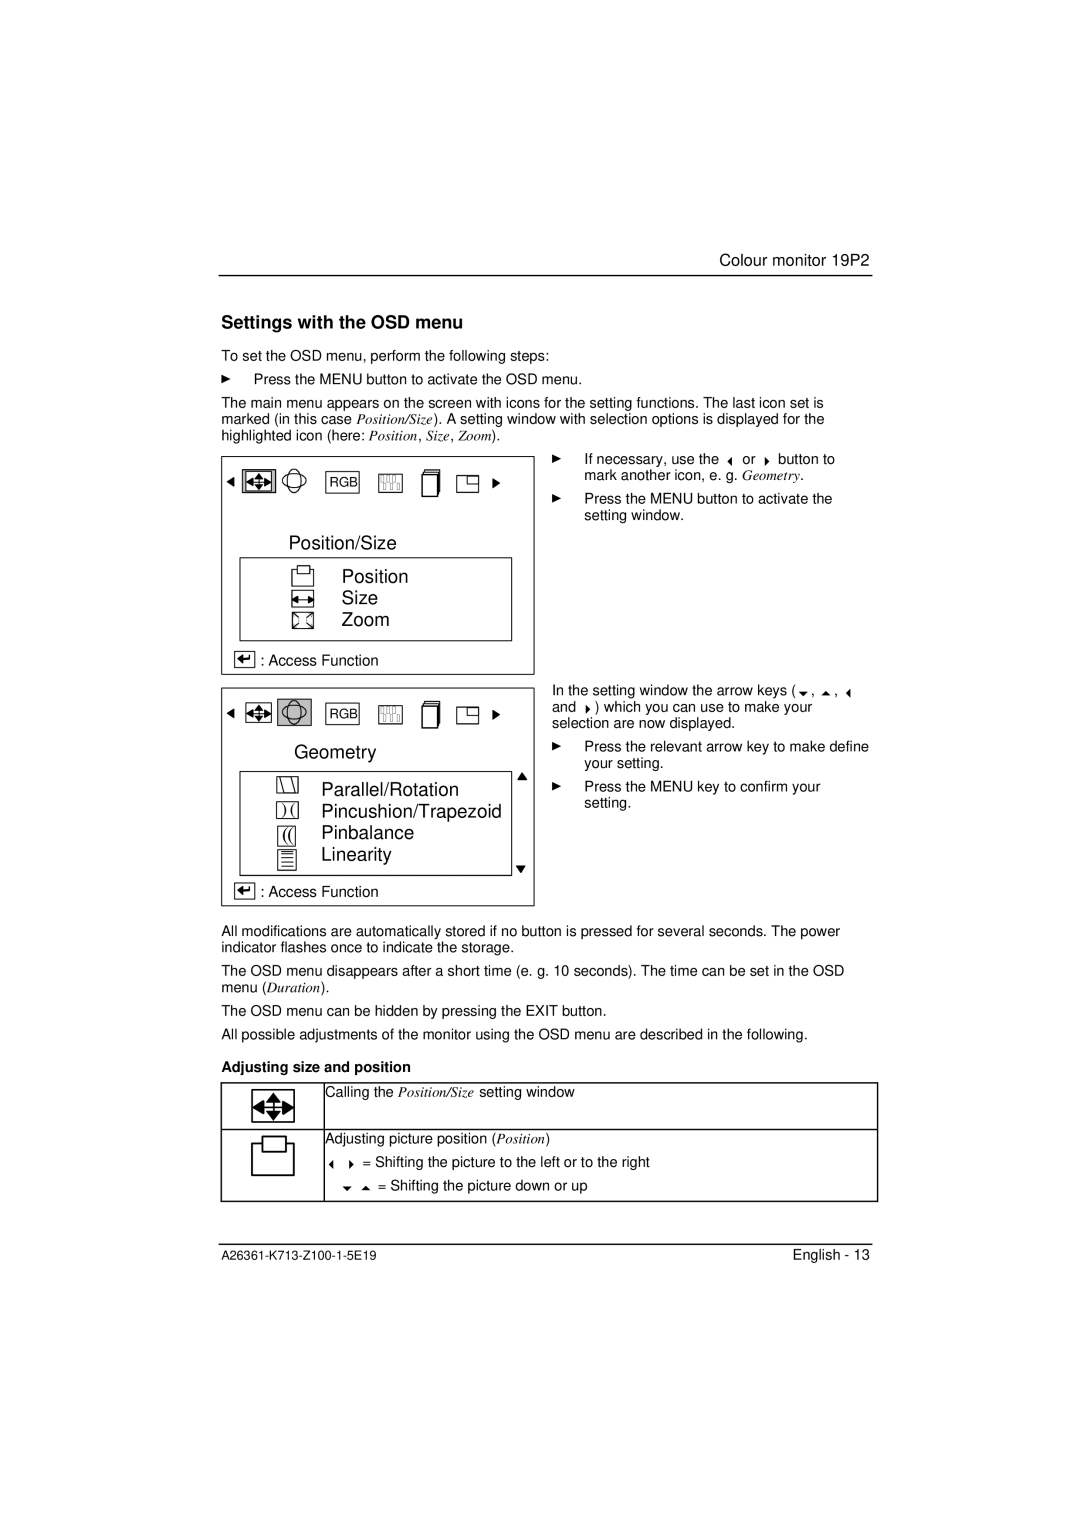
The main menu appears on the screen with icons for the setting functions. The last icon set is marked (in this case Position/Size). A setting window with selection options is displayed for the highlighted icon (here: Position, Size, Zoom).
RGB
ÊIf necessary, use the ! or " button to mark another icon, e. g. Geometry.
ÊPress the MENU button to activate the setting window.
Position/Size
Position
Size
Zoom
![]() : Access Function
: Access Function
RGB
Geometry
Parallel/Rotation
![]() )
)![]()
![]() ( Pincushion/Trapezoid
( Pincushion/Trapezoid
(( Pinbalance
Linearity
![]() : Access Function
: Access Function
In the setting window the arrow keys ($, #, ! and ") which you can use to make your selection are now displayed.
ÊPress the relevant arrow key to make define your setting.
ÊPress the MENU key to confirm your setting.
All modifications are automatically stored if no button is pressed for several seconds. The power indicator flashes once to indicate the storage.
The OSD menu disappears after a short time (e. g. 10 seconds). The time can be set in the OSD menu (Duration).
The OSD menu can be hidden by pressing the EXIT button.
All possible adjustments of the monitor using the OSD menu are described in the following.
Adjusting size and position
Calling the Position/Size setting window
Adjusting picture position (Position)
! " = Shifting the picture to the left or to the right
$# = Shifting the picture down or up
English - 13 |