INITIAL SETTING
These operations are accessible by remote control. Some may also be accessible by controls on the main unit.
5Initial Setup
This section will guide you through the unit’s initial setting which includes | 5 Use [CH K/L] to select “AUTO PRESET CH(TV/DTV)” |
selecting a language for your | for TV channels or “AUTO PRESET CH(CATV)“ for CATV |
automatically scans and memorizes viewable channels. | channels, then press [VOL X]. |
Before you begin:
Make sure if the unit is connected to antenna or cable.
1After making all the necessary connections, press [POWER] to turn on the unit.
POWER
CH
or
CH
VOL 
1.PLEASE CONNECT ANTENNA TO THE UNIT.
2.SET UP THE ITEMS WITH
,AND![]() BUTTONS.
BUTTONS.
D.S.T. (Daylight Saving) | [ON] |
TIME ZONE | [ALASKA] |
AUTO PRESET CH (TV/DTV) AUTO PRESET CH (CATV)
• This operation may take a few moments.
2Use [CH K/L] or [VOL X] to select the
CH | SELECT LANGUAGE |
or | ENGLISH |
NEXT:PRESS CHK | |
CH | ESPAÑOL |
| |
| DESPUÉS:PRESIONE CHL |
or | FRANÇAIS |
| APRÈS:PRESSEZ VOLX |
VOL ![]()
•Press [CH K] for English.
•Press [CH L] for Spanish.
•Press [VOL X] for French.
3Use [CH K/L] to select “D.S.T.” (Daylight Saving Time), then use [VOL X/ Y] to set to “ON”.
CH | 1. PLEASE CONNECT ANTENNA TO | |
or | THE UNIT. |
|
2. SET UP THE ITEMS WITH |
| |
CH | , AND BUTTONS. |
|
| D.S.T. (Daylight Saving) | [ON] |
| TIME ZONE | [- - |
| AUTO PRESET CH (TV/DTV) |
|
| AUTO PRESET CH (CATV) |
|
VOL or VOL
•You must set “D.S.T.” and “TIME ZONE” before presetting channels.
4Use [CH K/L] to select “TIME ZONE”, then use [VOL X/ Y] to change the setting.
CH | 1. PLEASE CONNECT ANTENNA TO | ||
THE UNIT. |
| ||
or |
| ||
2. SET UP THE ITEMS WITH |
| ||
CH | , AND BUTTONS. |
| |
D.S.T. (Daylight Saving) | [ON] | ||
| |||
| TIME ZONE | [- - | |
| AUTO PRESET CH (TV/DTV) |
| |
| AUTO PRESET CH (CATV) |
| |
VOL or VOL
[ALASKA] 
 [HAWAII]
[ATLANTIC] [PACIFIC]
[EASTERN] [MOUNTAIN]  [CENTRAL]

10
•When the scanning and memorizing are completed, the lowest memorized channel in the broadcasting will be displayed.
Note:
•If you connect the cable system directly, contact the CATV installer.
•If you press [POWER] or [MENU] during “AUTO PRESET CH”, this setting will be canceled.
•The initial auto channel scan function can be executed for either TV/DTV or CATV only once. If you want to scan both TV/DTV and CATV, you need to select “CHANNEL SET” in the main menu to scan and memorize other channels after initial presetting is completed. (Refer to page 11.)
•You can cancel or exit the initial “AUTO PRESET CH” menu by pressing [MENU].
•When no channel can be received by “AUTO PRESET CH”, “NO TV SIGNALS” is displayed on the TV screen.
•If there is no signal input from the antenna terminal and no operation for more than 5 seconds, “HELPFUL HINTS” appears. Follow the instructions listed on the TV screen.
-HELPFUL HINTS -
1.PLEASE CHECK TO SEE IF THE ANTENNA / CABLE / SATELLITE IS PROPERLY CONNECTED.
2.DID YOU PERFORM “AUTO PRESET CH”?
3.PLEASE REFER TO FRONT PAGE OF THE OWNER’S MANUAL OR REAR PANEL FOR SUPPORT LINE INFORMATION.
5Main Menu
This section describes the overview of the main menu displayed when you press [MENU].
For more details, see the reference page for each item.
The main menu consists of the function setting items below.
Press [MENU] to display the main menu. e.g.) digital TV mode
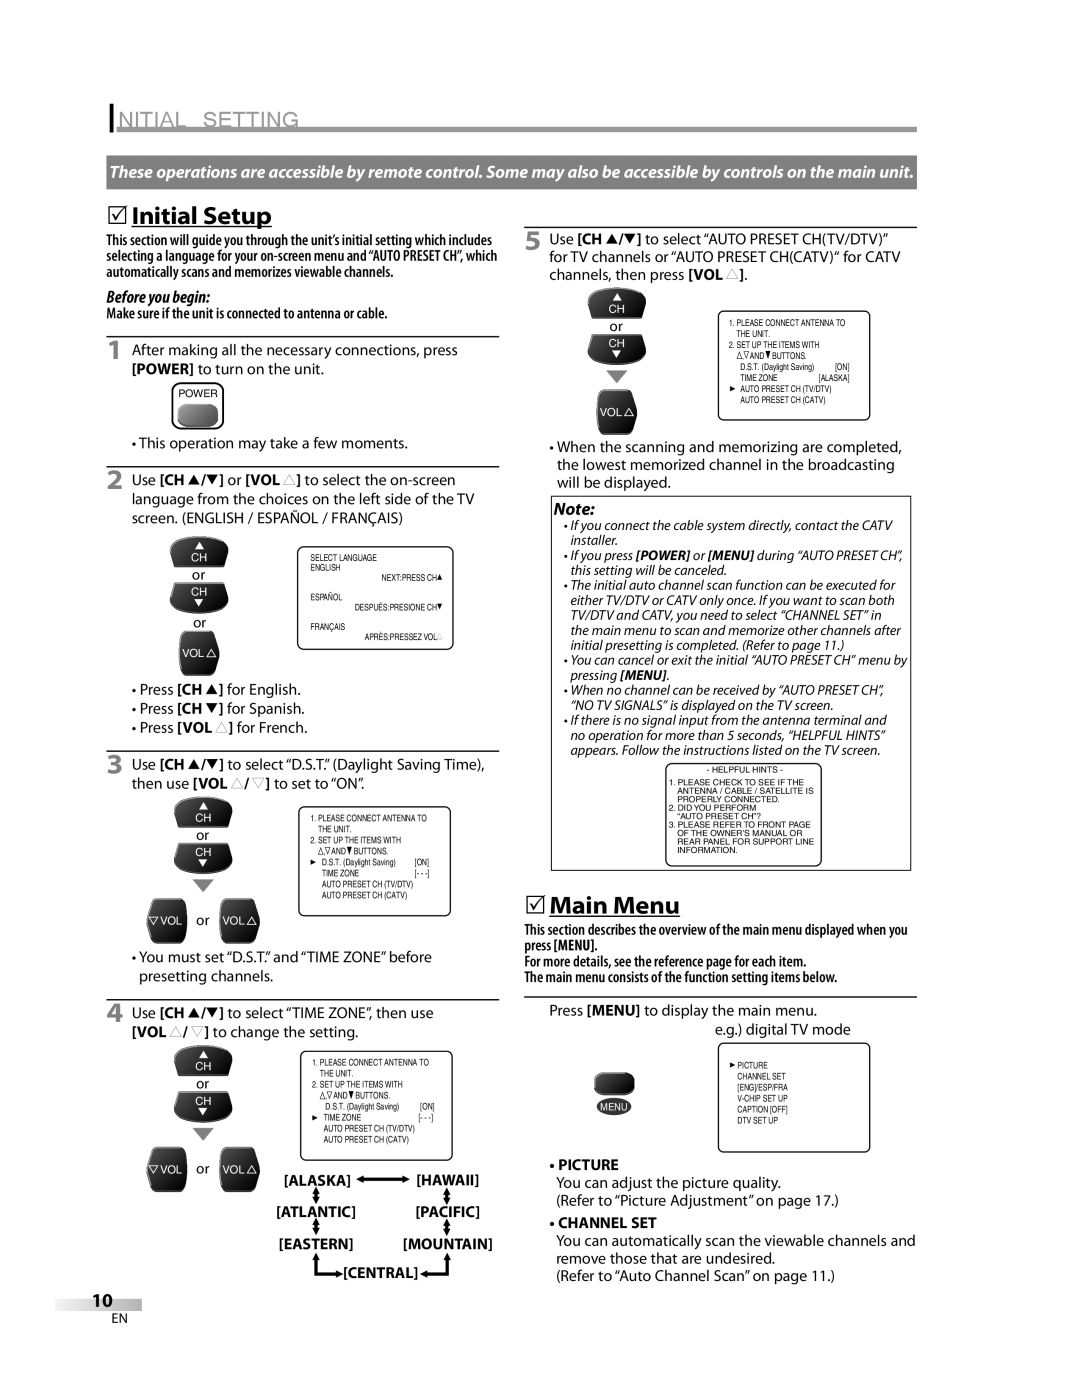
![]() PICTURE CHANNEL SET [ENG]/ESP/FRA
PICTURE CHANNEL SET [ENG]/ESP/FRA
MENUCAPTION [OFF] DTV SET UP
• PICTURE
You can adjust the picture quality.
(Refer to “Picture Adjustment” on page 17.)
• CHANNEL SET
You can automatically scan the viewable channels and remove those that are undesired.
(Refer to “Auto Channel Scan” on page 11.)
EN