Auto Setup (without Q Link Functions) (continued)
Removing Interference
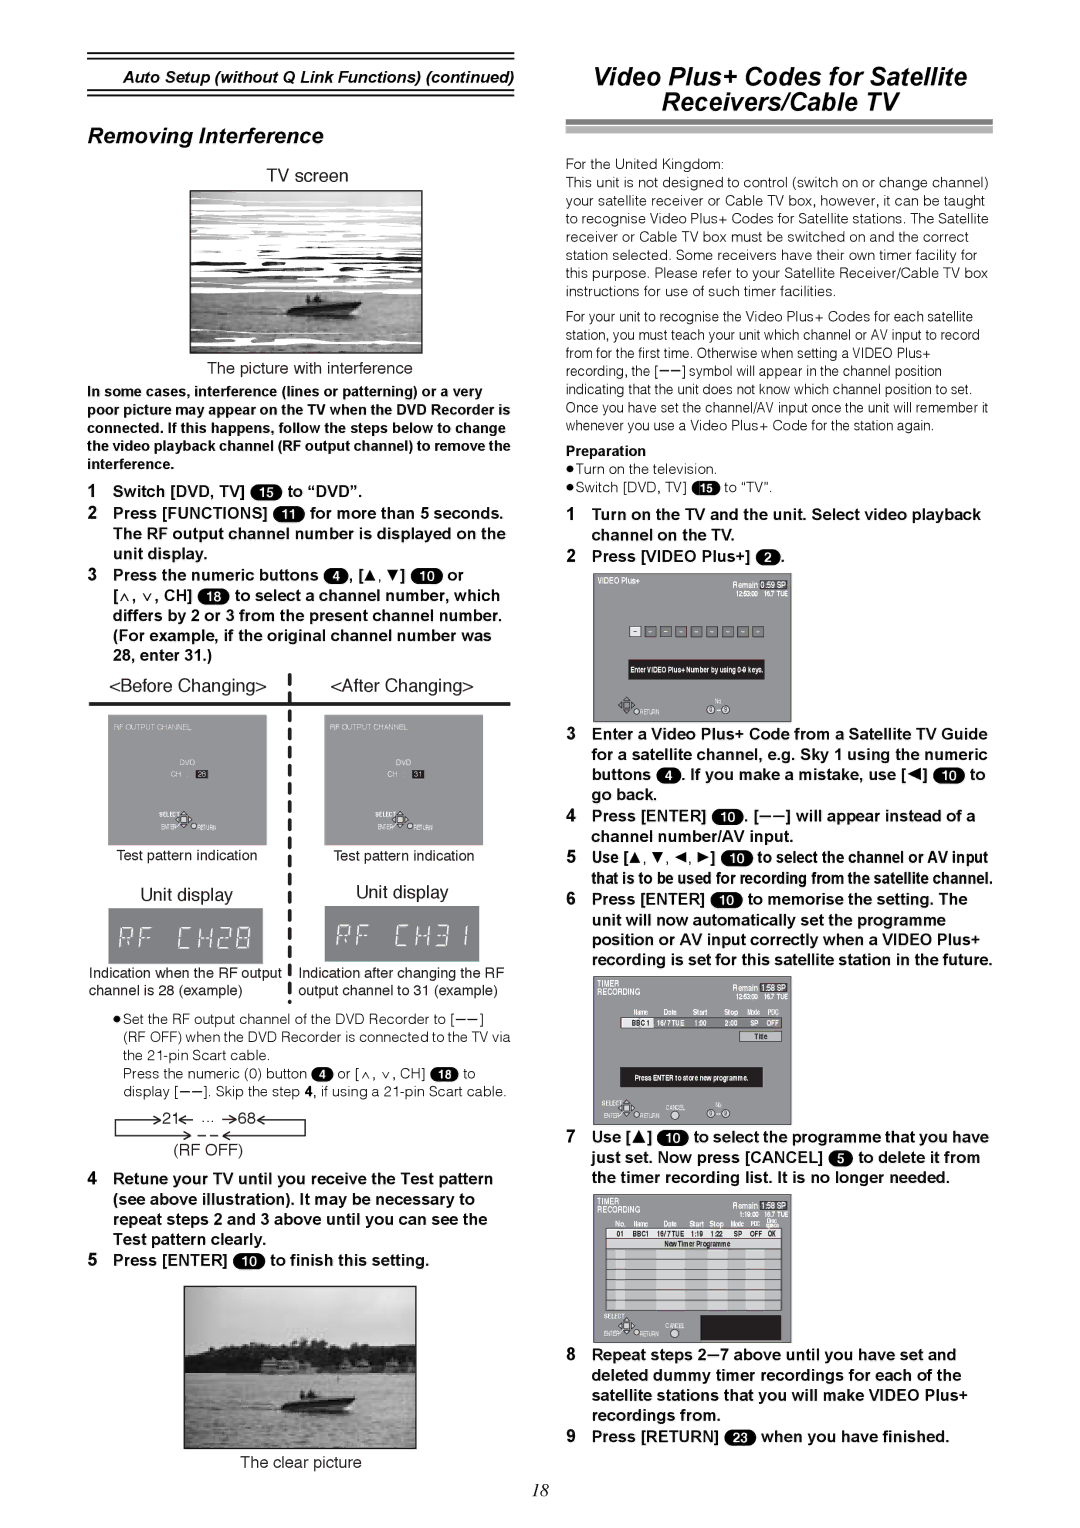
TV screen
The picture with interference
In some cases, interference (lines or patterning) or a very poor picture may appear on the TV when the DVD Recorder is connected. If this happens, follow the steps below to change the video playback channel (RF output channel) to remove the interference.
1Switch [DVD, TV] (15) to “DVD”.
2Press [FUNCTIONS] (11) for more than 5 seconds.
The RF output channel number is displayed on the unit display.
3Press the numeric buttons (4), [3, 4] (10) or
[W, X, CH] (18) to select a channel number, which differs by 2 or 3 from the present channel number. (For example, if the original channel number was 28, enter 31.)
| <Before Changing> | <After Changing> | ||||||
|
|
|
|
|
|
|
|
|
|
|
|
|
|
|
|
|
|
| RF OUTPUT CHANNEL |
|
|
| RF OUTPUT CHANNEL |
| ||
| DVD |
|
|
| DVD |
| ||
| CH : | 28 |
|
| CH : | 31 | ||
| SELECT |
|
|
|
|
| SELECT |
|
| ENTER | RETURN |
| ENTER | RETURN | |||
|
|
|
|
|
|
| ||
| Test pattern indication | Test pattern indication | ||||||
| Unit display | Unit display | ||||||
|
|
|
|
|
|
| ||
|
|
|
|
|
|
| ||
Indication when the RF output | Indication after changing the RF | |||||||
channel is 28 (example) | output channel to 31 (example) | |||||||
≥Set the RF output channel of the DVD Recorder to [ss] (RF OFF) when the DVD Recorder is connected to the TV via the
Press the numeric (0) button (4) or [W, X, CH] (18) to display [ss]. Skip the step 4, if using a
21 ... | 68 |
(RF OFF)
4Retune your TV until you receive the Test pattern (see above illustration). It may be necessary to repeat steps 2 and 3 above until you can see the Test pattern clearly.
5Press [ENTER] (10) to finish this setting.
The clear picture
Video Plus+ Codes for Satellite
Receivers/Cable TV
For the United Kingdom:
This unit is not designed to control (switch on or change channel) your satellite receiver or Cable TV box, however, it can be taught to recognise Video Plus+ Codes for Satellite stations. The Satellite receiver or Cable TV box must be switched on and the correct station selected. Some receivers have their own timer facility for this purpose. Please refer to your Satellite Receiver/Cable TV box instructions for use of such timer facilities.
For your unit to recognise the Video Plus+ Codes for each satellite station, you must teach your unit which channel or AV input to record from for the first time. Otherwise when setting a VIDEO Plus+ recording, the [ss] symbol will appear in the channel position indicating that the unit does not know which channel position to set. Once you have set the channel/AV input once the unit will remember it whenever you use a Video Plus+ Code for the station again.
Preparation
≥Turn on the television.
≥Switch [DVD, TV] (15) to “TV”.
1Turn on the TV and the unit. Select video playback channel on the TV.
2Press [VIDEO Plus+] (2).
VIDEO Plus+ |
|
|
|
|
|
|
|
|
|
|
| Remain |
|
| |||||
|
|
|
|
|
|
|
|
|
|
|
| 0:59 SP | |||||||
|
|
|
|
|
|
|
|
|
|
|
|
|
| 12:53:00 16.7 TUE | |||||
|
|
|
|
|
|
|
|
|
|
|
|
|
|
|
|
|
|
|
|
|
|
|
|
|
|
|
|
|
|
|
|
|
|
|
|
|
|
|
|
Enter VIDEO Plus+ Number by using
| No. |
RETURN | 0 |
3Enter a Video Plus+ Code from a Satellite TV Guide for a satellite channel, e.g. Sky 1 using the numeric buttons (4). If you make a mistake, use [2] (10) to go back.
4Press [ENTER] (10). [ss] will appear instead of a channel number/AV input.
5Use [3, 4, 2, 1] (10) to select the channel or AV input that is to be used for recording from the satellite channel.
6Press [ENTER] (10) to memorise the setting. The unit will now automatically set the programme position or AV input correctly when a VIDEO Plus+ recording is set for this satellite station in the future.
TIMER |
|
|
| Remain |
|
| ||
RECORDING |
|
| 1:58 SP | |||||
|
| 12:53:00 | 16.7 TUE | |||||
|
|
|
|
| ||||
|
| Name | Date | Start | Stop | Mode | PDC | |
|
| BBC 1 | 16/ 7 TUE | 1:00 | 2:00 | SP | OFF |
|
|
|
|
|
|
|
| ||
|
|
|
|
|
| Title |
| |
|
| Press ENTER to store new programme. |
|
| ||||
SELECT |
| CANCEL |
| No. |
|
|
| |
|
|
| 0 |
|
|
| ||
ENTER | RETURN |
|
|
| ||||
7Use [3] (10) to select the programme that you have just set. Now press [CANCEL] (5) to delete it from the timer recording list. It is no longer needed.
TIMER |
|
|
|
| Remain |
|
|
| ||
RECORDING |
|
|
| 1:58 SP | ||||||
|
|
| 1:19:00 |
| 16.7 TUE | |||||
|
|
|
|
|
|
| ||||
| No. | Name | Date | Start | Stop | Mode | PDC | Disc | ||
| space | |||||||||
| 01 | BBC1 | 16/ 7 TUE | 1:19 | 1:22 | SP | OFF | OK |
| |
|
|
| New Timer Programme |
|
|
|
|
| ||
SELECT |
CANCEL |
ENTER ![]()
![]() RETURN
RETURN
8Repeat steps 2s7 above until you have set and deleted dummy timer recordings for each of the satellite stations that you will make VIDEO Plus+ recordings from.
9Press [RETURN] (23) when you have finished.
18