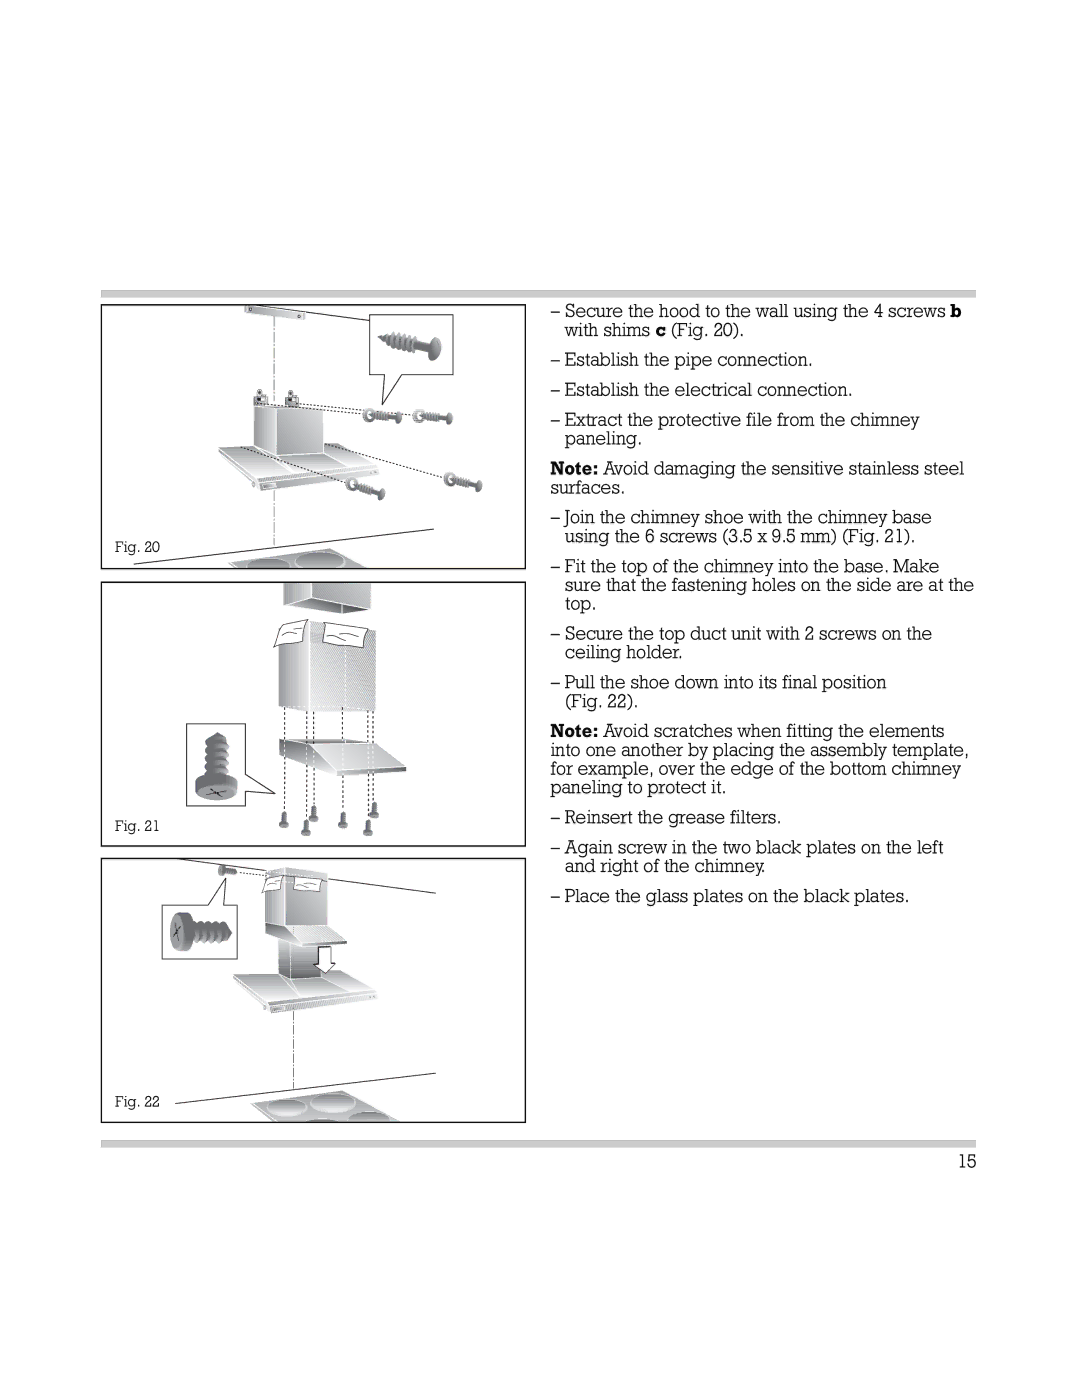
Fig. 20 |
Fig. 21 |
Fig. 22 |
–Secure the hood to the wall using the 4 screws b with shims c (Fig. 20).
–Establish the pipe connection.
–Establish the electrical connection.
–Extract the protective file from the chimney paneling.
Note: Avoid damaging the sensitive stainless steel surfaces.
–Join the chimney shoe with the chimney base using the 6 screws (3.5 x 9.5 mm) (Fig. 21).
–Fit the top of the chimney into the base. Make sure that the fastening holes on the side are at the top.
–Secure the top duct unit with 2 screws on the ceiling holder.
–Pull the shoe down into its final position (Fig. 22).
Note: Avoid scratches when fitting the elements into one another by placing the assembly template, for example, over the edge of the bottom chimney paneling to protect it.
–Reinsert the grease filters.
–Again screw in the two black plates on the left and right of the chimney.
–Place the glass plates on the black plates.
15