Step Three
Arrange the hose at the cylinder end so that none will kink and they are hanging free. Put a piece of tape on the right hose at the cylinder end to identify it. You will need to know this when it’s time to connect the hose to the cylinder. See Fig.14.
Step Four
Get into the boat close to the
Fig. 14unscrewing counterclockwise and remove. Note the tank has two fluid level lines on it. The upper line is the full line and the lower line is the low fluid line.
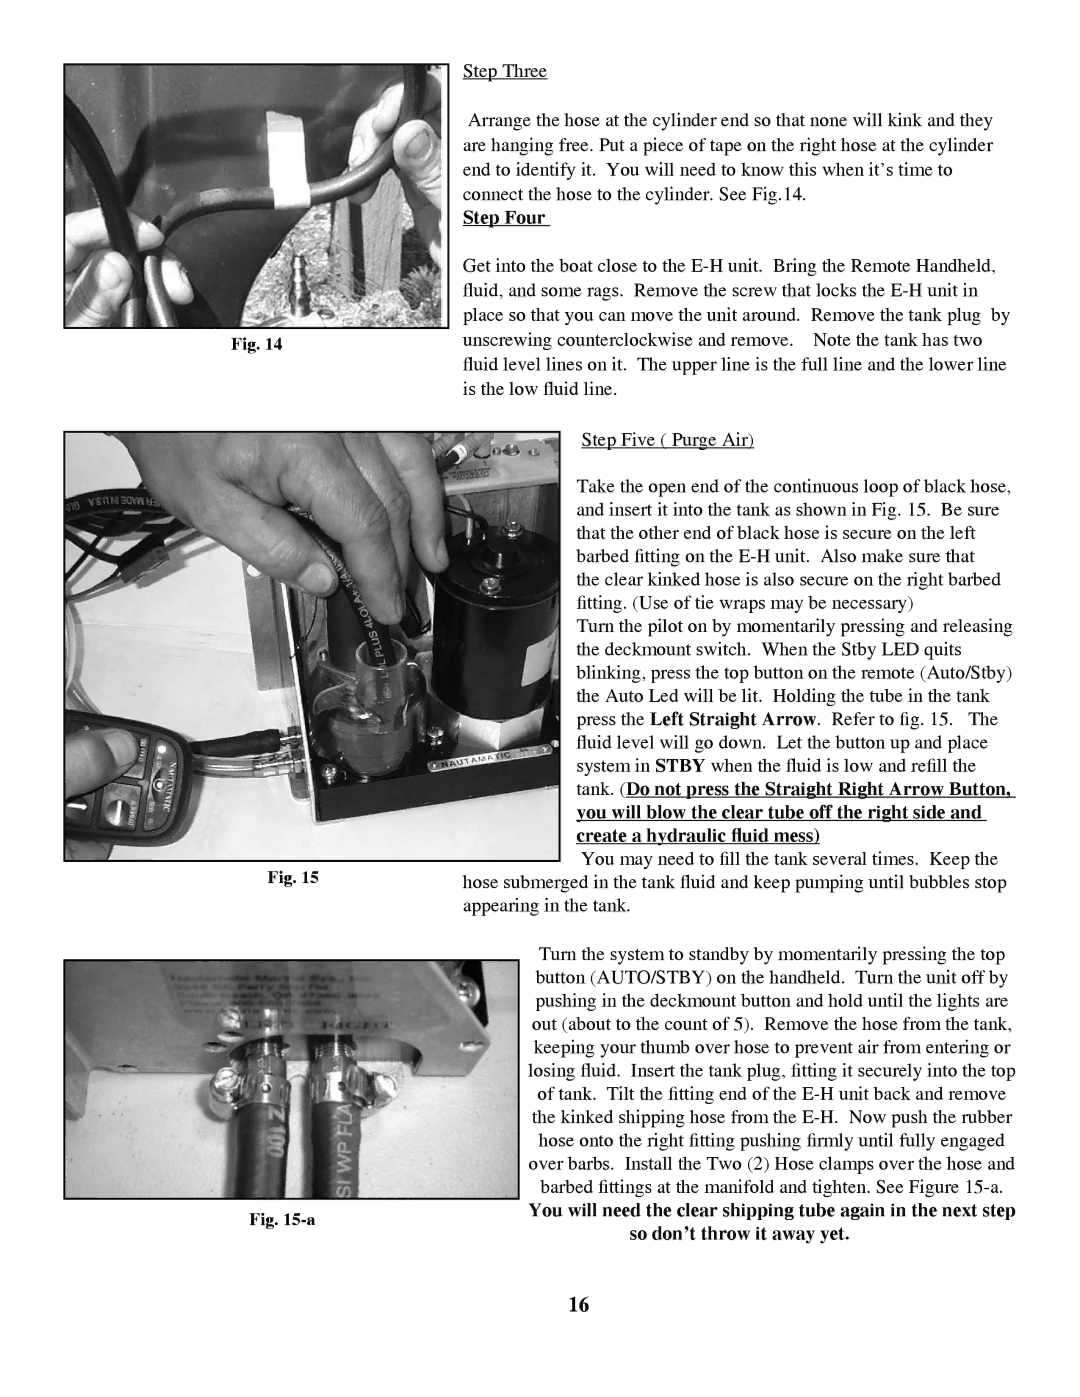
Step Five ( Purge Air)
Fig. 15
Fig.
Take the open end of the continuous loop of black hose, and insert it into the tank as shown in Fig. 15. Be sure that the other end of black hose is secure on the left barbed fitting on the E-H unit. Also make sure that the clear kinked hose is also secure on the right barbed fitting. (Use of tie wraps may be necessary)
Turn the pilot on by momentarily pressing and releasing the deckmount switch. When the Stby LED quits blinking, press the top button on the remote (Auto/Stby) the Auto Led will be lit. Holding the tube in the tank press the Left Straight Arrow. Refer to fig. 15. The fluid level will go down. Let the button up and place system in STBY when the fluid is low and refill the tank. (Do not press the Straight Right Arrow Button, you will blow the clear tube off the right side and create a hydraulic fluid mess)
You may need to fill the tank several times. Keep the hose submerged in the tank fluid and keep pumping until bubbles stop appearing in the tank.
Turn the system to standby by momentarily pressing the top button (AUTO/STBY) on the handheld. Turn the unit off by pushing in the deckmount button and hold until the lights are out (about to the count of 5). Remove the hose from the tank, keeping your thumb over hose to prevent air from entering or losing fluid. Insert the tank plug, fitting it securely into the top of tank. Tilt the fitting end of the E-H unit back and remove the kinked shipping hose from the E-H. Now push the rubber
hose onto the right fitting pushing firmly until fully engaged over barbs. Install the Two (2) Hose clamps over the hose and barbed fittings at the manifold and tighten. See Figure 15-a.
You will need the clear shipping tube again in the next step so don’t throw it away yet.
16