Wall Mounting the Phone
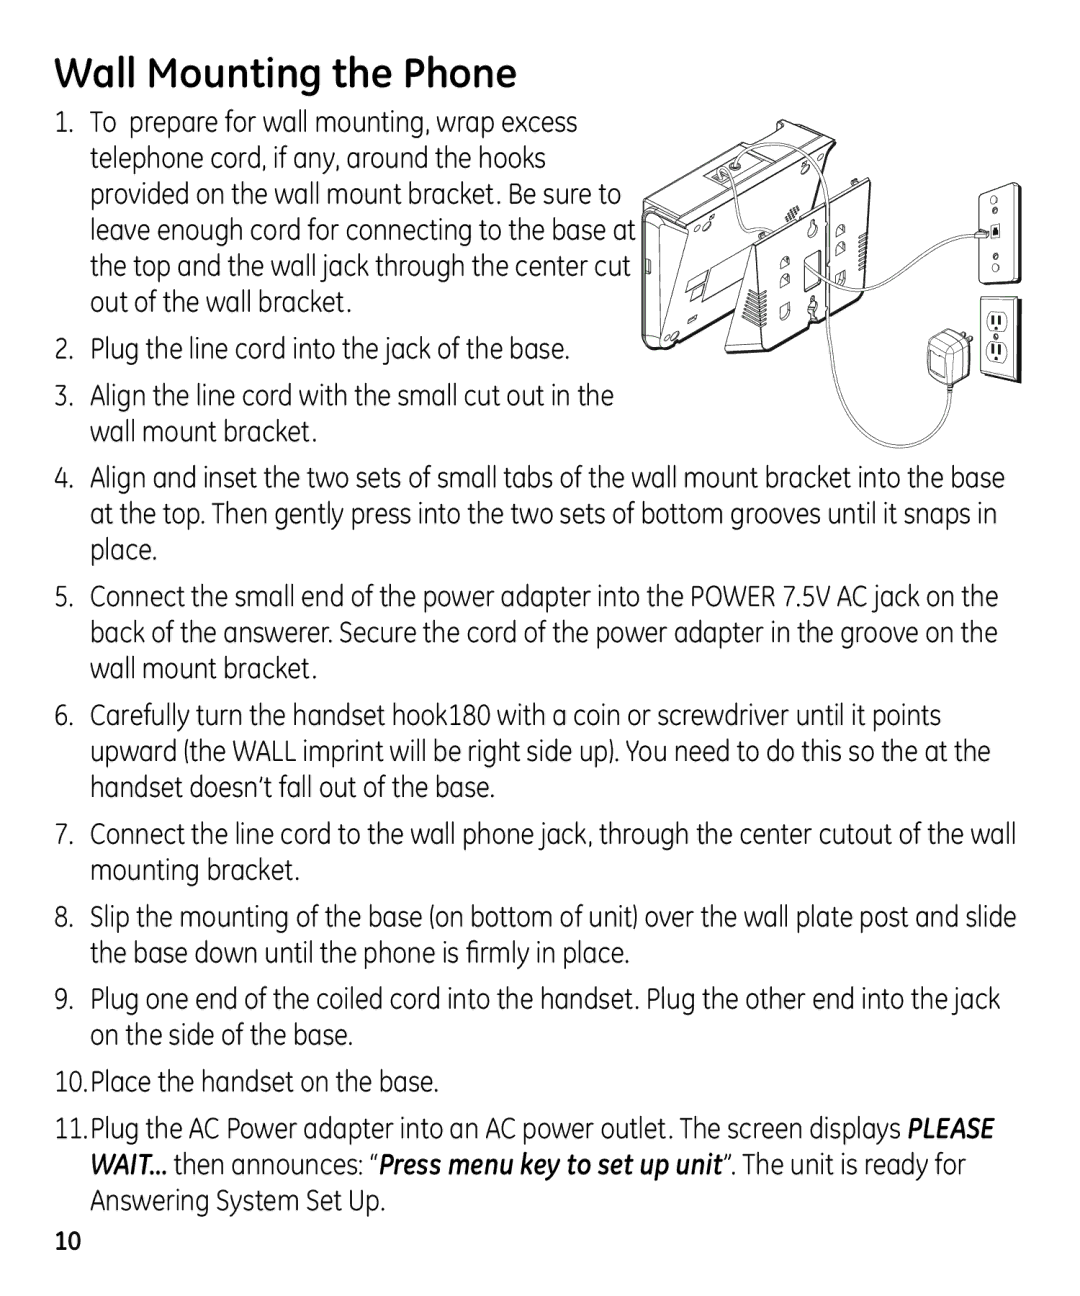
1.To prepare for wall mounting, wrap excess telephone cord, if any, around the hooks provided on the wall mount bracket. Be sure to
leave enough cord for connecting to the base at the top and the wall jack through the center cut out of the wall bracket.
2. Plug the line cord into the jack of the base.
3.Align the line cord with the small cut out in the wall mount bracket.
4.Align and inset the two sets of small tabs of the wall mount bracket into the base at the top. Then gently press into the two sets of bottom grooves until it snaps in place.
5.Connect the small end of the power adapter into the POWER 7.5V AC jack on the back of the answerer. Secure the cord of the power adapter in the groove on the wall mount bracket.
6.Carefully turn the handset hook180 with a coin or screwdriver until it points upward (the WALL imprint will be right side up). You need to do this so the at the handset doesn’t fall out of the base.
7.Connect the line cord to the wall phone jack, through the center cutout of the wall mounting bracket.
8.Slip the mounting of the base (on bottom of unit) over the wall plate post and slide the base down until the phone is firmly in place.
9.Plug one end of the coiled cord into the handset. Plug the other end into the jack on the side of the base.
10.Place the handset on the base.
11.Plug the AC Power adapter into an AC power outlet. The screen displays PLEASE WAIT… then announces: “Press menu key to set up unit”. The unit is ready for Answering System Set Up.
10