SafetyInstructions
Reversing the door swing.
Read these instructions completely and carefully.
Important Notes
Operating Instructions
NOTE: Doors on dispenser models do not reverse.
When reversing the door swing:
■Read the instructions all the way through before starting.
■Handle parts carefully to avoid scratching paint.
■Set screws down by their related parts to avoid using them in the wrong places.
■Provide a
IMPORTANT: Once you begin, do not move the cabinet until
These instructions are for changing the hinges from the right side to the left
TroubleshootingTips Installation Instructions
CustomerService
Tools Required
■Phillips screwdriver | ■Putty knife or |
■Masking tape | ■3/8″ socket and ratchet (a |
■T20 or T25 Torxdriver, whichever your model | recommended) |
| |
requires |
|
Removing the doors.
Removing the Doors
1 Unplug the refrigerator from its electrical outlet.
2 Empty all door shelves, including the dairy compartment.
CAUTION: Do not let either door drop to the floor. To do so could damage the door stop.
Remove the Freezer Door
1 Tape the door shut with masking tape.
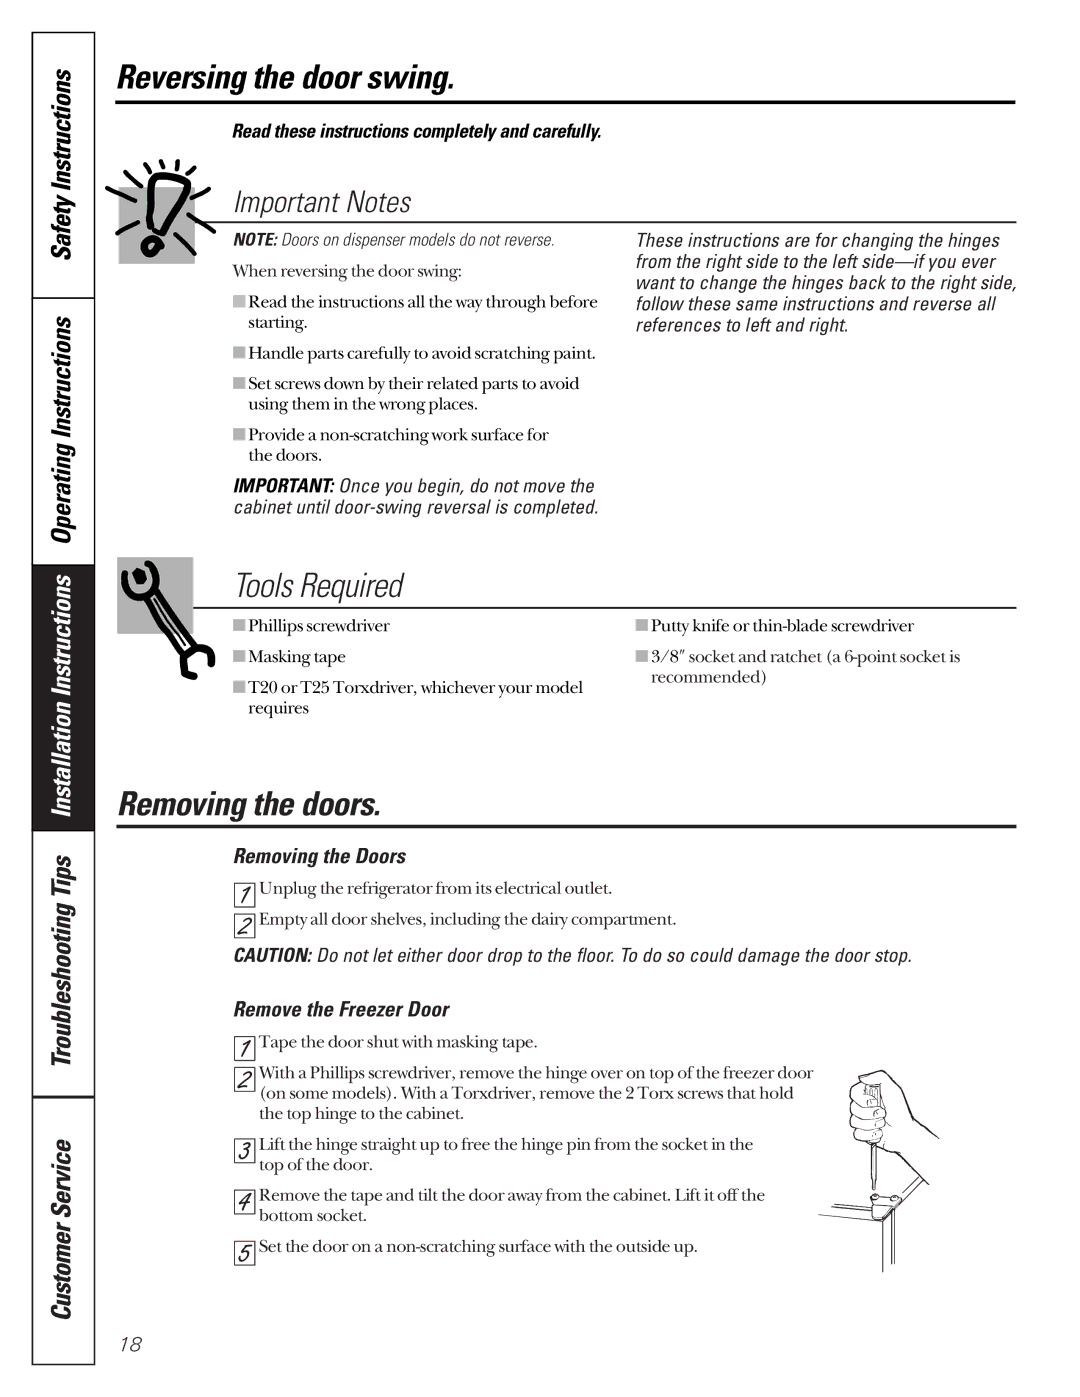
2 With a Phillips screwdriver, remove the hinge over on top of the freezer door
(on some models). With a Torxdriver, remove the 2 Torx screws that hold the top hinge to the cabinet.
3 Lift the hinge straight up to free the hinge pin from the socket in the top of the door.
4 Remove the tape and tilt the door away from the cabinet. Lift it off the bottom socket.
5 Set the door on a
18