Answering System Set Up
Recording the Greeting
Before using your new answerer, you should record a greeting (the announcement callers hear when your answering system answers a call). If you don’t record a greeting, callers hear a default greeting which says, “We are not available to take your call. Please leave a message. Thank you for calling.”
When recording the greeting you should be about 6 inches from the unit. Eliminate as much background noise as possible.
1.Prepare your greeting.
Sample Greeting: “Hi, this is (use your name here). I can’t answer the phone right now, so please leave your name, number, and a brief message after the tone, and I’ll get back to you. Thanks for calling.”
2.Hold down the GREETING button. The unit announces “Record your greeting after the tone,” and displays GREETING RECORD. After the tone, you have 30 seconds to record your greeting.
3.Release GREETING when you finish.
•To review the greeting, press and release GREETING. The unit plays back your greeting automatically.
•To return to the answerer’s default greeting after you’ve recorded one, press GREETING and release it when you hear the tone, or press and hold DELETE when the greeting is playing.
Telephone Set Up
You can customize the following settings to suit your needs.
Display Contrast Selects the display contrast.
Time/Date Sets the time and date.
Local Area Code Sets your local area code for Dial Back.
Message Length Sets the length of time allowed for incoming messages.
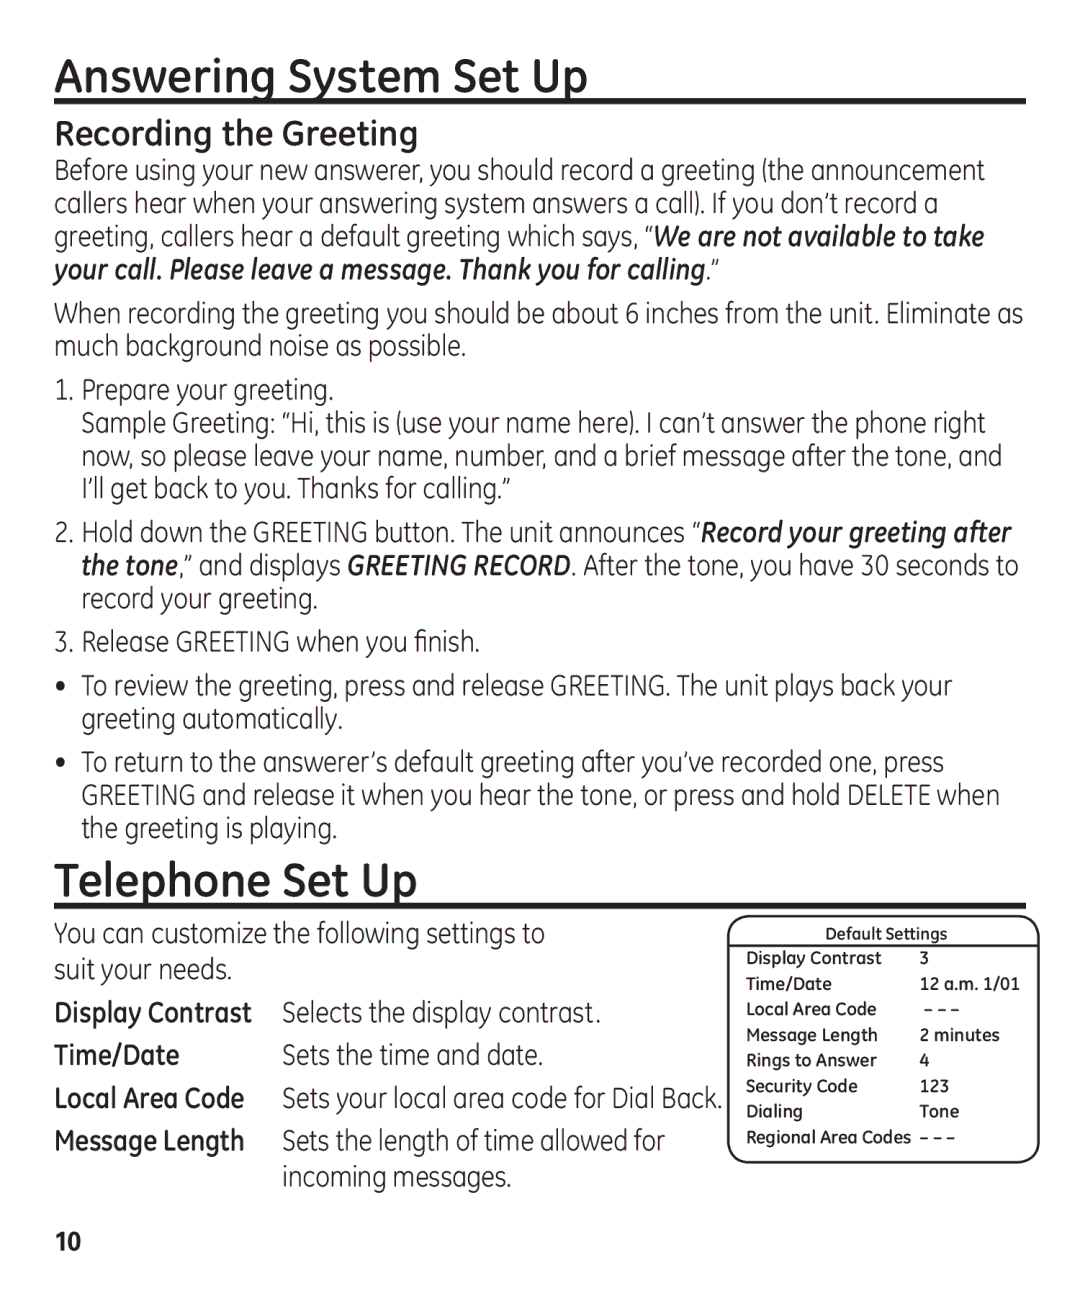
Default Settings
Display Contrast | 3 |
Time/Date | 12 a.m. 1/01 |
Local Area Code | – – – |
Message Length | 2 minutes |
Rings to Answer | 4 |
Security Code | 123 |
Dialing | Tone |
Regional Area Codes | – – – |
10