ge.com

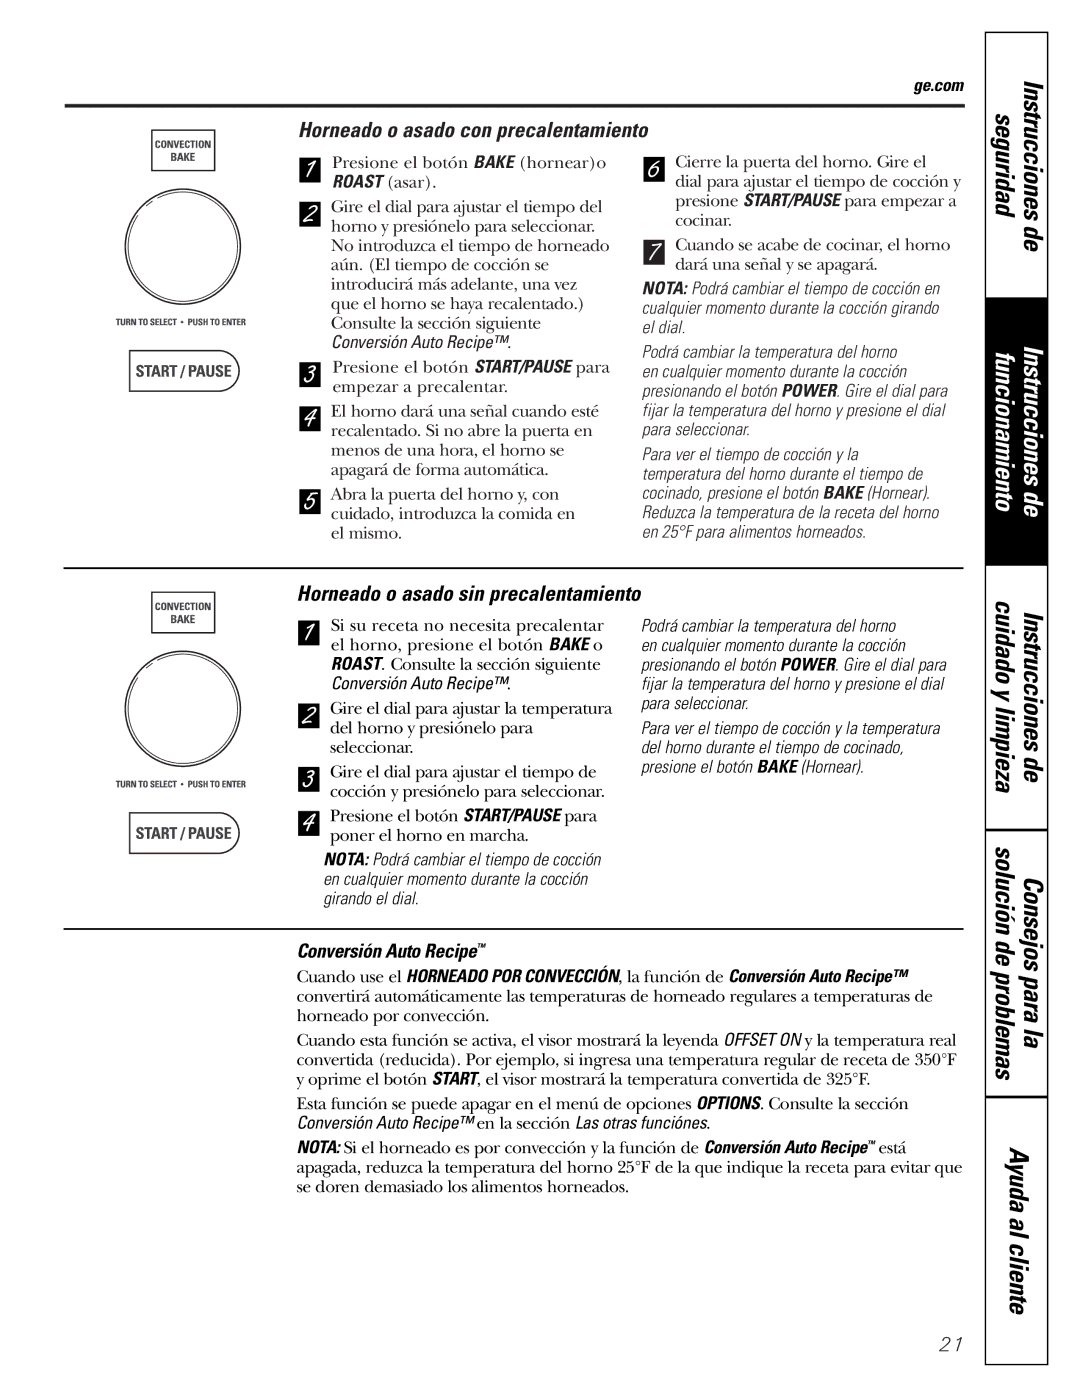
Horneado o asado con precalentamiento

Instrucciones

1

Presione el botón BAKE (hornear)o

ROAST (asar).

2

Gire el dial para ajustar el tiempo del

horno y presiónelo para seleccionar.


No introduzca el tiempo de horneado


aún. (El tiempo de cocción se


introducirá más adelante, una vez


que el horno se haya recalentado.)


Consulte la sección siguiente

3

Conversión Auto Recipe™.

Presione el botón START/PAUSE para

empezar a precalentar.

4

El horno dará una señal cuando esté

recalentado. Si no abre la puerta en


menos de una hora, el horno se

5

apagará de forma automática.

Abra la puerta del horno y, con

cuidado, introduzca la comida en

el mismo.


Cierre la puerta del horno. Gire el

6

dial para ajustar el tiempo de cocción y


presione START/PAUSE para empezar a


cocinar.


Cuando se acabe de cocinar, el horno

7

dará una señal y se apagará.


NOTA: Podrá cambiar el tiempo de cocción en cualquier momento durante la cocción girando el dial.

Podrá cambiar la temperatura del horno en cualquier momento durante la cocción presionando el botón POWER. Gire el dial para fijar la temperatura del horno y presione el dial para seleccionar.

Para ver el tiempo de cocción y la temperatura del horno durante el tiempo de cocinado, presione el botón BAKE (Hornear). Reduzca la temperatura de la receta del horno en 25°F para alimentos horneados.

seguridad

de


funcionamiento

Instrucciones de

Horneado o asado sin precalentamiento

1

Si su receta no necesita precalentar

el horno, presione el botón BAKE o


ROAST. Consulte la sección siguiente

2

Conversión Auto Recipe™.

Gire el dial para ajustar la temperatura

del horno y presiónelo para

3

seleccionar.

Gire el dial para ajustar el tiempo de

cocción y presiónelo para seleccionar.

4

Presione el botón START/PAUSE para

poner el horno en marcha.

NOTA: Podrá cambiar el tiempo de cocción en cualquier momento durante la cocción girando el dial.

Podrá cambiar la temperatura del horno en cualquier momento durante la cocción presionando el botón POWER. Gire el dial para fijar la temperatura del horno y presione el dial para seleccionar.

Para ver el tiempo de cocción y la temperatura del horno durante el tiempo de cocinado, presione el botón BAKE (Hornear).

Conversión Auto Recipe

Cuando use el HORNEADO POR CONVECCIÓN, la función de Conversión Auto Recipe™ convertirá automáticamente las temperaturas de horneado regulares a temperaturas de horneado por convección.

Cuando esta función se activa, el visor mostrará la leyenda OFFSET ON y la temperatura real convertida (reducida). Por ejemplo, si ingresa una temperatura regular de receta de 350°F y oprime el botón START, el visor mostrará la temperatura convertida de 325°F.

Esta función se puede apagar en el menú de opciones OPTIONS. Consulte la sección Conversión Auto Recipe™ en la sección Las otras funciónes.

NOTA: Si el horneado es por convección y la función de Conversión Auto Recipeestá apagada, reduzca la temperatura del horno 25°F de la que indique la receta para evitar que se doren demasiado los alimentos horneados.

21


cuidado y limpieza

Instrucciones de


solución de

Consejos

problemas

para la


Ayuda al cliente


Page 57
Image 57
GE JVM1790 owner manual Horneado o asado con precalentamiento, Conversión Auto Recipe

JVM1790 specifications

The GE JVM1790 is a versatile over-the-range microwave designed to enhance any kitchen with its stylish look and array of features, making it a popular choice among homeowners. This model combines functionality with an efficient space-saving design, ideal for those looking to maximize kitchen space without sacrificing performance.

One of the standout features of the JVM1790 is its 1.7 cubic feet capacity, which provides ample room for larger dishes and multiple cooking needs. The microwave is equipped with 950 watts of cooking power, ensuring food is prepared quickly and evenly. This microwave also features a range of power levels, allowing users to select the ideal power intensity for various cooking tasks.

The JVM1790 is designed with convenience in mind. It includes a convenient turntable that helps to circulate heat evenly, ensuring thorough cooking. The microwave also offers a variety of pre-programmed cooking options, which simplify the cooking process. Users can easily prepare popcorn, defrost meat, or heat up leftover meals with just the push of a button.

In terms of technologies, the GE JVM1790 employs Sensor Cooking controls, which automatically adjust cooking times and power levels for various food types. This feature takes the guesswork out of microwave cooking, helping to achieve optimal results with minimal effort. Moreover, the model includes venting options with two-speed exhaust fans that efficiently eliminate smoke, steam, and odors from the kitchen.

Aesthetically, the JVM1790 is available in several finishes, including stainless steel, which complements modern kitchen designs. The sleek design features a hidden vent and a bright, easy-to-read display, ensuring that it not only performs well, but also adds a touch of elegance to your kitchen.

The JVM1790 also prioritizes user safety with its child lock feature, preventing accidental operation by little hands. Additionally, the built-in lighting illuminates the cooktop below, enhancing visibility during cooking or meal prep.

Overall, the GE JVM1790 offers a blend of reliable performance, modern technology, and practical design. Its combination of power, convenience features, and stylish aesthetics makes it an excellent addition to any kitchen, meeting the diverse needs of busy families and home cooks alike.