4 Getting Started
4.1 Switching On for the First Time
•For best reception fully extend the antenna on the
•Connect the power adapter provided to the
•Power your radio by the switch on the right hand side of the radio
•Press the STANDBY button to turn the device on.
•The
•The
•If required, reposition the antenna in order to achieve the best reception quality.
•The optimum reception on any DAB product is normally achieved if the product is positioned as close as possible to a window.
NB It is advisable to perform a ‘full scan’ to benefit from all the DAB channels available in your area (see Full Scan below)
4.2 Auto Scan / Full Scan
Your
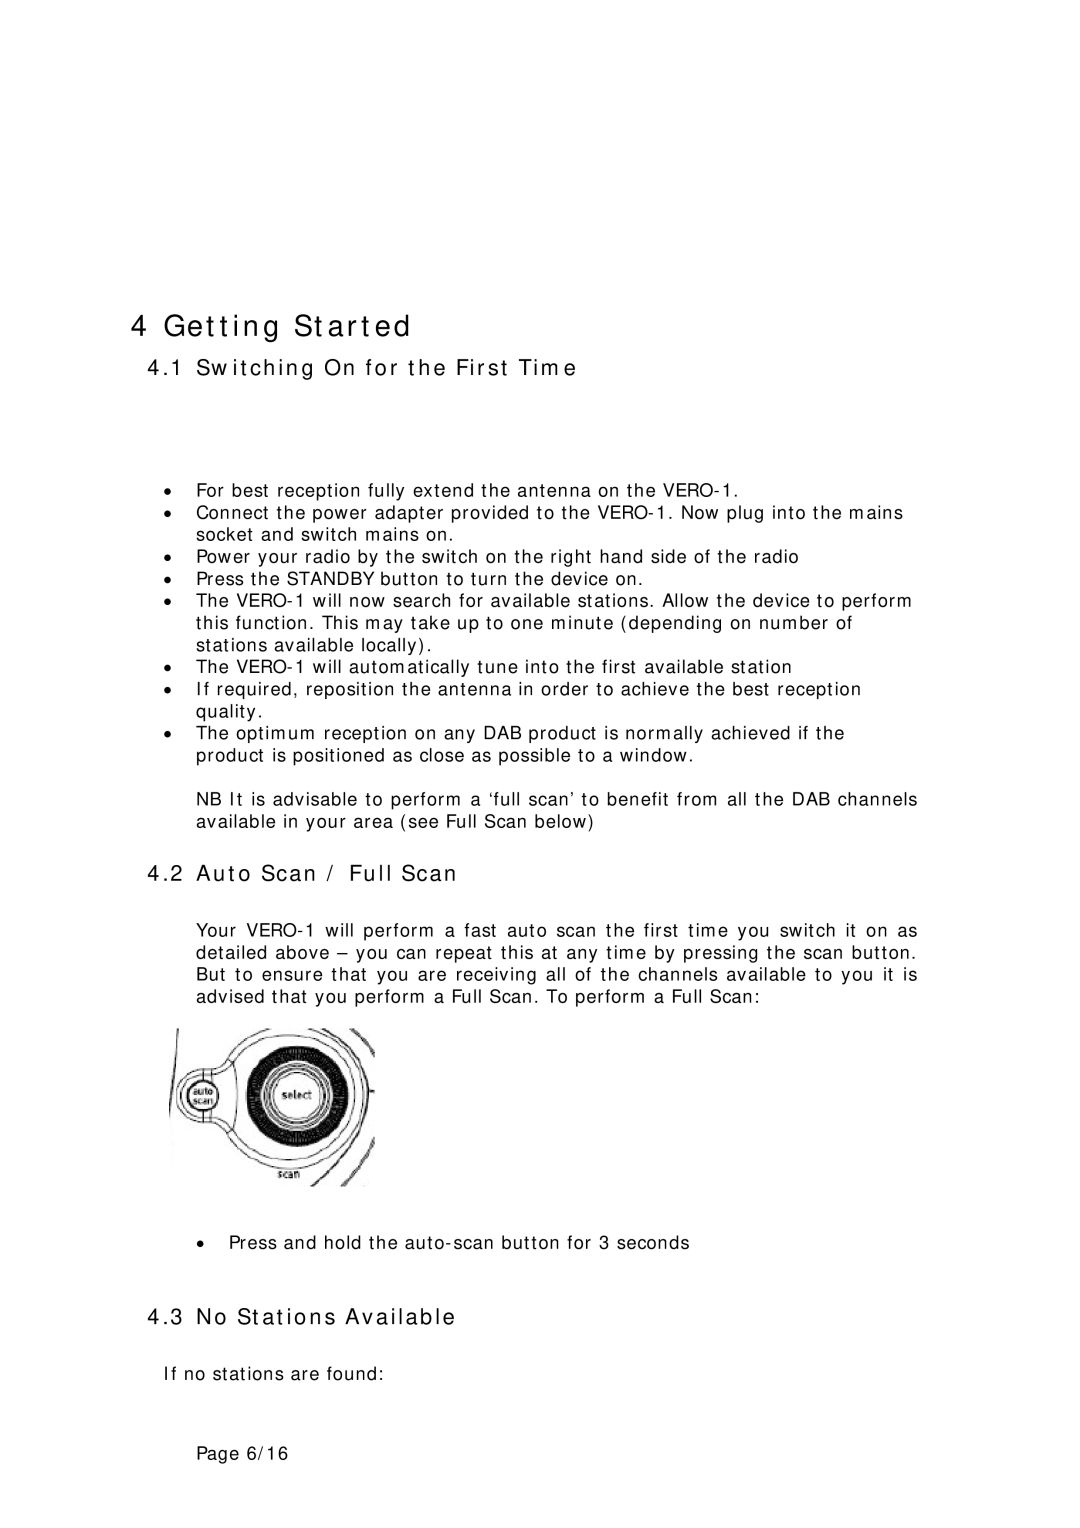
• Press and hold the
4.3No Stations Available
If no stations are found:
Page 6/16