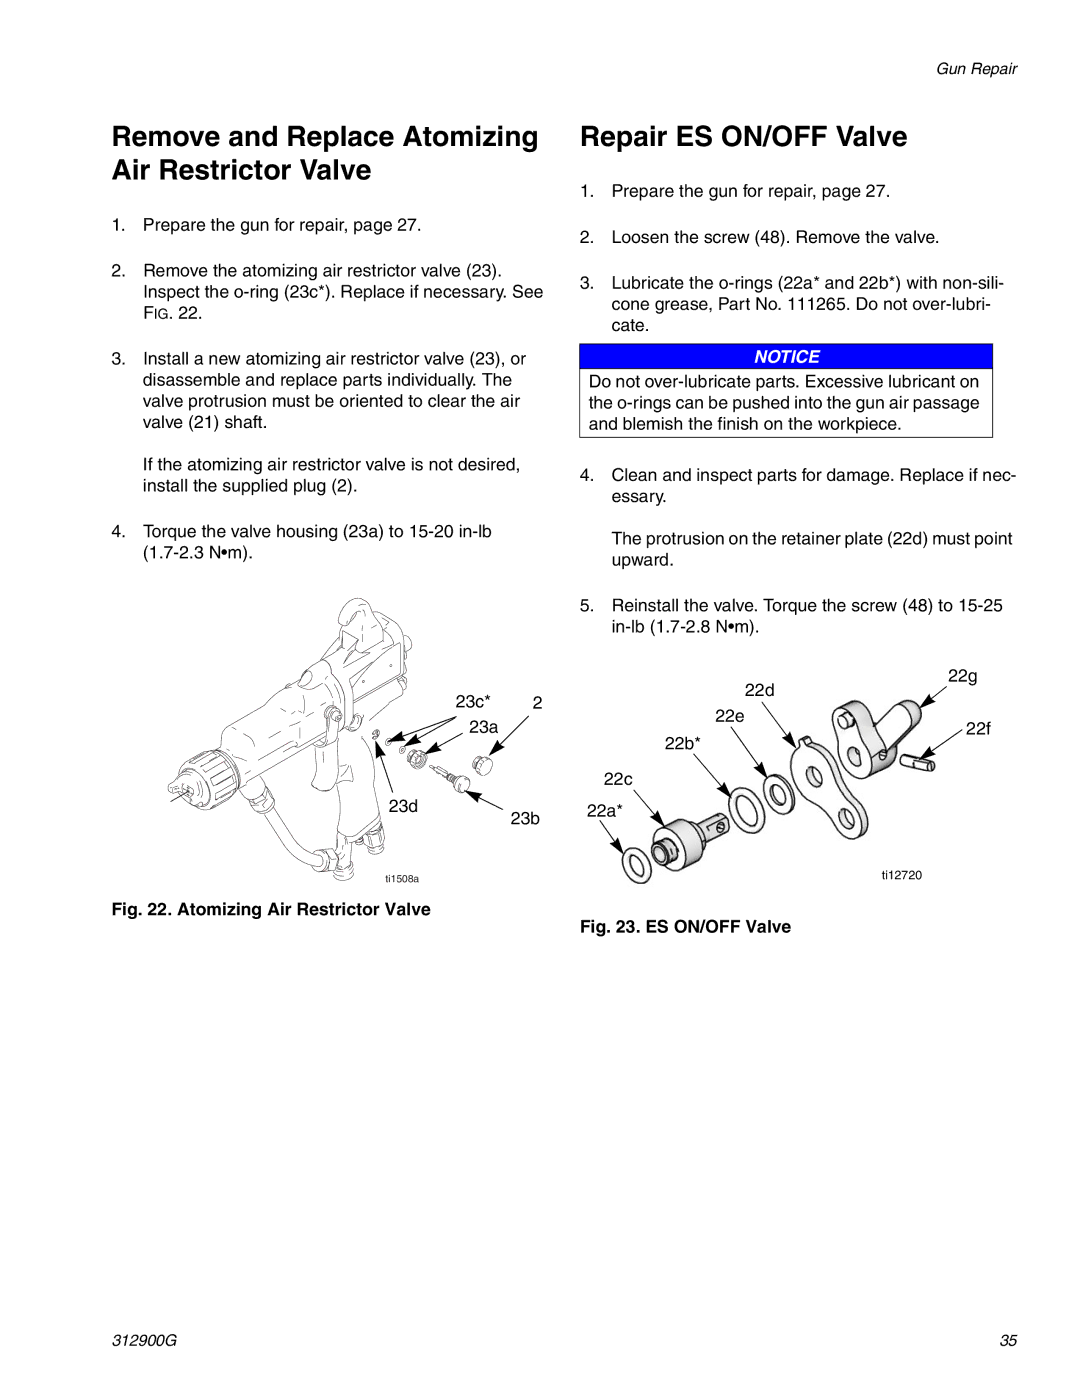
Remove and Replace Atomizing Air Restrictor Valve
1.Prepare the gun for repair, page 27.
2.Remove the atomizing air restrictor valve (23). Inspect the
3.Install a new atomizing air restrictor valve (23), or disassemble and replace parts individually. The valve protrusion must be oriented to clear the air valve (21) shaft.
If the atomizing air restrictor valve is not desired, install the supplied plug (2).
4.Torque the valve housing (23a) to
23c* 2
23a![]()
23d
23b
ti1508a
Fig. 22. Atomizing Air Restrictor Valve
Gun Repair
Repair ES ON/OFF Valve
1.Prepare the gun for repair, page 27.
2.Loosen the screw (48). Remove the valve.
3.Lubricate the
NOTICE
Do not
4.Clean and inspect parts for damage. Replace if nec- essary.
The protrusion on the retainer plate (22d) must point upward.
5.Reinstall the valve. Torque the screw (48) to
22g
22d
22e
22f
22b*
22c
22a*
ti12720
Fig. 23. ES ON/OFF Valve
312900G | 35 |