Troubleshooting
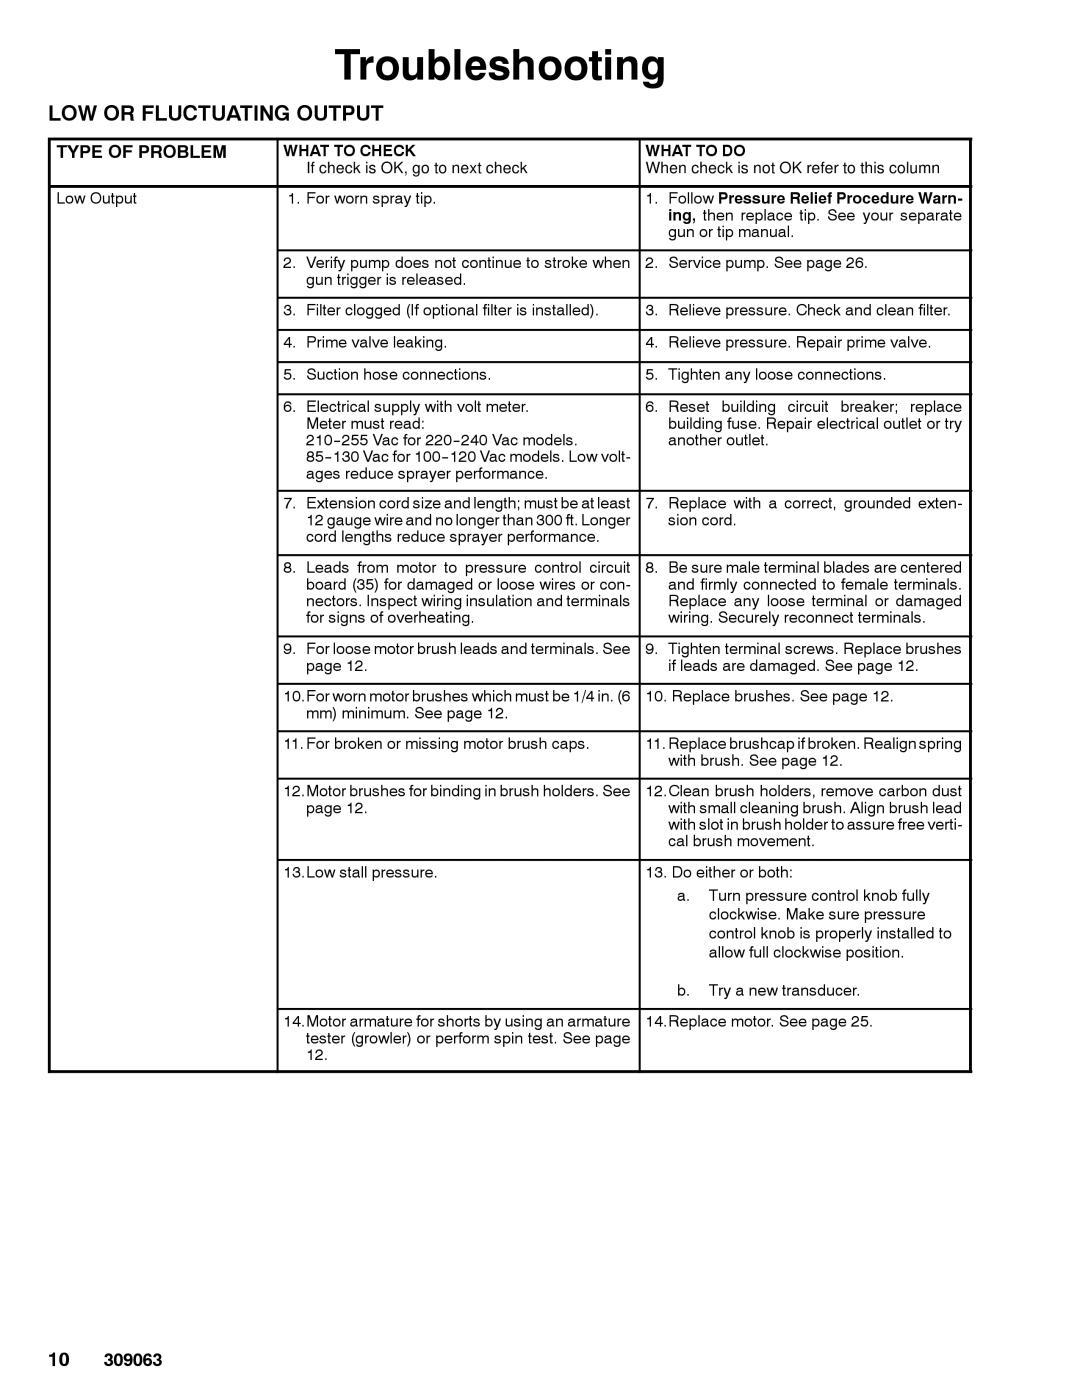
LOW OR FLUCTUATING OUTPUT
TYPE OF PROBLEM | WHAT TO CHECK | WHAT TO DO | ||
|
| If check is OK, go to next check | When check is not OK refer to this column | |
|
|
|
|
|
Low Output | 1. | For worn spray tip. | 1. | Follow Pressure Relief Procedure Warn- |
|
|
|
| ing, then replace tip. See your separate |
|
|
|
| gun or tip manual. |
|
|
|
|
|
| 2. | Verify pump does not continue to stroke when | 2. | Service pump. See page 26. |
|
| gun trigger is released. |
|
|
|
|
|
|
|
| 3. | Filter clogged (If optional filter is installed). | 3. | Relieve pressure. Check and clean filter. |
|
|
|
|
|
| 4. | Prime valve leaking. | 4. | Relieve pressure. Repair prime valve. |
|
|
|
|
|
| 5. | Suction hose connections. | 5. | Tighten any loose connections. |
|
|
|
|
|
| 6. | Electrical supply with volt meter. | 6. | Reset building circuit breaker; replace |
|
| Meter must read: |
| building fuse. Repair electrical outlet or try |
|
|
| another outlet. | |
|
|
|
| |
|
| ages reduce sprayer performance. |
|
|
|
|
|
|
|
| 7. | Extension cord size and length; must be at least | 7. | Replace with a correct, grounded exten- |
|
| 12 gauge wire and no longer than 300 ft. Longer |
| sion cord. |
|
| cord lengths reduce sprayer performance. |
|
|
|
|
|
|
|
| 8. | Leads from motor to pressure control circuit | 8. | Be sure male terminal blades are centered |
|
| board (35) for damaged or loose wires or con- |
| and firmly connected to female terminals. |
|
| nectors. Inspect wiring insulation and terminals |
| Replace any loose terminal or damaged |
|
| for signs of overheating. |
| wiring. Securely reconnect terminals. |
|
|
|
|
|
| 9. | For loose motor brush leads and terminals. See | 9. | Tighten terminal screws. Replace brushes |
|
| page 12. |
| if leads are damaged. See page 12. |
|
|
| ||
| 10.For worn motor brushes which must be 1/4 in. (6 | 10. Replace brushes. See page 12. | ||
|
| mm) minimum. See page 12. |
|
|
|
|
| ||
| 11. For broken or missing motor brush caps. | 11. Replace brushcap if broken. Realign spring | ||
|
|
|
| with brush. See page 12. |
|
|
| ||
| 12.Motor brushes for binding in brush holders. See | 12.Clean brush holders, remove carbon dust | ||
|
| page 12. |
| with small cleaning brush. Align brush lead |
|
|
|
| with slot in brush holder to assure free verti- |
|
|
|
| cal brush movement. |
|
|
| ||
| 13.Low stall pressure. | 13. Do either or both: | ||
|
|
|
| a. Turn pressure control knob fully |
|
|
|
| clockwise. Make sure pressure |
|
|
|
| control knob is properly installed to |
|
|
|
| allow full clockwise position. |
|
|
|
| b. Try a new transducer. |
|
|
| ||
| 14.Motor armature for shorts by using an armature | 14.Replace motor. See page 25. | ||
|
| tester (growler) or perform spin test. See page |
|
|
|
| 12. |
|
|
|
|
|
|
|
10309063
