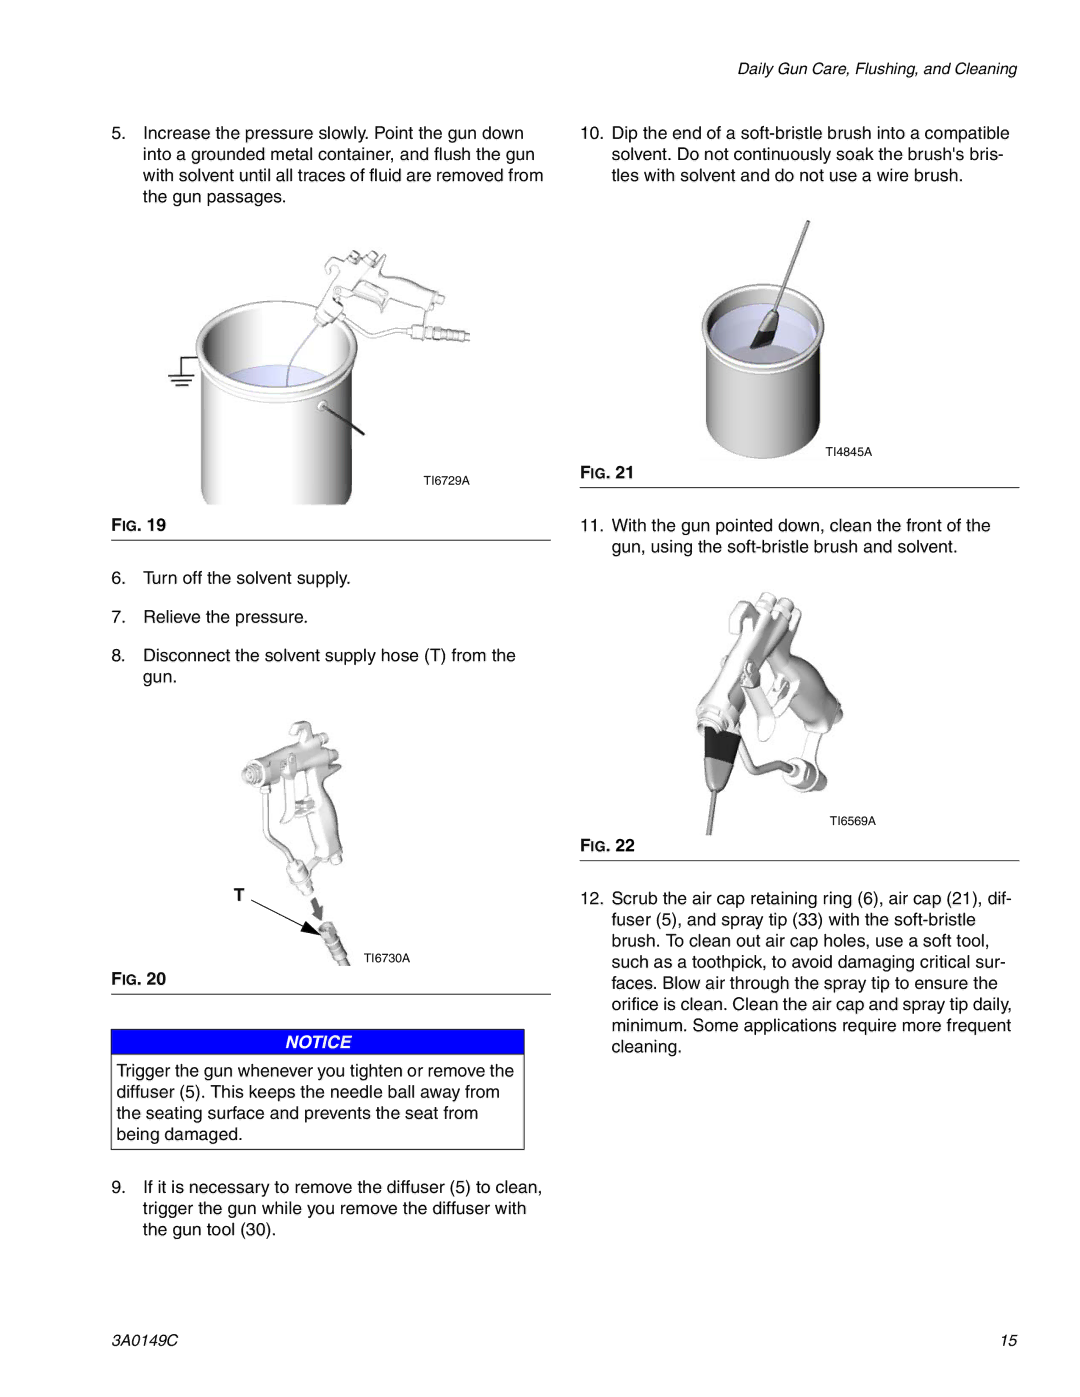
5.Increase the pressure slowly. Point the gun down into a grounded metal container, and flush the gun with solvent until all traces of fluid are removed from the gun passages.
Daily Gun Care, Flushing, and Cleaning
10.Dip the end of a
TI6729A
FIG. 19
6.Turn off the solvent supply.
7.Relieve the pressure.
8.Disconnect the solvent supply hose (T) from the gun.
TI4845A
FIG. 21
11.With the gun pointed down, clean the front of the gun, using the
T
TI6730A
FIG. 20
NOTICE
Trigger the gun whenever you tighten or remove the diffuser (5). This keeps the needle ball away from the seating surface and prevents the seat from being damaged.
9.If it is necessary to remove the diffuser (5) to clean, trigger the gun while you remove the diffuser with the gun tool (30).
TI6569A
FIG. 22
12.Scrub the air cap retaining ring (6), air cap (21), dif- fuser (5), and spray tip (33) with the
3A0149C | 15 |
