START UP CHECKS
**WARNING**
DO NOT OPERATE ENERGY RECOVERY VENTILATOR WITHOUT THE FILTERS AND BIRDSCREENS INSTALLED.
THEY PREVENT THE ENTRY OF FOREIGN OBJECTS SUCH AS LEAVES, BIRDS, ETC.
DO NOT REMOVE ACCESS PANELS OR OTHER UNIT COMPONENTS WHILE STANDING ON A LADDER OR OTHER UNSTEADY BASE. ACCESS PANELS AND UNIT COMPONENTS ARE HEAVY AND SERIOUS INJURY MAY OCCUR.
CAUTION: See **WARNING** on page 1 and above
For proper unit function and safety, follow everything in this
Pre-Start Check List
1.Disconnect and
2.Check all fasteners, set screws and locking collars on the fan, bearings, drive, motor base and accessories for tightness.
3.Rotate the fan wheel by hand and assure no parts are rubbing.
4.Check the
Special Tools Required | • Voltage meter |
| • Incline manometer or equivalent |
| • Tachometer |
| • Thermometer |
| • Amperage meter |
GENERAL
Check all fasteners and set screws for tightness. This is especially important for bearings and fan wheels. Also, if dampers are not motorized, check that they open and close without binding.
FAN WHEEL ROTATION
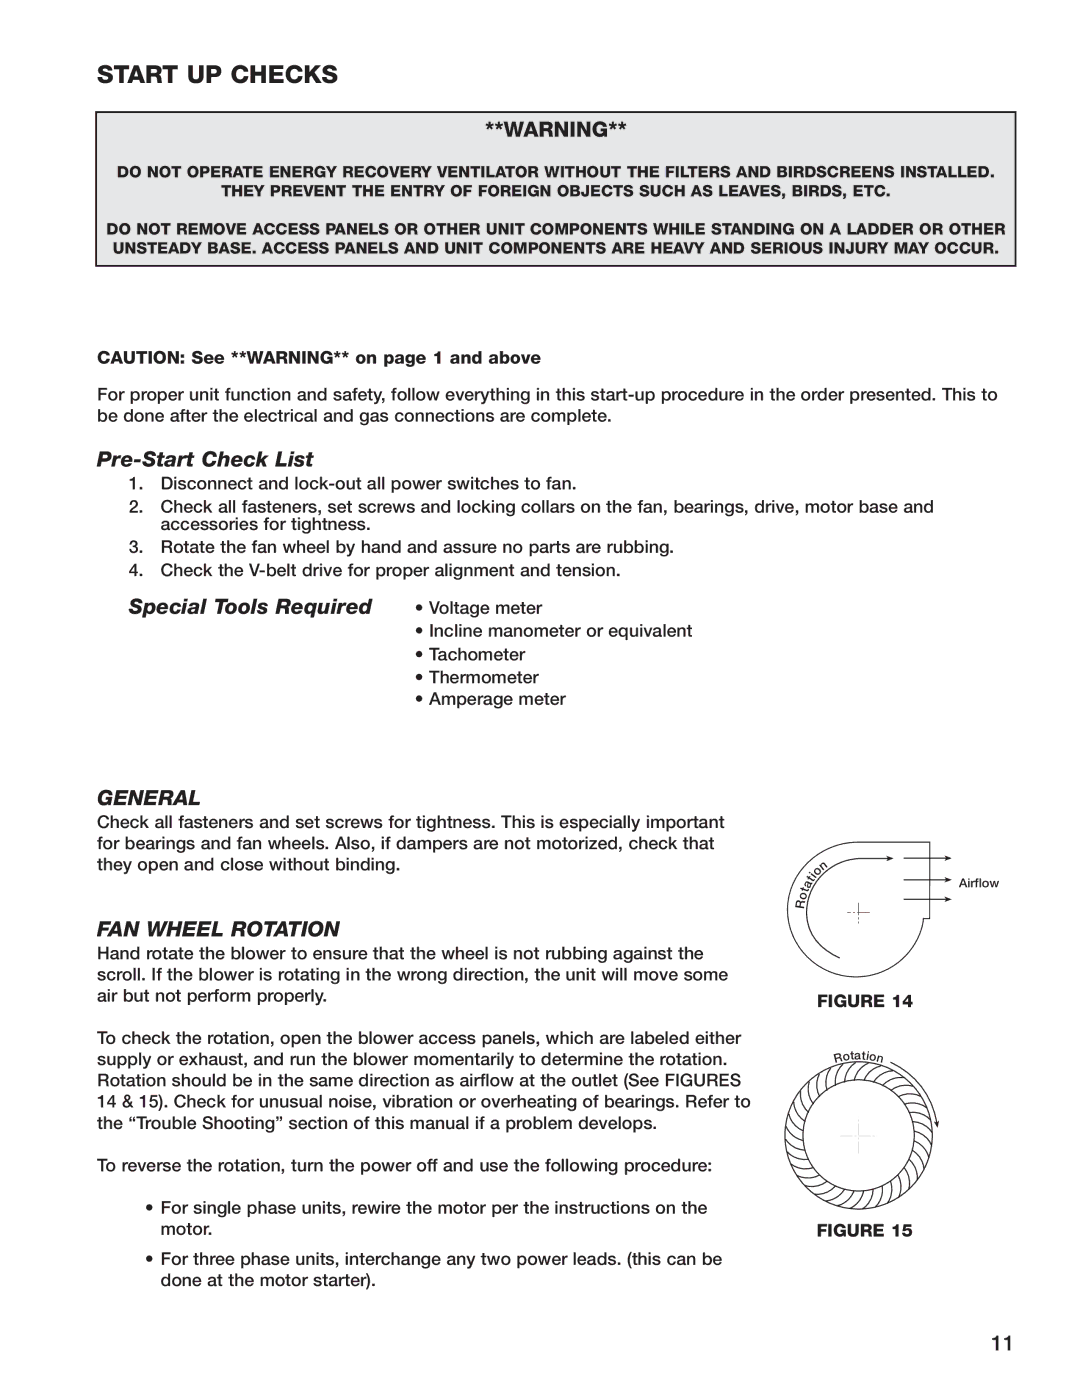
Hand rotate the blower to ensure that the wheel is not rubbing against the scroll. If the blower is rotating in the wrong direction, the unit will move some air but not perform properly.
| n |
| io |
a | t |
t |
|
o |
|
R |
|
FIGURE 14
Airflow
To check the rotation, open the blower access panels, which are labeled either supply or exhaust, and run the blower momentarily to determine the rotation. Rotation should be in the same direction as airflow at the outlet (See FIGURES 14 & 15). Check for unusual noise, vibration or overheating of bearings. Refer to the “Trouble Shooting” section of this manual if a problem develops.
To reverse the rotation, turn the power off and use the following procedure:
•For single phase units, rewire the motor per the instructions on the motor.
•For three phase units, interchange any two power leads. (this can be done at the motor starter).
otatio | n |
R |
FIGURE 15
11
