Belt Adjustment
! CAUTION: UNPLUG THE MACHINE BEFORE PERFORMING ANY ADJUSTMENTS. THIS PROCEDURE MUST BE DONE BY A QUALIFIED TECHNICIAN.
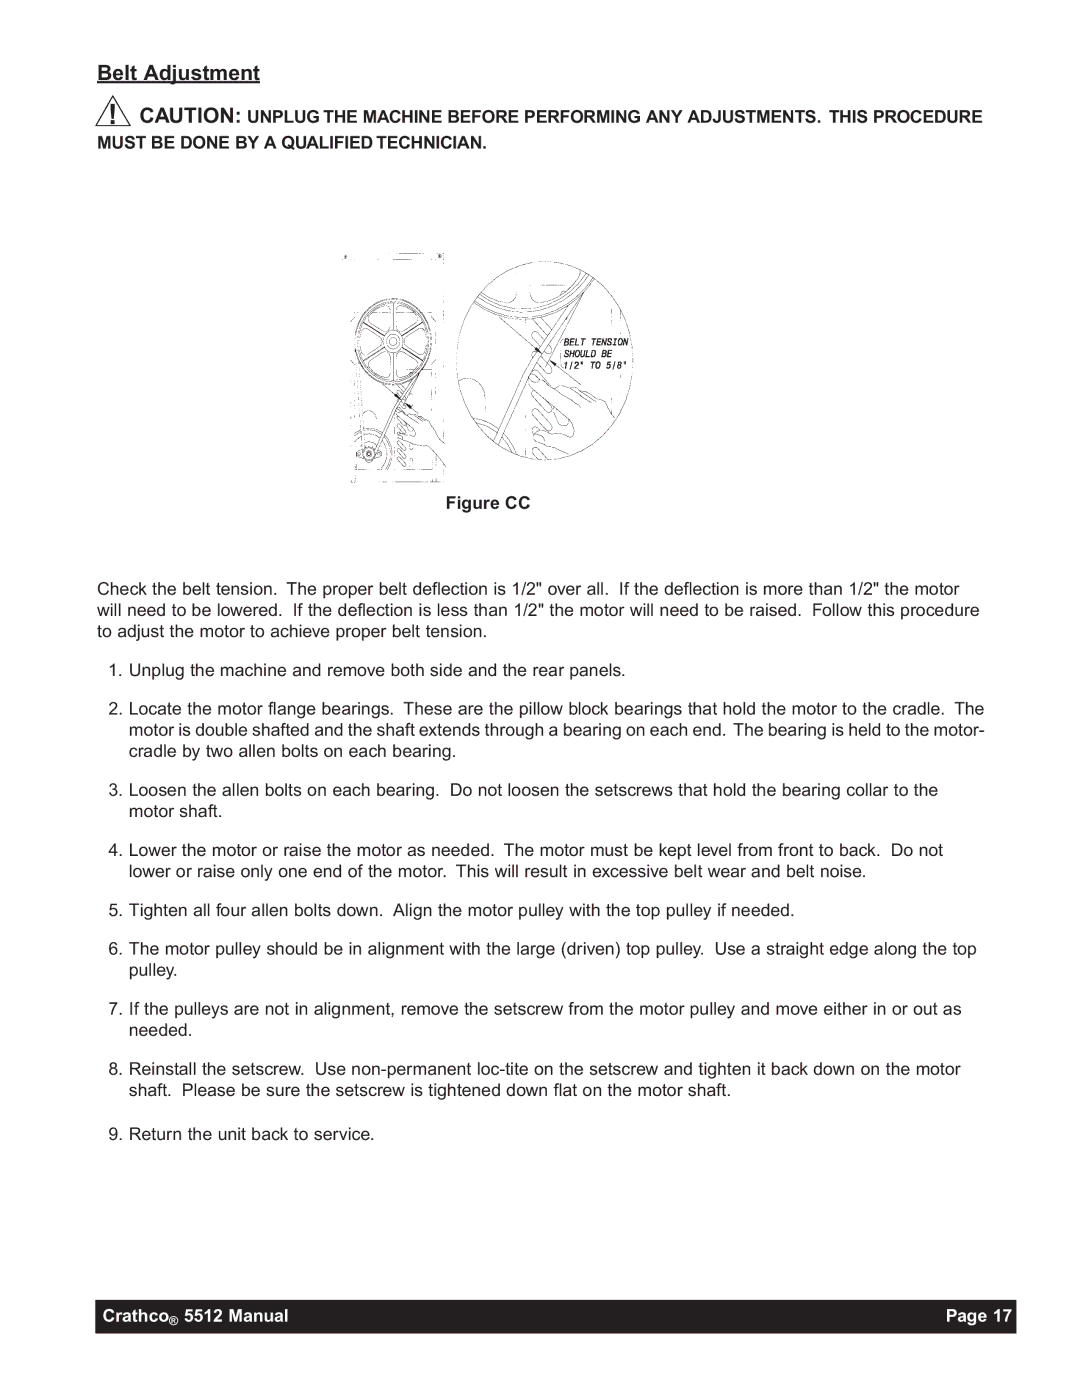
Figure CC
Check the belt tension. The proper belt deflection is 1/2" over all. If the deflection is more than 1/2" the motor will need to be lowered. If the deflection is less than 1/2" the motor will need to be raised. Follow this procedure to adjust the motor to achieve proper belt tension.
1.Unplug the machine and remove both side and the rear panels.
2.Locate the motor flange bearings. These are the pillow block bearings that hold the motor to the cradle. The motor is double shafted and the shaft extends through a bearing on each end. The bearing is held to the motor- cradle by two allen bolts on each bearing.
3.Loosen the allen bolts on each bearing. Do not loosen the setscrews that hold the bearing collar to the motor shaft.
4.Lower the motor or raise the motor as needed. The motor must be kept level from front to back. Do not lower or raise only one end of the motor. This will result in excessive belt wear and belt noise.
5.Tighten all four allen bolts down. Align the motor pulley with the top pulley if needed.
6.The motor pulley should be in alignment with the large (driven) top pulley. Use a straight edge along the top pulley.
7.If the pulleys are not in alignment, remove the setscrew from the motor pulley and move either in or out as needed.
8.Reinstall the setscrew. Use
9.Return the unit back to service.
Crathco® 5512 Manual | Page 17 |
|
|