Installing Your Unit
!![]() CAUTION: Do not alter or deform the plug in any way. Altering or deforming plug may damage unit and will void warranty! Receptacle NEMA
CAUTION: Do not alter or deform the plug in any way. Altering or deforming plug may damage unit and will void warranty! Receptacle NEMA
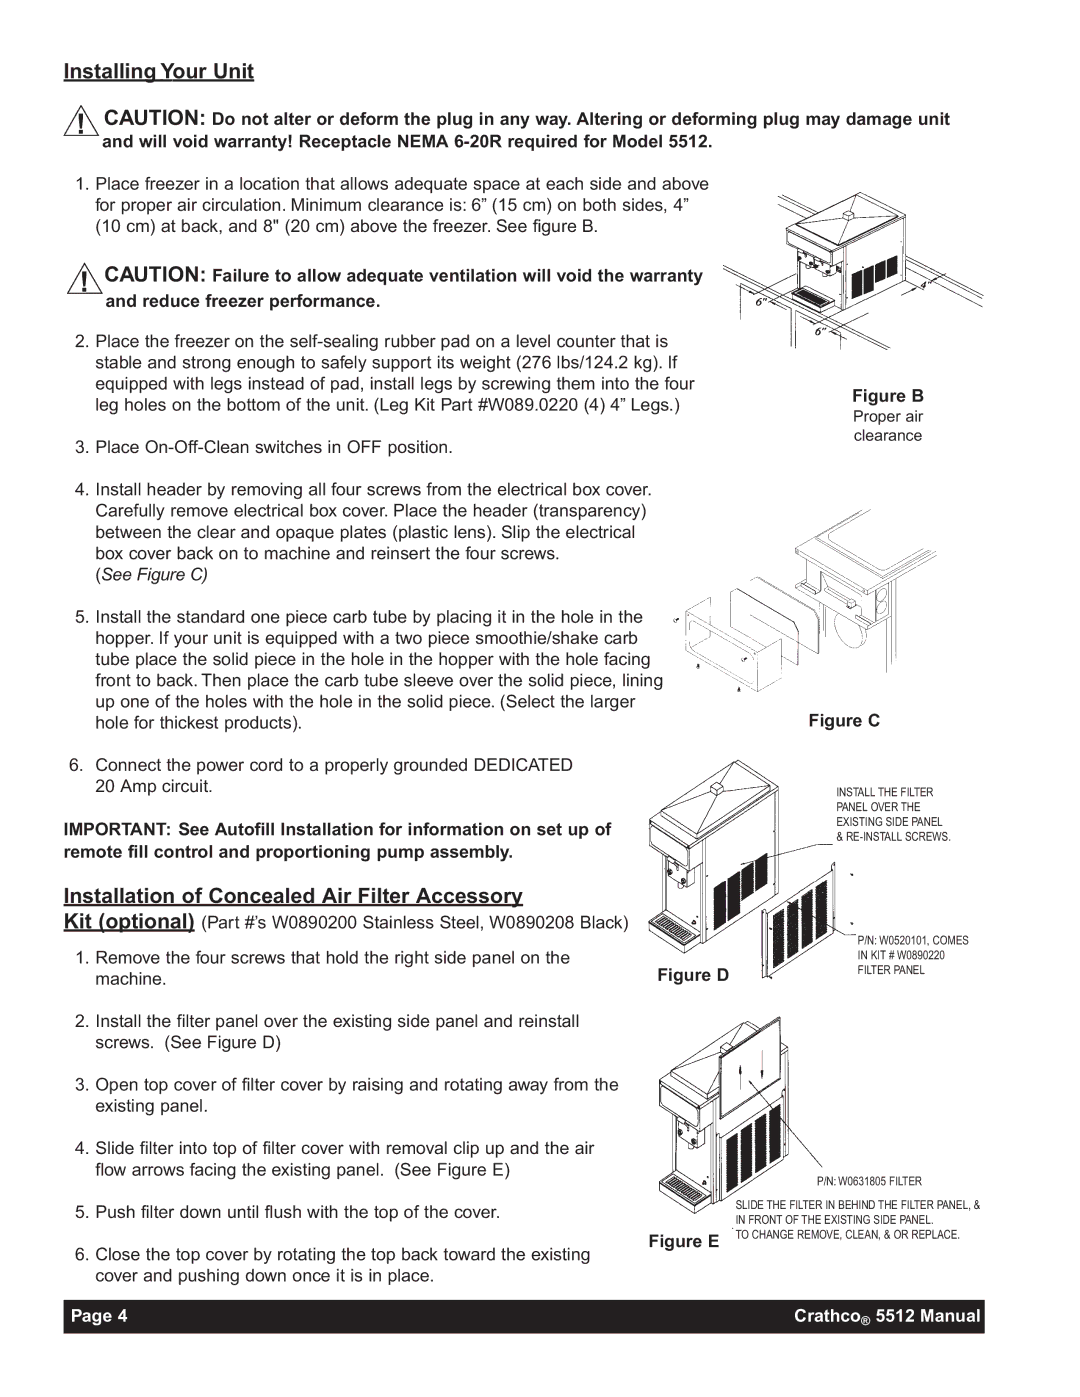
1.Place freezer in a location that allows adequate space at each side and above for proper air circulation. Minimum clearance is: 6” (15 cm) on both sides, 4” (10 cm) at back, and 8" (20 cm) above the freezer. See figure B.
!![]() CAUTION: Failure to allow adequate ventilation will void the warranty
CAUTION: Failure to allow adequate ventilation will void the warranty
and reduce freezer performance.
2.Place the freezer on the
3.Place
4.Install header by removing all four screws from the electrical box cover. Carefully remove electrical box cover. Place the header (transparency) between the clear and opaque plates (plastic lens). Slip the electrical box cover back on to machine and reinsert the four screws.
(See Figure C)
5.Install the standard one piece carb tube by placing it in the hole in the hopper. If your unit is equipped with a two piece smoothie/shake carb tube place the solid piece in the hole in the hopper with the hole facing front to back. Then place the carb tube sleeve over the solid piece, lining up one of the holes with the hole in the solid piece. (Select the larger hole for thickest products).
6.Connect the power cord to a properly grounded DEDICATED 20 Amp circuit.
IMPORTANT: See Autofill Installation for information on set up of
remote fill control and proportioning pump assembly.
Figure B
Proper air clearance
Figure C
INSTALL THE FILTER
PANEL OVER THE EXISTING SIDE PANEL &
Installation of Concealed Air Filter Accessory
Kit (optional) (Part #’s W0890200 Stainless Steel, W0890208 Black)
1.Remove the four screws that hold the right side panel on the machine.
2.Install the filter panel over the existing side panel and reinstall screws. (See Figure D)
3.Open top cover of filter cover by raising and rotating away from the existing panel.
4.Slide filter into top of filter cover with removal clip up and the air flow arrows facing the existing panel. (See Figure E)
5.Push filter down until flush with the top of the cover.
6.Close the top cover by rotating the top back toward the existing cover and pushing down once it is in place.
Figure D
Figure E
P/N: W0520101, COMES
IN KIT # W0890220
FILTER PANEL
P/N: W0631805 FILTER
SLIDE THE FILTER IN BEHIND THE FILTER PANEL, & IN FRONT OF THE EXISTING SIDE PANEL.
TO CHANGE REMOVE, CLEAN, & OR REPLACE.
Page 4 | Crathco® 5512 Manual |
|
|