3.Make sure the live center and the inside of the quill are free of debris and oil substances that could interfere with the proper mating of these parts.
4.Insert the tapered end of the live center into the quill with a quick, firm motion.
5.Make sure the center is secure by attempting to pull it out by
6.Rotate the quill handwheel to draw the quill back into the tailstock as far as possible with- out forcing the center to release.
Note: The more the quill is drawn back into the tailstock, the greater the workpiece sup- port.
7.Tighten the quill lock lever (see Figure 25 on the previous page) to hold the quill and center in place.
The tailstock quill lock lever MUST be tight and firmly secure the quill in place before beginning operation. Also, the quill should not protrude from the tailstock more than 2" or the quill will not adequately support the workpiece. Otherwise, the workpiece could come loose and fly at the operator or bystanders resulting in death or serious personal injury.
To remove the live center:
1.Loosen the quill lock lever.
2.Hold a clean rag under the center or wear a glove to catch the center when you remove it.
3.Rotate the quill handwheel counterclockwise to retract the quill back into the tailstock until the center is forced out.
Installing/Removing
Faceplate
The faceplate is used when you need to remove material from the face of the workpiece, such as during hollowing operations. The faceplate can be installed only if the spur center is removed from the spindle.
To install the faceplate:
1.DISCONNECT LATHE FROM POWER!
2.If the spur center is installed, remove it (refer to Page 21 for detailed instructions).
3.Make sure the internal threads of the face- plate and the threads of the spindle are free of any debris, then wipe the threads with a lightly oiled rag to aid in the installation and removal.
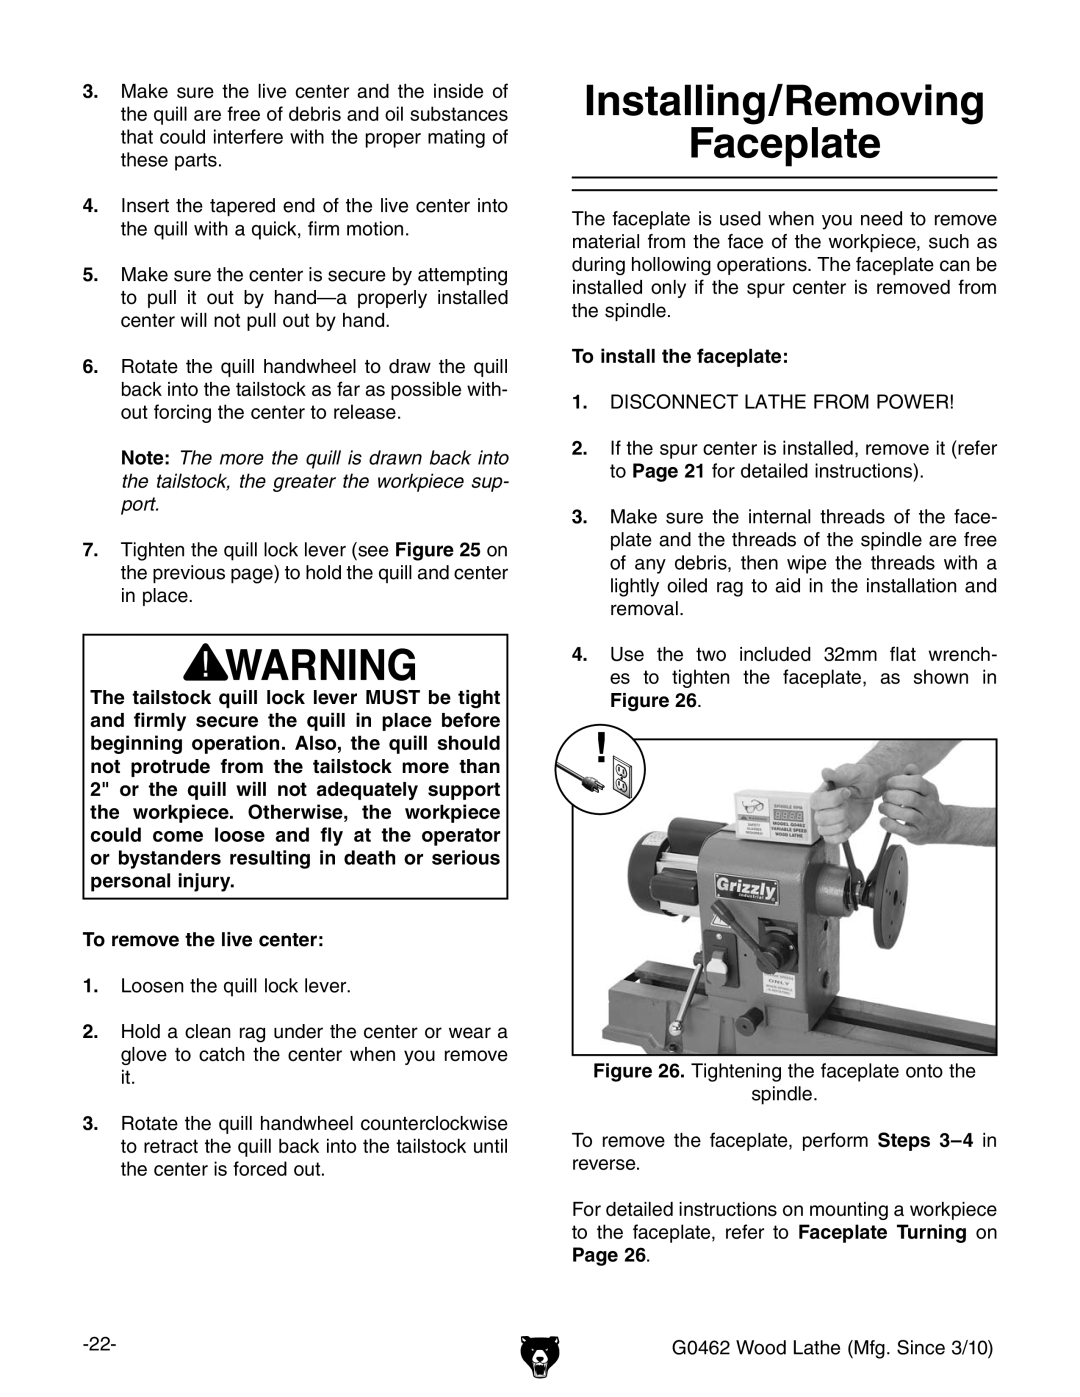
4.Use the two included 32mm flat wrench- es to tighten the faceplate, as shown in
Figure 26.
Figure 26. Tightening the faceplate onto the
spindle.
To remove the faceplate, perform Steps 3–4 in reverse.
For detailed instructions on mounting a workpiece to the faceplate, refer to Faceplate Turning on Page 26.
G0462 Wood Lathe (Mfg. Since 3/10) |