Faceplate Turning
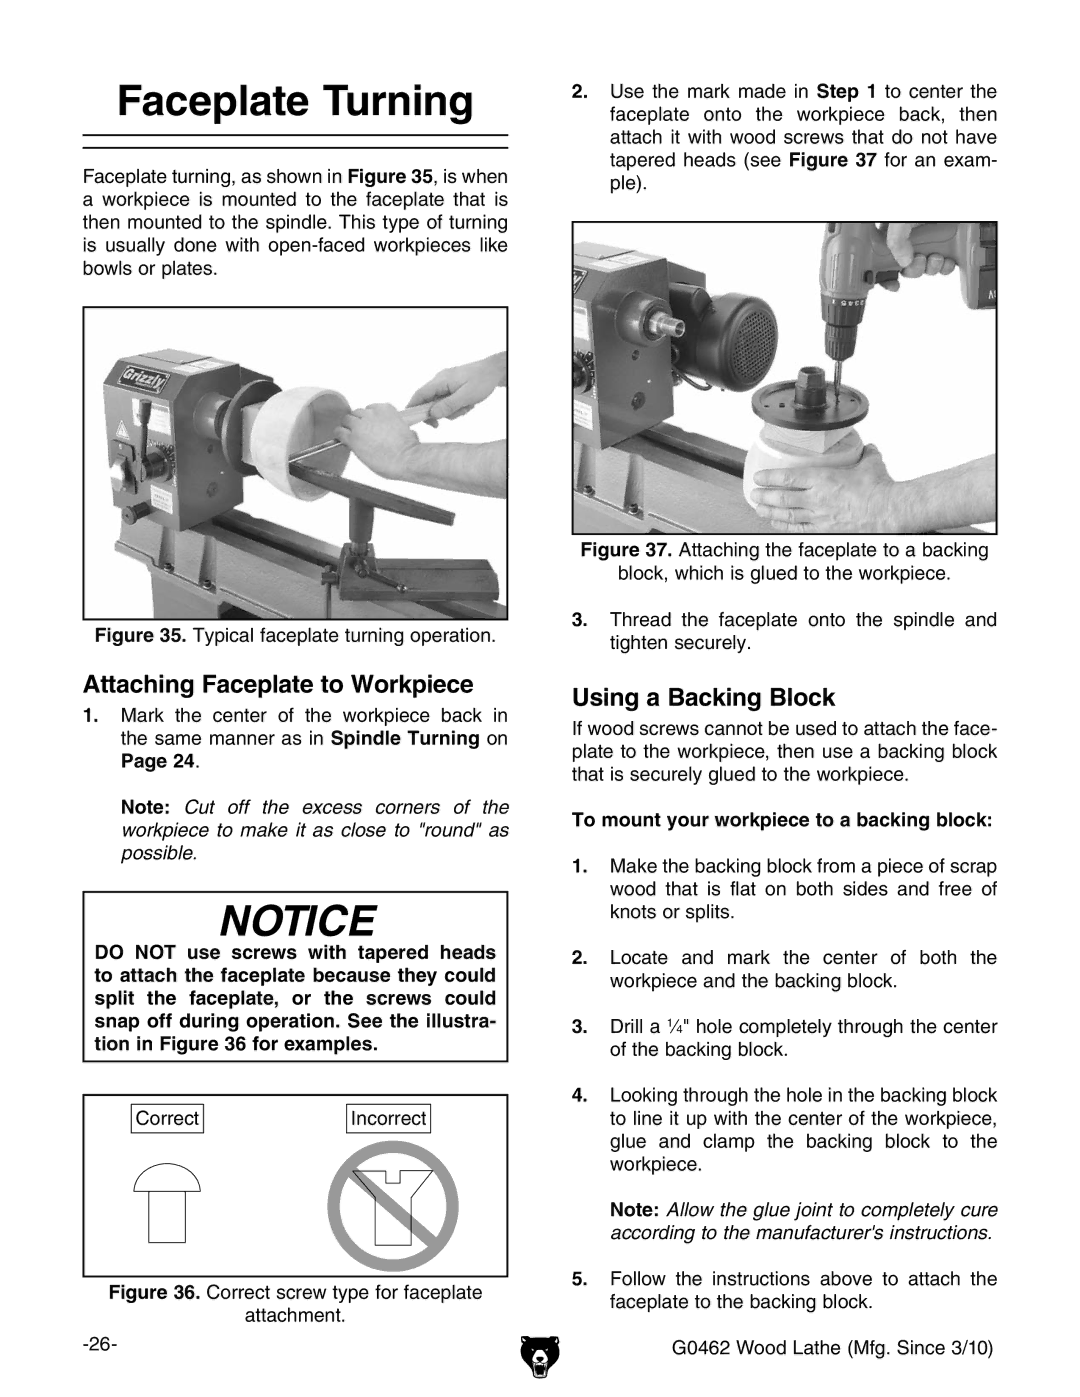
Faceplate turning, as shown in Figure 35, is when a workpiece is mounted to the faceplate that is then mounted to the spindle. This type of turning is usually done with
Figure 35. Typical faceplate turning operation.
Attaching Faceplate to Workpiece
1.Mark the center of the workpiece back in the same manner as in Spindle Turning on
Page 24.
Note: Cut off the excess corners of the workpiece to make it as close to "round" as possible.
NOTICE
DO NOT use screws with tapered heads to attach the faceplate because they could split the faceplate, or the screws could snap off during operation. See the illustra- tion in Figure 36 for examples.
|
|
|
|
|
|
|
| Correct |
| Incorrect |
| ||
|
|
|
|
|
|
|
|
|
|
|
|
|
|
|
|
|
|
|
|
|
|
|
|
|
|
|
|
Figure 36. Correct screw type for faceplate
attachment.
2.Use the mark made in Step 1 to center the faceplate onto the workpiece back, then attach it with wood screws that do not have tapered heads (see Figure 37 for an exam- ple).
Figure 37. Attaching the faceplate to a backing
block, which is glued to the workpiece.
3.Thread the faceplate onto the spindle and tighten securely.
Using a Backing Block
If wood screws cannot be used to attach the face- plate to the workpiece, then use a backing block that is securely glued to the workpiece.
To mount your workpiece to a backing block:
1.Make the backing block from a piece of scrap wood that is flat on both sides and free of knots or splits.
2.Locate and mark the center of both the workpiece and the backing block.
3.Drill a 1⁄4" hole completely through the center of the backing block.
4.Looking through the hole in the backing block to line it up with the center of the workpiece, glue and clamp the backing block to the workpiece.
Note: Allow the glue joint to completely cure according to the manufacturer's instructions.
5.Follow the instructions above to attach the faceplate to the backing block.
G0462 Wood Lathe (Mfg. Since 3/10)
