1st page of 5 page section
A. Stand
Note: All
TOOLS REQUIRED: Common hand tools are necessary to assemble this machine. You will need a set of open ended metric and stan- dard wrenches and a Phillips head screwdriv- er.
VII. Assembly
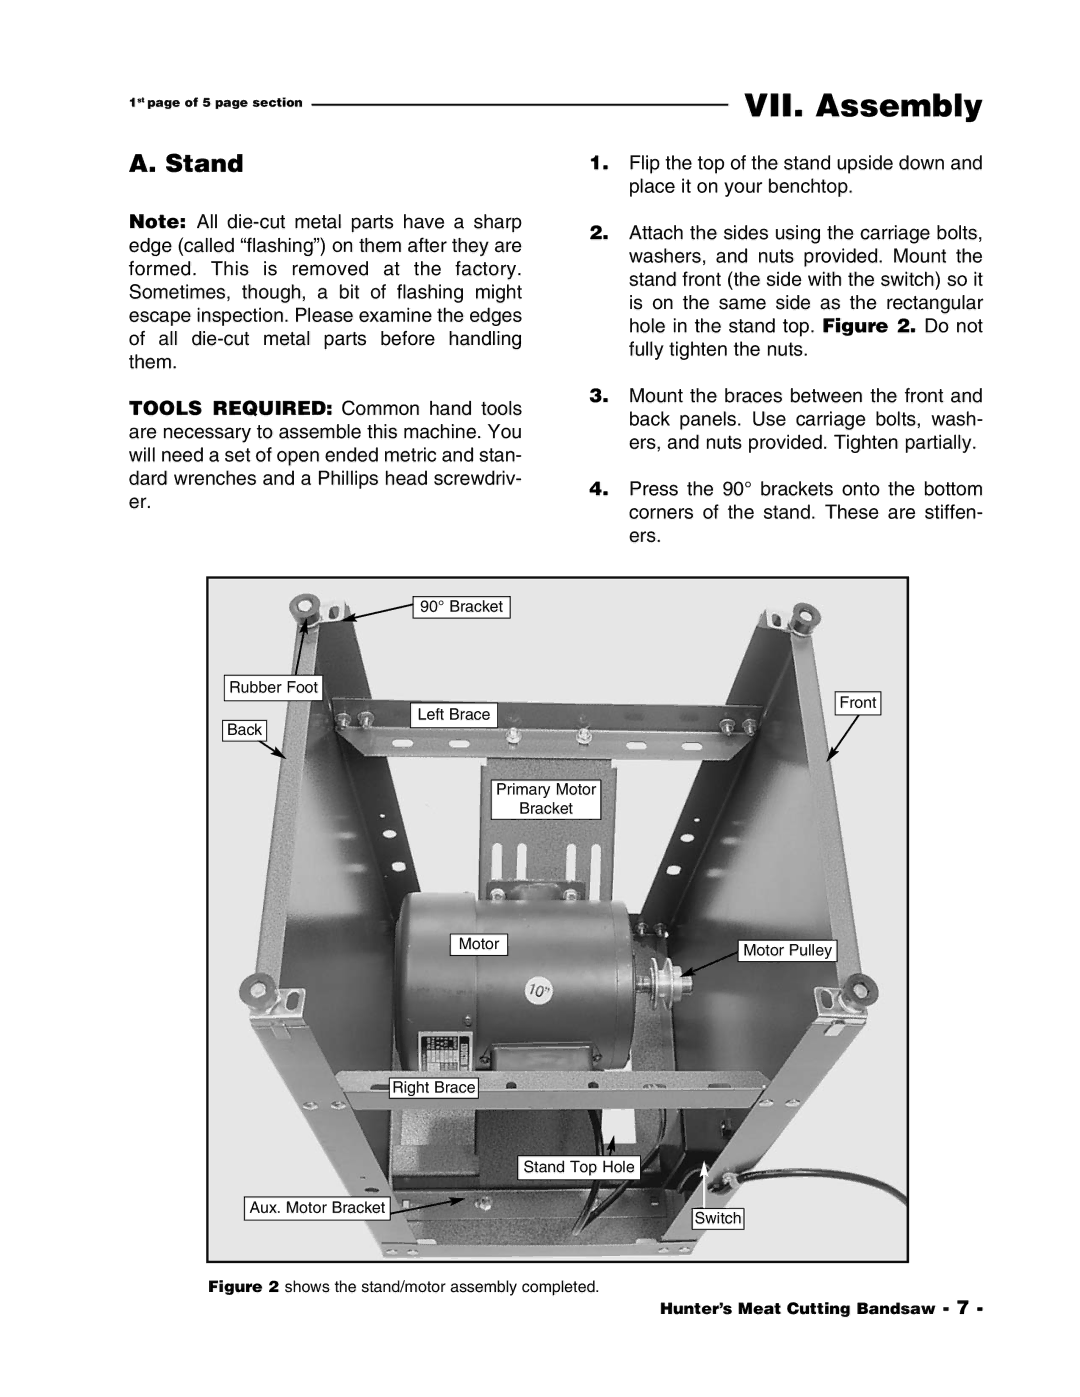
1.Flip the top of the stand upside down and place it on your benchtop.
2.Attach the sides using the carriage bolts, washers, and nuts provided. Mount the stand front (the side with the switch) so it is on the same side as the rectangular hole in the stand top. Figure 2. Do not fully tighten the nuts.
3.Mount the braces between the front and back panels. Use carriage bolts, wash- ers, and nuts provided. Tighten partially.
4.Press the 90° brackets onto the bottom corners of the stand. These are stiffen- ers.
90° Bracket |
| |
Rubber Foot | Front | |
Left Brace | ||
| ||
Back |
| |
Primary Motor |
| |
Bracket |
| |
Motor | Motor Pulley | |
| ||
Right Brace |
| |
Stand Top Hole |
| |
Aux. Motor Bracket | Switch | |
| ||
Figure 2 shows the stand/motor assembly completed. |
|
Hunter’s Meat Cutting Bandsaw - 7 -