Test Run |
| Drill Changes |
|
|
|
|
|
|
|
|
|
|
|
|
Once the assembly is complete and the adjust- ments are done to your satisfaction, you are ready to test the machine.
Turn on the power supply at the main panel. Press the START button. Make sure that your fin- ger is poised on the STOP button, just in case there’s a problem. The drill press should run smoothly, with little or no vibration or rubbing noises. Strange or unnatural noises should be investigated and corrected before operating the machine further.
WARNING: DO NOT attempt to investigate or adjust the machine while it is running. Wait until the machine is turned off, unplugged and all working parts have come to a rest before you do anything!
If noises occur that can not be found by visual inspection, feel free to contact our service department for help.
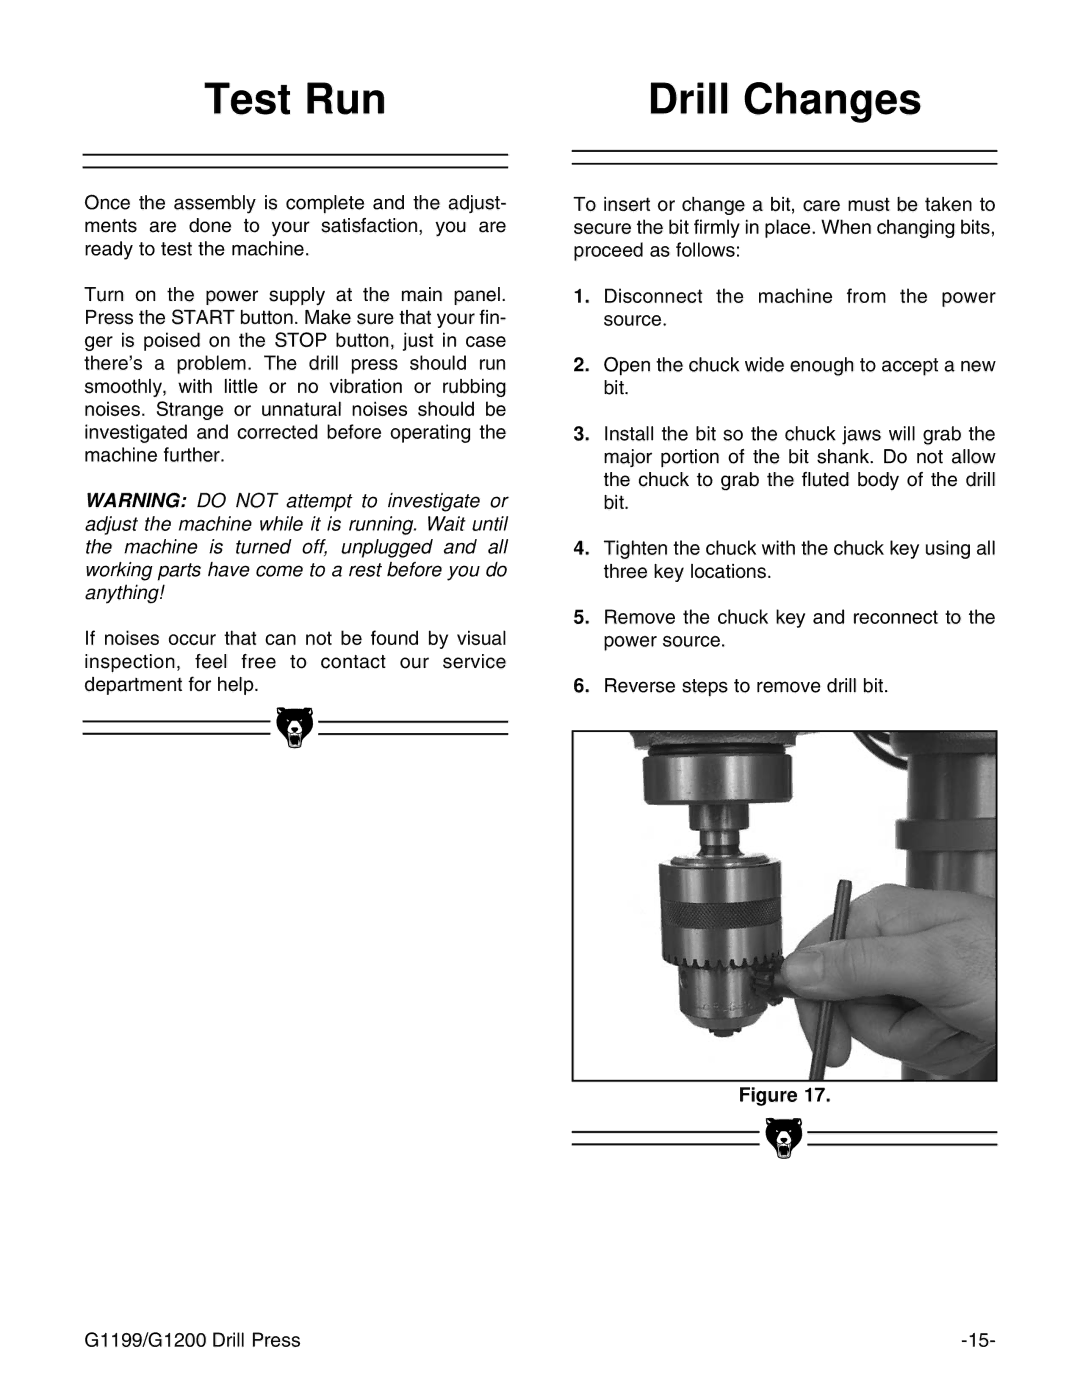
To insert or change a bit, care must be taken to secure the bit firmly in place. When changing bits, proceed as follows:
1.Disconnect the machine from the power source.
2.Open the chuck wide enough to accept a new bit.
3.Install the bit so the chuck jaws will grab the major portion of the bit shank. Do not allow the chuck to grab the fluted body of the drill bit.
4.Tighten the chuck with the chuck key using all three key locations.
5.Remove the chuck key and reconnect to the power source.
6.Reverse steps to remove drill bit.
Figure 17.
|
|
|
|
|
|
|
|
|
|
|
|
G1199/G1200 Drill Press | |||