Use the chuck removal bars supplied to remove the 3 or
Figure 3. Chuck removal bars in place.
To mount one of the standard chucks, line up the desired chuck (or face plate) with the threaded spindle. Thread the chuck in place. Take care to ensure that the threads on both the headstock and the chuck are clean and free of obstructions before mounting.
Never leave a chuck key or chuck removal bar in the chuck or spindle when they are not in use. If the machine is accidentally started with these in place, they can become projectiles and cause serious injury.
Live Center
The live center is used to support stock which is too long to be supported by the chuck alone. Stock protruding more than three times its diam- eter should be supported by the live center.
The tailstock barrel and live center have a Morse taper #2. Before assembling these, insure that the mating surfaces are “white glove” clean. These parts will last longer and remain accurate when properly maintained. Insert the end of the live center into the tailstock bore until it seats. The force of a mounted workpiece will fully seat the taper.
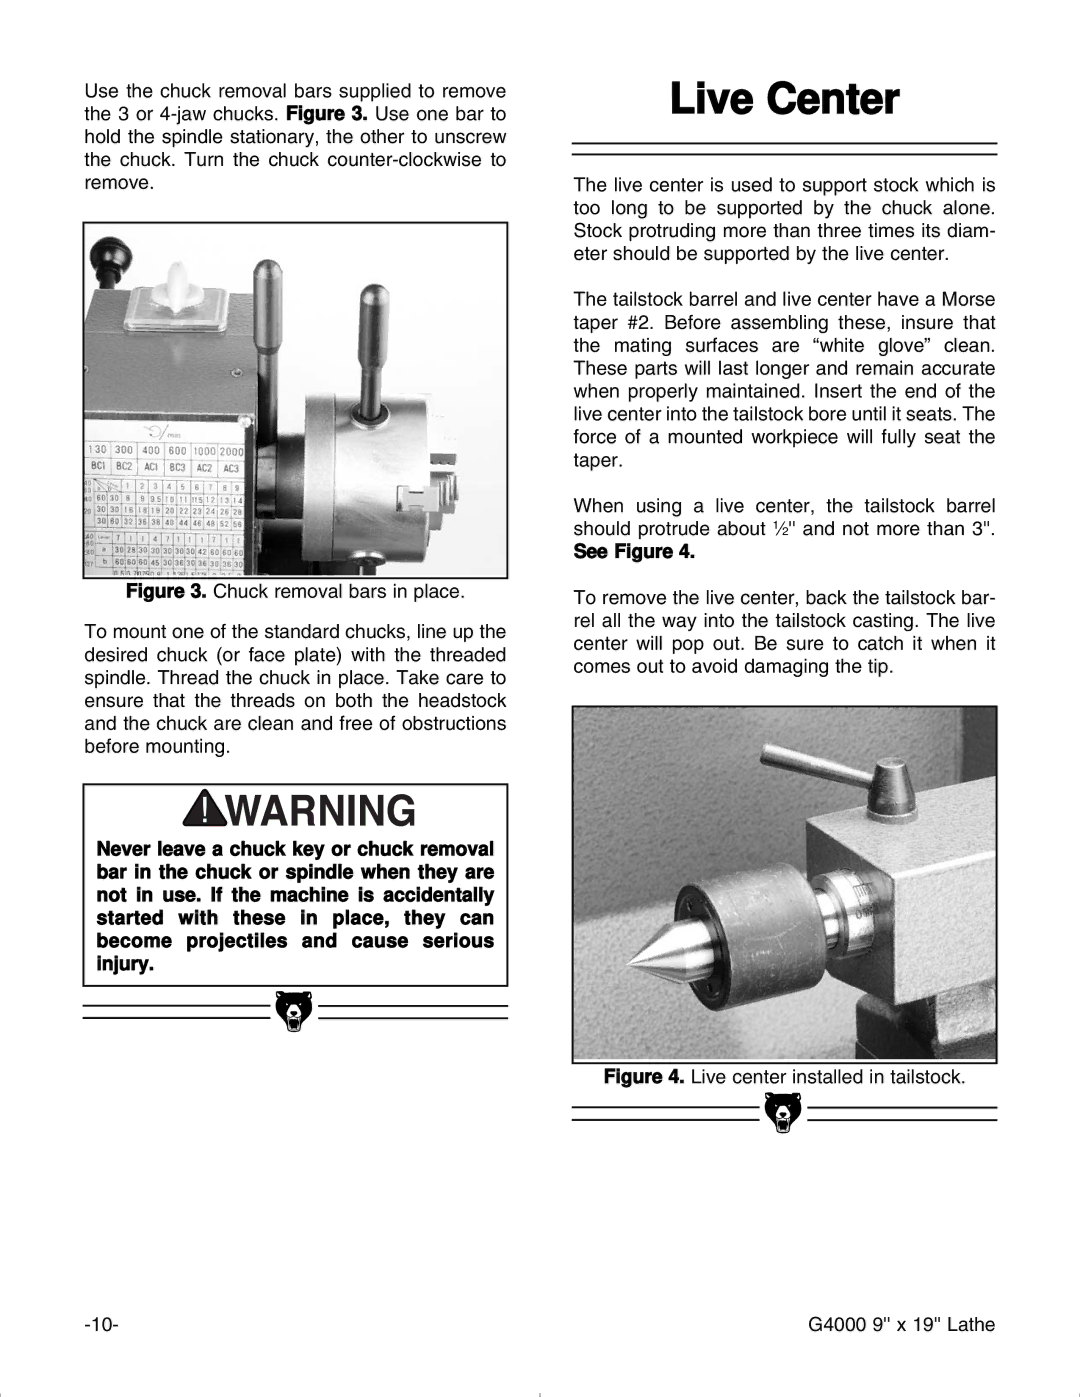
When using a live center, the tailstock barrel should protrude about 1⁄2'' and not more than 3''.
See Figure 4.
To remove the live center, back the tailstock bar- rel all the way into the tailstock casting. The live center will pop out. Be sure to catch it when it comes out to avoid damaging the tip.
Figure 4. Live center installed in tailstock.
G4000 9'' x 19'' Lathe |
