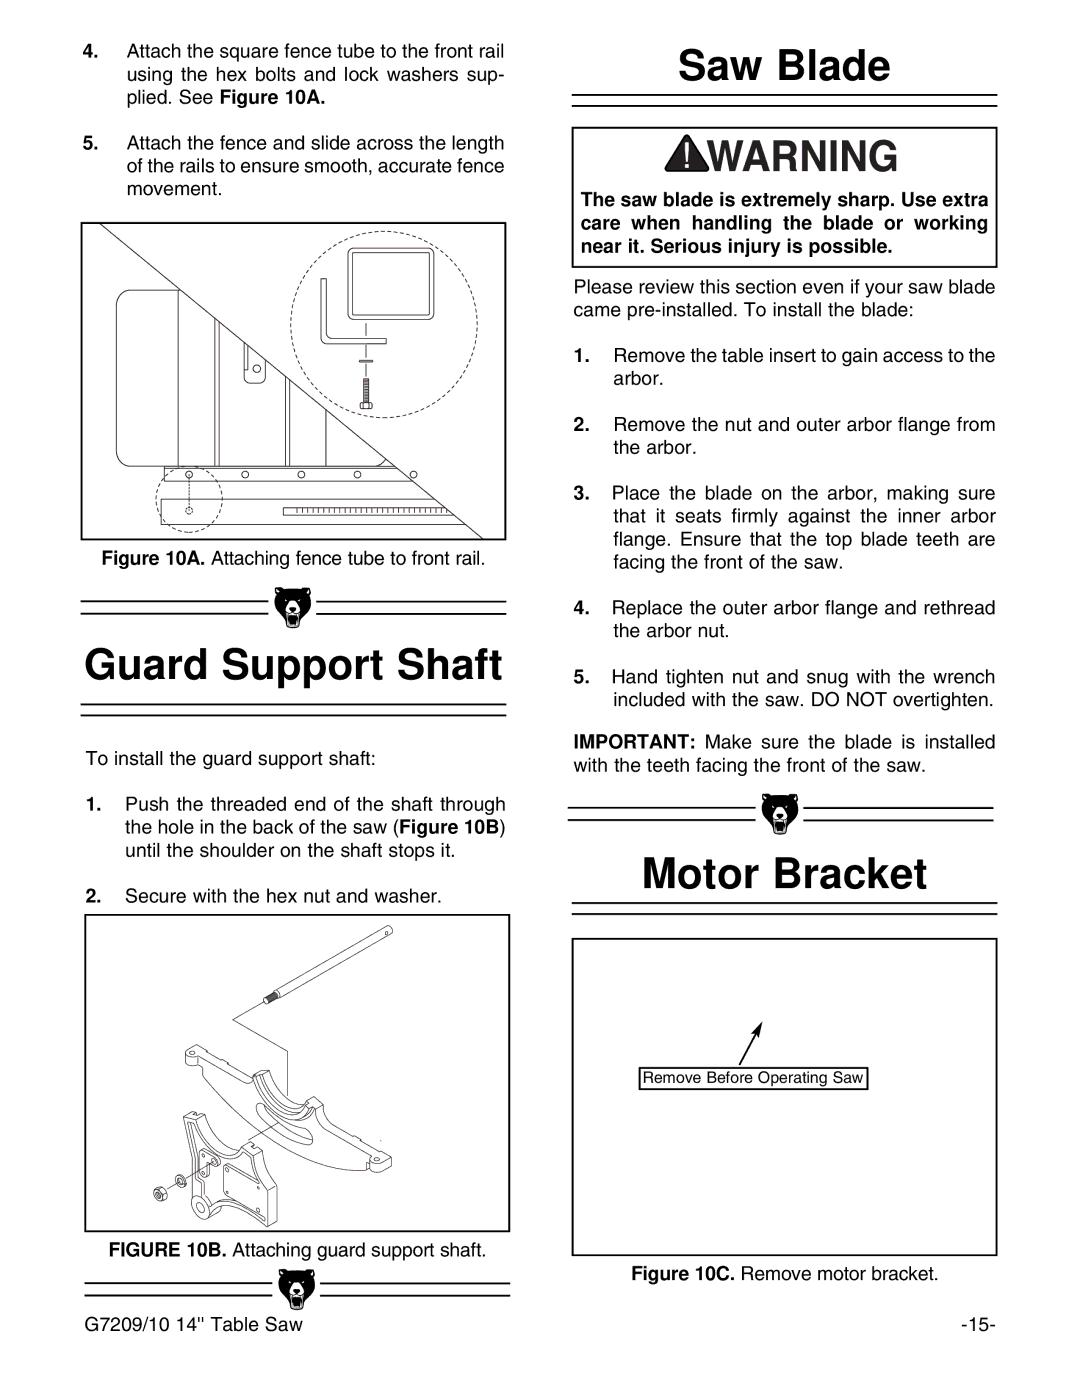
4.Attach the square fence tube to the front rail using the hex bolts and lock washers sup- plied. See Figure 10A.
5.Attach the fence and slide across the length of the rails to ensure smooth, accurate fence movement.
Figure 10A. Attaching fence tube to front rail.
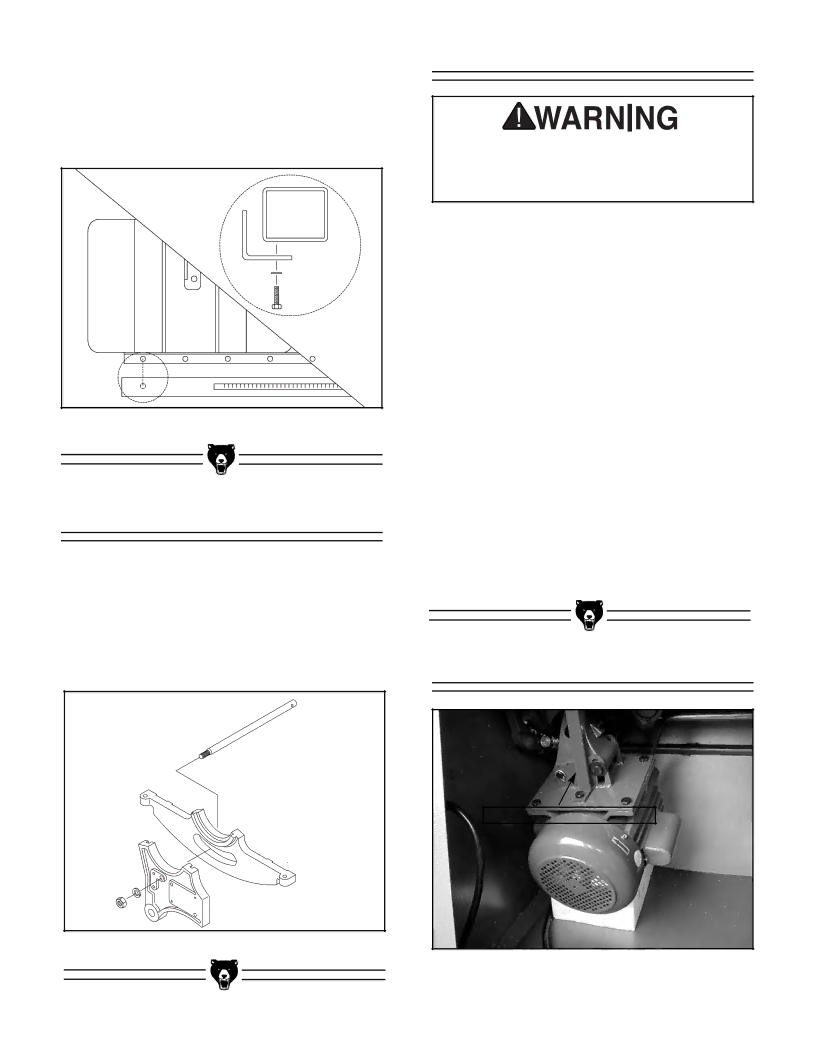
Guard Support Shaft
To install the guard support shaft:
1.Push the threaded end of the shaft through the hole in the back of the saw (Figure 10B) until the shoulder on the shaft stops it.
2.Secure with the hex nut and washer.
FIGURE 10B. Attaching guard support shaft.
Saw Blade
The saw blade is extremely sharp. Use extra care when handling the blade or working near it. Serious injury is possible.
Please review this section even if your saw blade came
1.Remove the table insert to gain access to the arbor.
2.Remove the nut and outer arbor flange from the arbor.
3.Place the blade on the arbor, making sure that it seats firmly against the inner arbor flange. Ensure that the top blade teeth are facing the front of the saw.
4.Replace the outer arbor flange and rethread the arbor nut.
5.Hand tighten nut and snug with the wrench included with the saw. DO NOT overtighten.
IMPORTANT: Make sure the blade is installed with the teeth facing the front of the saw.
Motor Bracket
Remove Before Operating Saw
Figure 10C. Remove motor bracket.
G7209/10 14'' Table Saw |