3.Position the exposed adhesive on the upper half of the disc that extends above the table. Once it is positioned evenly across the disc, press the adhesive onto the surface.
4.Now rotate the disc so the lower half is now above the table.
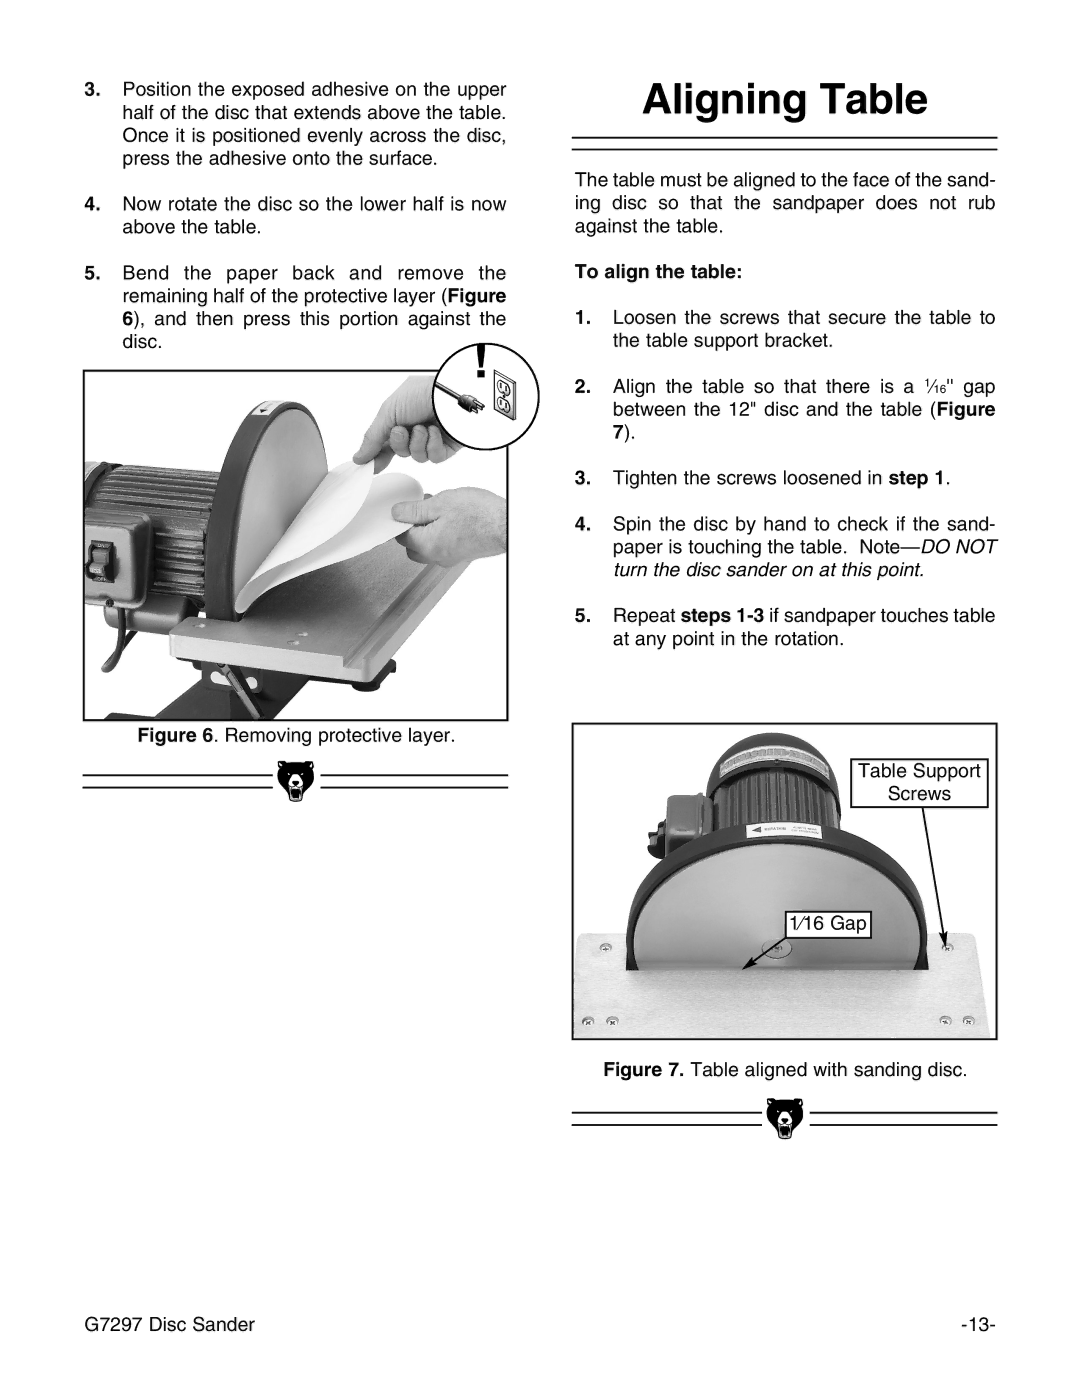
5.Bend the paper back and remove the remaining half of the protective layer (Figure 6), and then press this portion against the disc.
Figure 6. Removing protective layer.
Aligning Table
The table must be aligned to the face of the sand- ing disc so that the sandpaper does not rub against the table.
To align the table:
1.Loosen the screws that secure the table to the table support bracket.
2.Align the table so that there is a 1⁄16'' gap between the 12" disc and the table (Figure 7).
3.Tighten the screws loosened in step 1.
4.Spin the disc by hand to check if the sand- paper is touching the table.
5.Repeat steps
Table Support
Screws
1⁄16 Gap
Figure 7. Table aligned with sanding disc.
|
|
|
G7297 Disc Sander | ||
