4.Once all the waste areas have been removed from the pattern, mount them to a piece of medium density fiberboard (MDF). Center and glue the pattern pieces to the MDF.
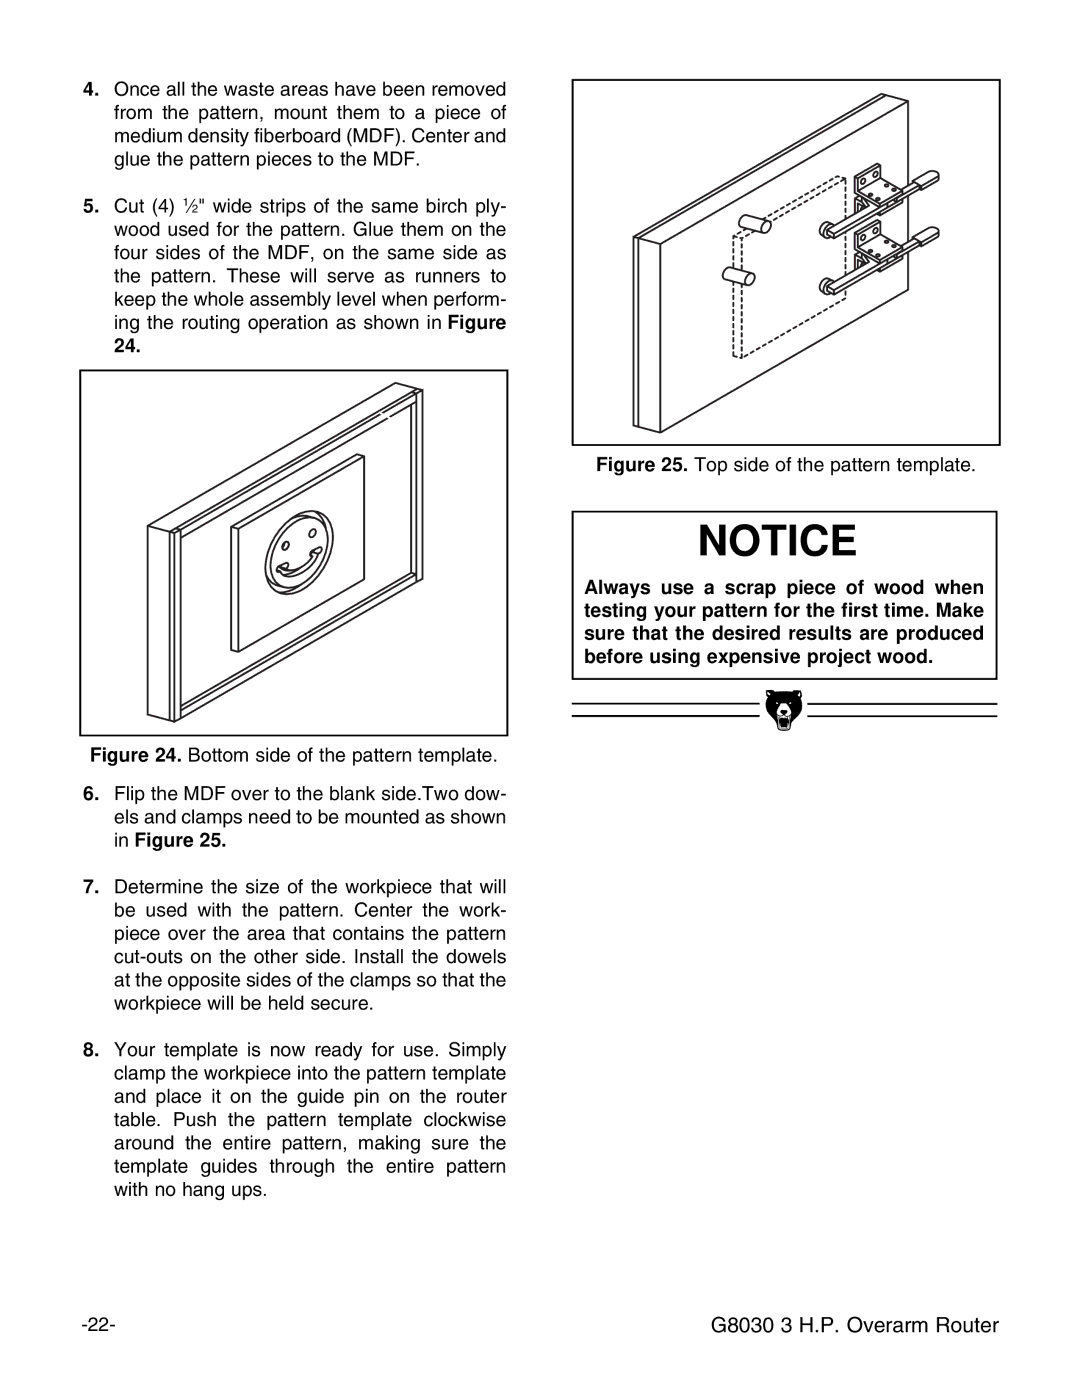
5.Cut (4) 1⁄2" wide strips of the same birch ply- wood used for the pattern. Glue them on the four sides of the MDF, on the same side as the pattern. These will serve as runners to keep the whole assembly level when perform- ing the routing operation as shown in Figure 24.
Figure 24. Bottom side of the pattern template.
6.Flip the MDF over to the blank side.Two dow- els and clamps need to be mounted as shown in Figure 25.
7.Determine the size of the workpiece that will be used with the pattern. Center the work- piece over the area that contains the pattern cut-outs on the other side. Install the dowels at the opposite sides of the clamps so that the workpiece will be held secure.
8.Your template is now ready for use. Simply clamp the workpiece into the pattern template and place it on the guide pin on the router table. Push the pattern template clockwise around the entire pattern, making sure the template guides through the entire pattern with no hang ups.
Figure 25. Top side of the pattern template.
NOTICE
Always use a scrap piece of wood when testing your pattern for the first time. Make sure that the desired results are produced before using expensive project wood.
G8030 3 H.P. Overarm Router |
