Mounting Back Plates
Components Needed | Qty |
Guitar | 1 |
Backplates | Varies |
Tap Screw M3 X 12 | 6 |
Tools Needed |
|
Drill with a 3⁄32" Drill Bit | 1 |
Phillips Head Screwdriver | 1 |
To mount the back plate to the guitar body:
2.Secure the position of the back plates to the guitar body with masking tape.
3.Using a 3⁄32" drill bit, drill 3⁄8" deep holes through the holes in the back plate.
4.Secure the back plates to the guitar body with M3 X 12 tap screws.
Gluing the Nut on the Model H6082 and H6083
The nut holds the peghead end of the strings the correct distance above the frets. It is not nec- essary to cut the string notches in the nut that comes with this kit.
Components Needed | Qty |
Guitar | 1 |
Tools Needed |
|
Narrow Chisel or Razor Blade | 1 |
Glue | Varies |
To install the nut: |
|
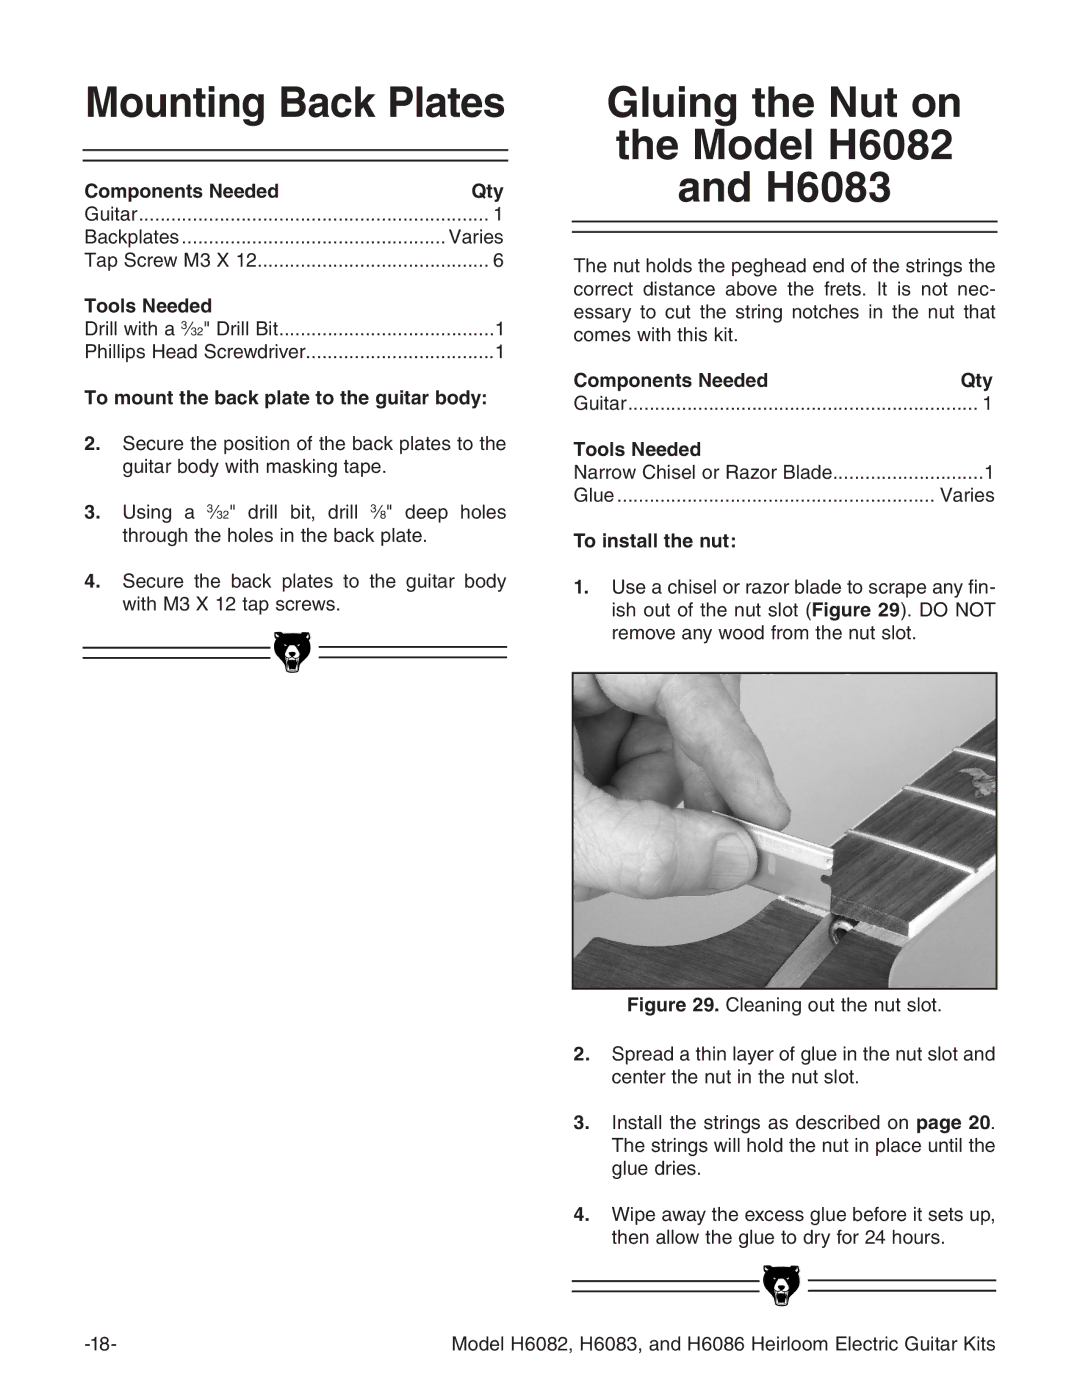
1.Use a chisel or razor blade to scrape any fin- ish out of the nut slot (Figure 29). DO NOT remove any wood from the nut slot.
Figure 29. Cleaning out the nut slot.
2.Spread a thin layer of glue in the nut slot and center the nut in the nut slot.
3.Install the strings as described on page 20. The strings will hold the nut in place until the glue dries.
4.Wipe away the excess glue before it sets up, then allow the glue to dry for 24 hours.
Model H6082, H6083, and H6086 Heirloom Electric Guitar Kits |
