Installation and adjustment
Please install and adjust the machine according to the requirement of the manual. It is very important to your security and correct operating the machine.
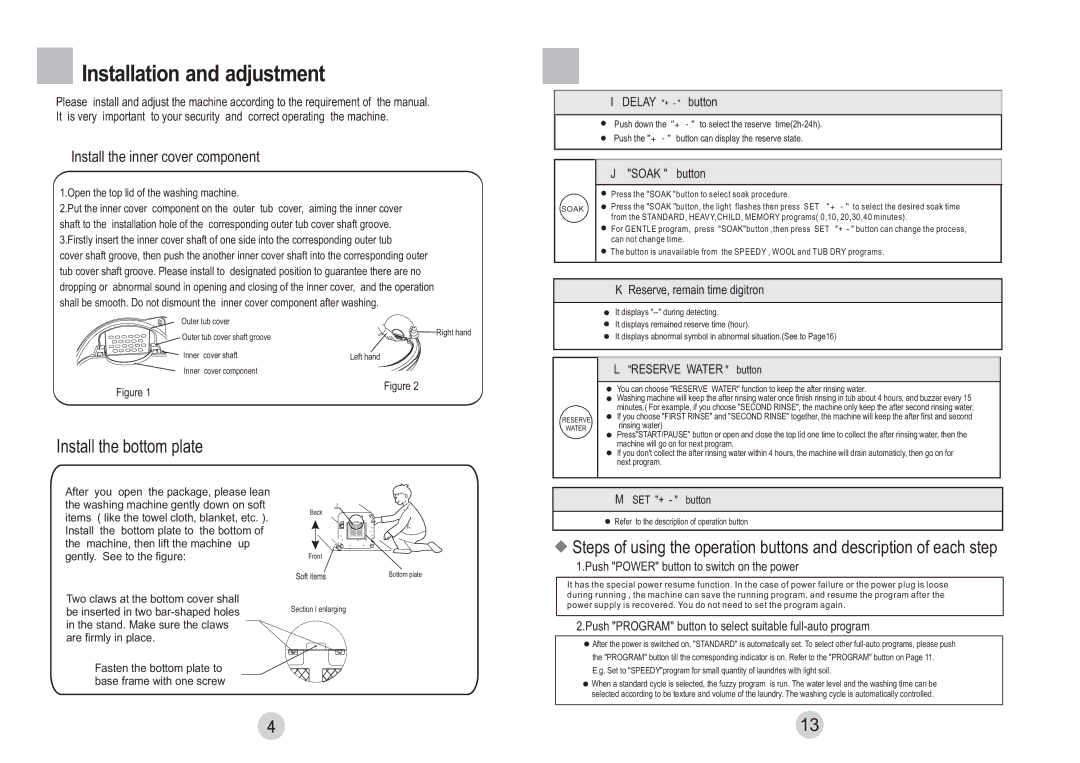
Install the inner cover component
1.Open the top lid of the washing machine.
2.Put the inner cover component on the outer tub cover, aiming the inner cover shaft to the installation hole of the corresponding outer tub cover shaft groove. 3.Firstly insert the inner cover shaft of one side into the corresponding outer tub
cover shaft groove, then push the another inner cover shaft into the corresponding outer tub cover shaft groove. Please install to designated position to guarantee there are no dropping or abnormal sound in opening and closing of the inner cover, and the operation shall be smooth. Do not dismount the inner cover component after washing.
Outer tub cover
Outer tub cover shaft groove | Right hand |
| |
Inner cover shaft | Left hand |
Inner cover component |
|
I DELAY "+ - " button
Push down the "+ - " to select the reserve
Push the "+ - " button can display the reserve state.
J "SOAK " button
Press the "SOAK "button to select soak procedure.
SOAK | Press the "SOAK "button, the light flashes then press SET "+ - " to select the desired soak time |
|
from the STANDARD, HEAVY,CHILD, MEMORY programs( 0,10, 20,30,40 minutes).
For GENTLE program, press "SOAK"button ,then press SET "+ - " button can change the process, can not change time.
The button is unavailable from the SPEEDY , WOOL and TUB DRY programs.
K | Reserve, remain time digitron |
| |
It displays | |
It displays remained reserve time (hour). | |
It displays abnormal symbol in abnormal situation.(See to Page16) | |
|
|
|
|
L | "RESERVE WATER " button |
Figure 1
Figure 2
| You can choose "RESERVE WATER" function to keep the after rinsing water. | |
| Washing machine will keep the after rinsing water once finish rinsing in tub about 4 hours, and buzzer every 15 | |
| minutes.( For example, if you choose "SECOND RINSE", the machine only keep the after second rinsing water, | |
RESERVE | If you choose "FIRST RINSE" and "SECOND RINSE" together, the machine will keep the after first and second | |
rinsing water) | ||
WATER | ||
Press"START/PAUSE" button or open and close the top lid one time to collect the after rinsing water, then the | ||
|
Install the bottom plate
After you open the package, please lean the washing machine gently down on soft items ( like the towel cloth, blanket, etc. ). Install the bottom plate to the bottom of the machine, then lift the machine up gently. See to the figure:
Two claws at the bottom cover shall be inserted in two
Fasten the bottom plate to base frame with one screw
I
Back
Front
Soft items | Bottom plate |
Section I enlarging
machine will go on for next program. |
If you don't collect the after rinsing water within 4 hours, the machine will drain automaticly, then go on for |
next program. |
M SET "+ - " button |
Refer to the description of operation button |
![]() Steps of using the operation buttons and description of each step
Steps of using the operation buttons and description of each step
1.Push "POWER" button to switch on the power
It has the special power resume function. In the case of power failure or the power plug is loose during running , the machine can save the running program, and resume the program after the power supply is recovered. You do not need to set the program again.
2.Push "PROGRAM" button to select suitable full-auto program
![]() After the power is switched on, "STANDARD" is automatically set. To select other
After the power is switched on, "STANDARD" is automatically set. To select other
the "PROGRAM" button till the corresponding indicator is on. Refer to the "PROGRAM" button on Page 11.
E.g. Set to "SPEEDY"program for small quantity of laundries with light soil.
When a standard cycle is selected, the fuzzy program is run. The water level and the washing time can be selected according to be texture and volume of the laundry. The washing cycle is automatically controlled.
13
