INSTALLATION

RESIDENTIAL

INSTALLATION

1)Please read this entire manual before you install and use your new woodstove. Failure to follow instructions may result in property damage, bodily injury or even death. Be aware that local Codes and Regulations may override some items in this manual. Check with your local inspector.

2)Select a position for your Hampton Stove. Consult the minimum clearance chart for your model and set the stove in place. For close clearance installation use listed double wall connector systems.

3)To insure vertical alignment, suspend a plumb bob from the ceiling over the exact center of your stove fl ue and mark a spot on the ceiling to indicate the center of the chimney.

4)Check that the area above the ceiling is clear for cutting. Re-confi rm the clearance from the stove to combustibles to insure that they are within the prescribed limits.

5)This woodstove must be connected to a UL 103 HT (ULC S629) listed chimney or a code approved masonry chimney with a fl ue liner, from the ceiling and beyond.

6)Install chimney according to chimney manu- facturers instructions. The performance of your woodstove is governed to a very large part by the chimney system. Too short a chimney can cause diffi cult start-up, dirty glass, backsmoking when door is open, and

even reduced heat output.Too tall a chimney may prompt excessive draft which can result in very short burn times and excessive heat output. The use of an inexpensive fl ue pipe dampermaybehelpfulin reducingexcessive draft.

CAUTION:The chimney should be the same size as the 6" (152mm) fl ue outlet on the stove. The chimney must be listed as suit- able for use with solid fuels. For other types of chimneys check with your local building code offi cials. Do not confuse a chimney with a type “B” Venting System used for gas appliances as suitable for a wood burning appliance (refer to the Mobile Home instal- lations section).

7)Mark the location of the legs on the fl oor, then move the stove aside and mark the position of the fl oor protector.

8)The fl oor protector must be of non-combus- tible material and must extend 18" (457mm) in front of the door opening and 6" (152mm) to the sides and rear of the unit. Some areas may require a larger size fl oor protector. See your local inspector. For outside air installation (refer to Mobile Home installation section).

NOTE: In Canada, floor protection must ex- tend18"(450mm)tothefrontand8"(200mm) to each side and back of the stove.

9)When the fl oor protection is complete, posi- tion the stove with the fl ue collar centered under the installed chimney.

10)In seismically active areas, we recommend that your unit is secured to the fl oor by using the bolt down holes inside the legs (the same ones used in Mobile Home installations).

11)For residential installations using 6" (152mm) "C" Vent (single wall) the chimney connector must be at least 24 gauge steel. Do not use galvanized pipe (refer to the Mobile Home installation section).

12)Do not connect this unit to a chimney serving another appliance.

13)A chimney connector cannot pass through an attic or roof space, closet or similar concealed space, or a fl oor, ceiling, wall or partition of combustible construction. In Canada, if passage through a wall, or partition of combustible construction is desired, the installation shall conform to CAN/CSA-B365, Installation Code for Solid- Fuel-Burning Appliances and Equipment.

14)Your Hampton Woodstove is not to be con- nected to any air distribution duct.

Emissions from burning wood or gas could contain chemicals known to the State of California to cause cancer, birth defects or other reproductive harm.

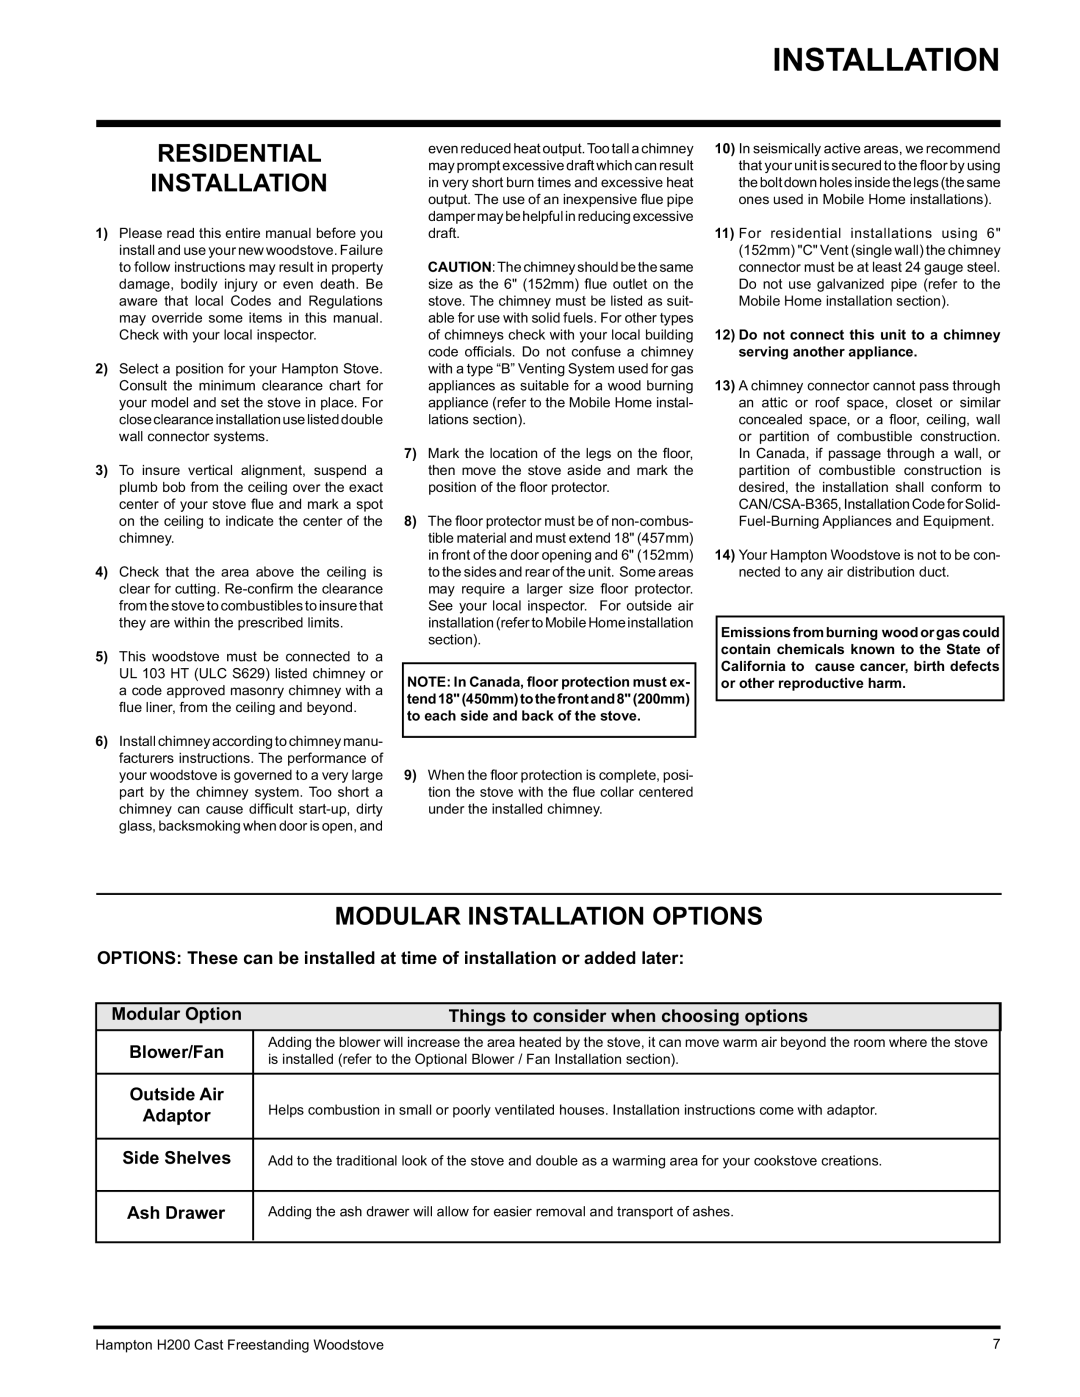
MODULAR INSTALLATION OPTIONS

OPTIONS: These can be installed at time of installation or added later:

Modular Option

Things to consider when choosing options

Blower/Fan

Adding the blower will increase the area heated by the stove, it can move warm air beyond the room where the stove

is installed (refer to the Optional Blower / Fan Installation section).


Outside Air

Helps combustion in small or poorly ventilated houses. Installation instructions come with adaptor.

Adaptor

Side Shelves

Add to the traditional look of the stove and double as a warming area for your cookstove creations.

Ash Drawer

Adding the ash drawer will allow for easier removal and transport of ashes.

Hampton H200 Cast Freestanding Woodstove

7

Page 7
Image 7
Hampton Direct H200 installation manual Residential Installation, Modular Installation Options

H200 specifications

The Hampton Direct H200 is an innovative solution for consumers seeking convenience and efficiency in their daily tasks. This versatile device stands out in the market due to its combination of smart technology and user-friendly features, making it an essential addition to any household.

One of the key features of the H200 is its sleek and modern design, which ensures that it fits seamlessly into any home environment. Its compact size allows for easy storage and portability, making it accessible for various needs, whether at home or on the go.

The H200 boasts advanced functionality powered by cutting-edge technology. One notable aspect is its intuitive control panel, which incorporates touch-screen functionality for effortless navigation. Users can easily select different modes and settings tailored to their specific requirements, enhancing usability and flexibility.

In terms of performance, the H200 utilizes energy-efficient technology that not only reduces power consumption but also promotes sustainability. This is a significant advantage for environmentally-conscious users looking to minimize their carbon footprint while still enjoying modern conveniences.

The device is equipped with multiple settings that cater to different tasks. Whether it’s cooking, cleaning, or organizing, the H200 adapts to various functions with ease. Its powerful motor ensures efficient operation, allowing users to complete tasks quickly and effectively, saving time and effort in the process.

Additionally, the Hampton Direct H200 emphasizes safety with features such as automatic shut-off and thermal protection, ensuring that users can work confidently without the fear of overheating or accidents.

The ease of maintenance and cleaning further enhances its value. With removable parts that are dishwasher-safe, the H200 offers a hassle-free experience for users, promoting a clean and hygienic environment.

In summary, the Hampton Direct H200 represents a perfect blend of style, performance, and safety. With its array of advanced features and technologies, it stands out as a reliable tool for simplifying daily tasks. Whether used for cooking, organizing, or cleaning, the H200 is designed to meet the demands of modern living, making it a valuable investment for any household looking to enhance productivity and efficiency.