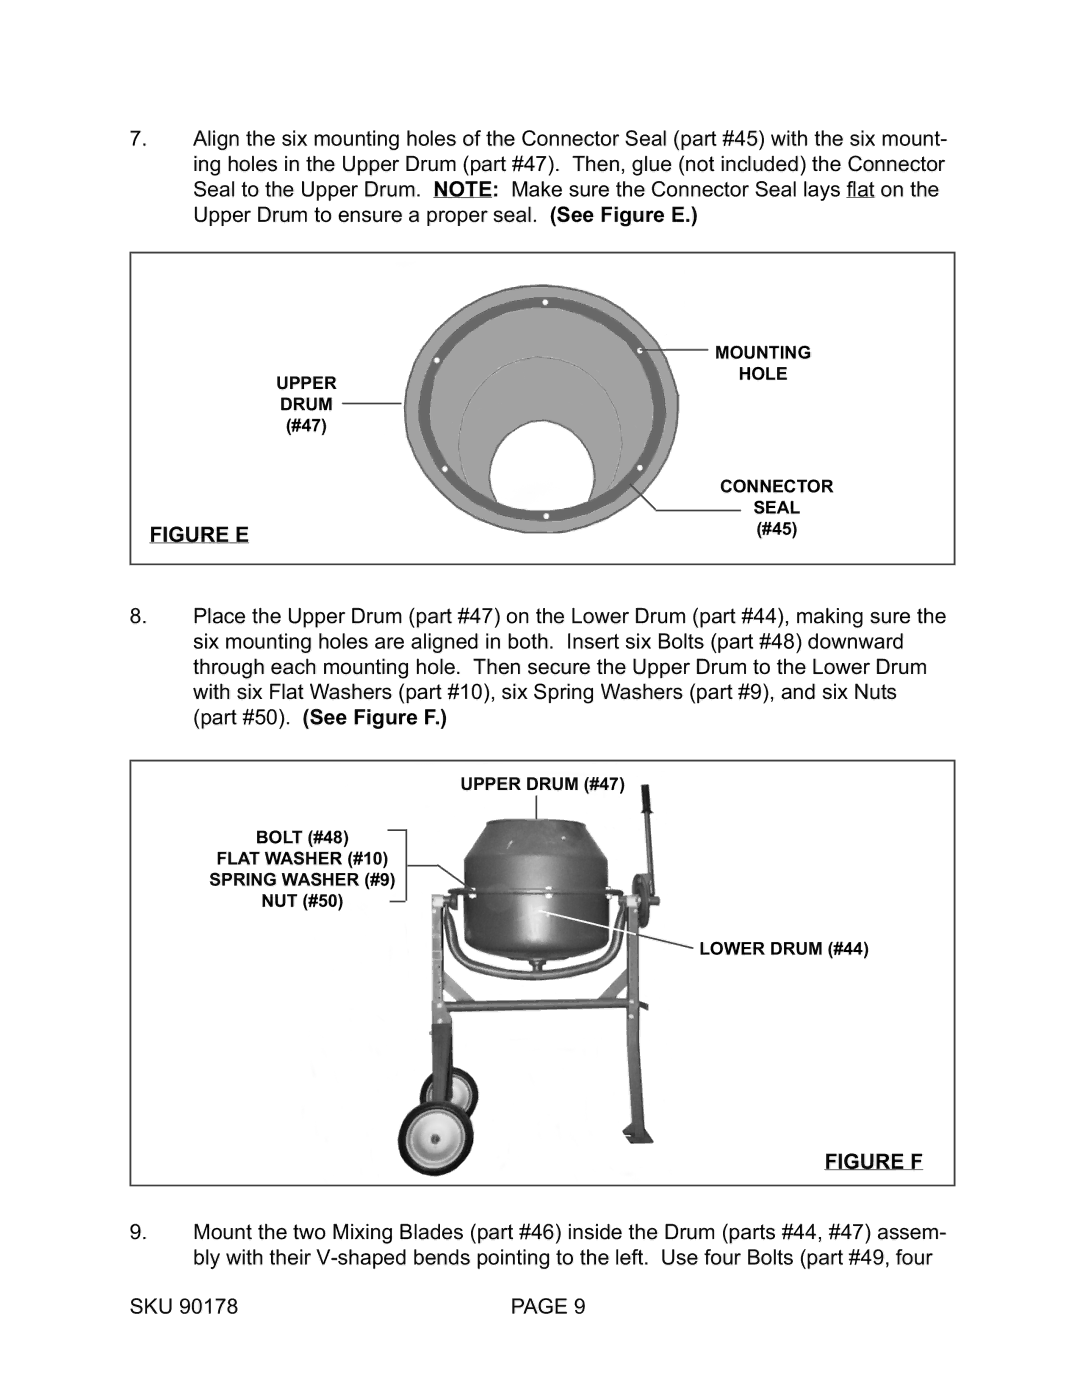
7.Align the six mounting holes of the Connector Seal (part #45) with the six mount- ing holes in the Upper Drum (part #47). Then, glue (not included) the Connector Seal to the Upper Drum. NOTE: Make sure the Connector Seal lays flat on the Upper Drum to ensure a proper seal. (See Figure E.)
MOUNTING
UPPER DRUM (#47)
HOLE
| CONNECTOR |
| SEAL |
FIGURE E | (#45) |
|
8.Place the Upper Drum (part #47) on the Lower Drum (part #44), making sure the six mounting holes are aligned in both. Insert six Bolts (part #48) downward through each mounting hole. Then secure the Upper Drum to the Lower Drum with six Flat Washers (part #10), six Spring Washers (part #9), and six Nuts (part #50). (See Figure F.)
UPPER DRUM (#47)
BOLT (#48)
FLAT WASHER (#10)
SPRING WASHER (#9)
NUT (#50)
![]() LOWER DRUM (#44)
LOWER DRUM (#44)
FIGURE F
9.Mount the two Mixing Blades (part #46) inside the Drum (parts #44, #47) assem- bly with their
SKU 90178 | PAGE 9 |