with two
(268) and Flanged Nuts (269).
c.Do not tighten the screws to the Stand until its assembly is complete.
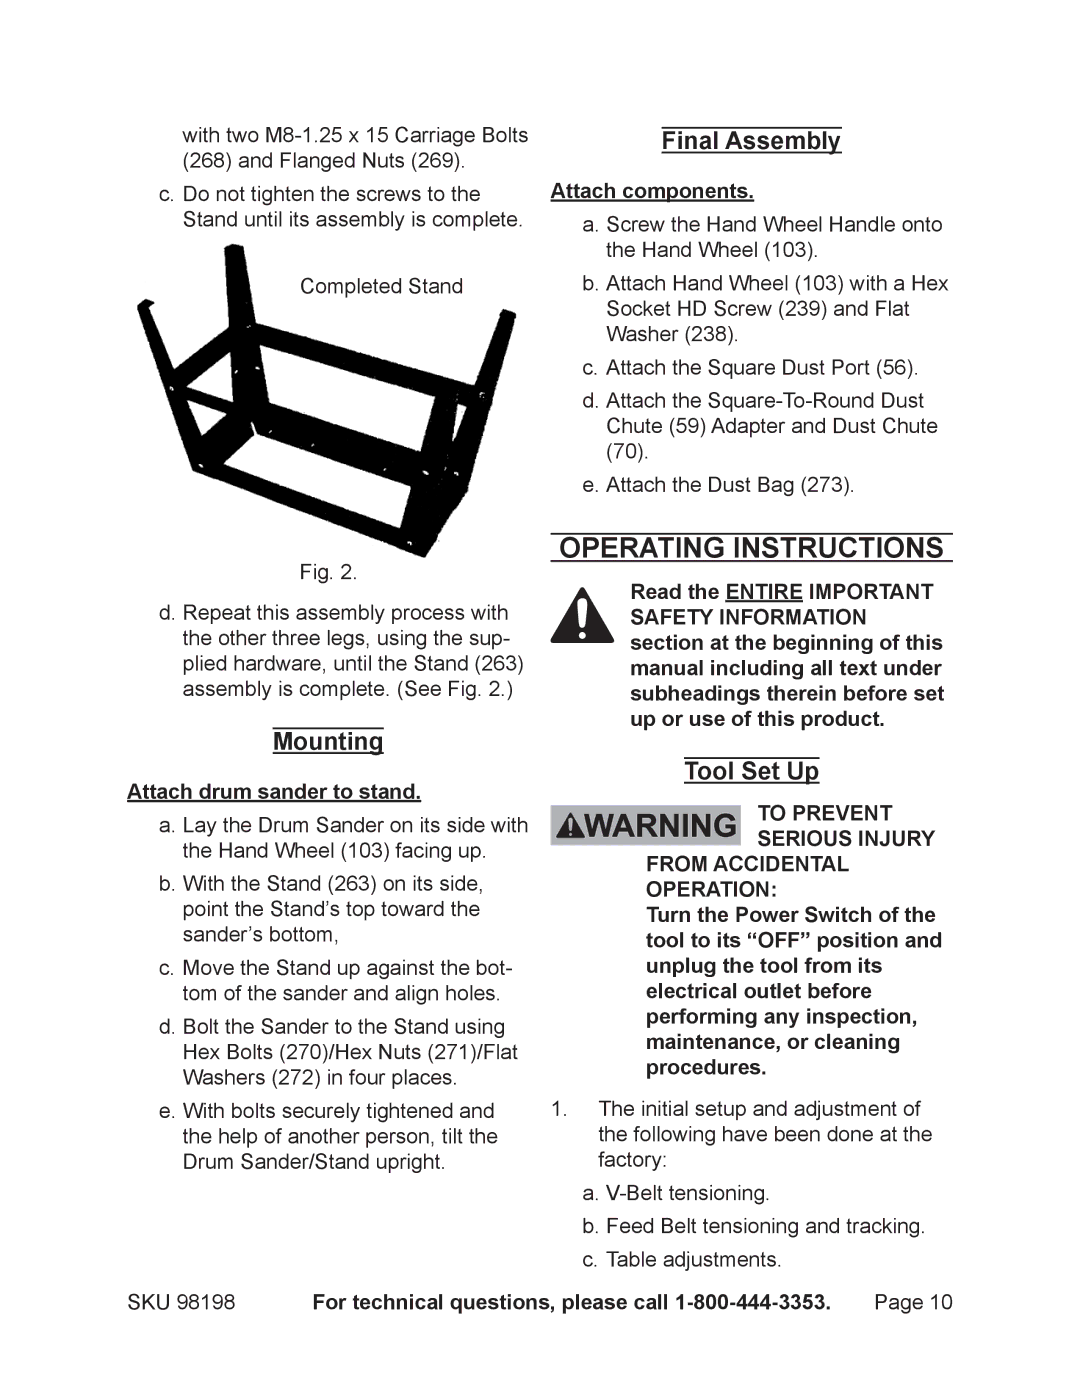
Completed Stand
Fig. 2.
d. Repeat this assembly process with the other three legs, using the sup- plied hardware, until the Stand (263) assembly is complete. (See Fig. 2.)
Mounting
Attach drum sander to stand.
a. Lay the Drum Sander on its side with the Hand Wheel (103) facing up.
b. With the Stand (263) on its side, point the Stand’s top toward the sander’s bottom,
c.Move the Stand up against the bot- tom of the sander and align holes.
d.Bolt the Sander to the Stand using
Hex Bolts (270)/Hex Nuts (271)/Flat
Washers (272) in four places.
e.With bolts securely tightened and the help of another person, tilt the
Drum Sander/Stand upright.
Final Assembly
Attach components.
a. Screw the Hand Wheel Handle onto the Hand Wheel (103).
b. Attach Hand Wheel (103) with a Hex Socket HD Screw (239) and Flat Washer (238).
c. Attach the Square Dust Port (56).
d. Attach the
e. Attach the Dust Bag (273).
Operating Instructions
Read the entire Important Safety Information section at the beginning of this manual including all text under subheadings therein before set up or use of this product.
Tool Set Up
To prevent serious injury
from accidental operation:
Turn the Power Switch of the tool to its “OFF” position and unplug the tool from its electrical outlet before performing any inspection, maintenance, or cleaning procedures.
1.The initial setup and adjustment of the following have been done at the factory:
a.
b.Feed Belt tensioning and tracking.
| c. Table adjustments. |
|
SKU 98198 | For technical questions, please call | Page 10 |