ADVANCED FUNCTIONS
Manual Setup
The AVR 254 is flexibly designed to be used with almost any loud- speakers available. The flexibility comes from the AVR 254’s capability to be configured to match the characteristics of your particular speakers, and to compensate for the acoustic characteristics of your room.
The EzSet/EQ process automatically detects the capabilities of each speaker, and optimizes the AVR 254’s performance in your system. However, if for some reason you are unable to run EzSet/EQ calibration, e.g., you have misplaced the microphone, or if you wish to make further adjustments to the settings made by the EzSet/EQ process, you may use the Manual Setup
Before beginning manual setup place your loudspeakers in their correct locations within the room (see Speaker Placement section), and connect them to the AVR. You will need the specifications for each of your speakers, which may usually be found in the owner’s guide for the speakers or on the manufacturer’s Web site. If necessary, contact the manufacturer to obtain the frequency range specification. Although the
We suggest that you record your configuration settings in the appropri- ate places in Tables A3 through A11 in the appendix in case you need to reenter them after a system reset, or if the AVR’s Master Power Switch is turned off or the unit is unplugged for more than four weeks.
NOTE: When using the AVR’s Speaker Setup menus, we rec- ommend selecting a video output resolution of 720p or higher to provide graphics that simplify configuration. Those menus will vary in appearance from the ones shown here.
Step One – Determine Speaker Crossover
Without using the EzSet/EQ process, the AVR 254 can’t detect how many speakers you’ve connected to it; nor can it determine their capa- bilities. For this part of the system setup consult the speaker’s technical specifications.
Locate the frequency response, which is usually given as a range, e.g., 100Hz – 20kHz (±3dB). This specification tells you whether the speaker is able to play sounds that are very high- or
The subwoofer’s frequency response will include only the very lowest frequencies, since the subwoofer is designed to play only bass materials. A typical frequency response for a subwoofer is 25Hz – 150Hz. In this case, the higher number should be noted in the worksheet.
This information is required to program the receiver’s bass manage- ment, which determines which speakers the receiver will use to play back the
If you send the lowest notes to small satellite speakers, you won’t hear these notes very well, and you may even damage the speaker by exceeding its capabilities. If you send the highest notes to the special- purpose subwoofer, you may not hear them at all.
With proper bass management, the AVR 254 divides the source signal at a crossover point. All information above the crossover point is played through the satellite speaker (front left/right, center, surround left/right, or surround back left/right), and all information below the crossover point is played through the subwoofer. This enables each loudspeaker in your system to perform at its best, delivering an enjoyable sound experience.
Step Two – Measure Speaker Distances
Ideally, all of your speakers would be placed in a circle, each at the same distance from the listening position. However, your room may not be ideal, and you may have had to place some speakers a little further away than others. This could affect the overall sound of the receiver, as sounds that are supposed to arrive simultaneously from different speakers blur due to different arrival times.
The AVR 254 has a delay adjustment that enables the receiver to compensate for
Before you begin making adjustments, measure the distance from each speaker to the listening position, and note it in the Table A4 worksheet in the appendix. Even if all of your speakers are the same distance from the listening position, you should enter your speaker distances as described in Step Three.
Step Three – Manual Setup Menu
Now you are ready to program these adjustments into the receiver. It’s best to sit in the usual listening position and make the room as quiet as possible.
With the receiver and video display turned on, press the AVR Button to display the menu system. Use the ¤ Button to move the cursor to the Speaker Setup line, and press the Set Button to display the Speaker Setup menu. See Figure 46.
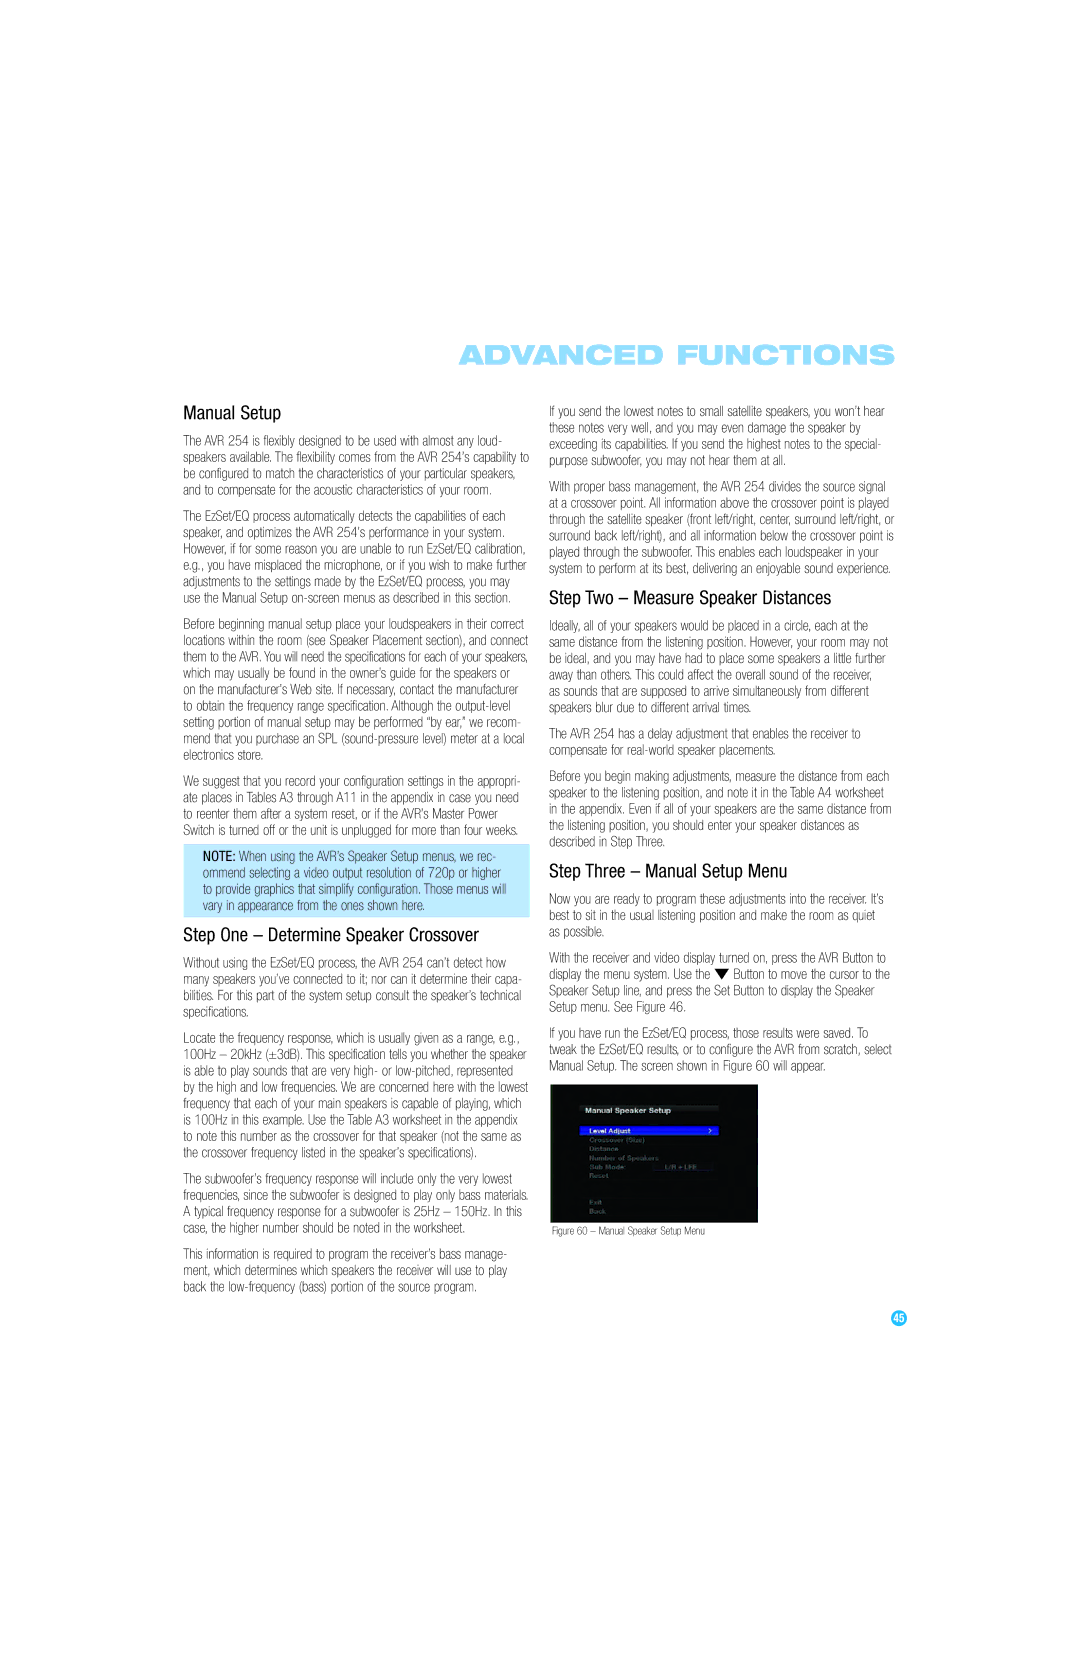
If you have run the EzSet/EQ process, those results were saved. To tweak the EzSet/EQ results, or to configure the AVR from scratch, select Manual Setup. The screen shown in Figure 60 will appear.
Figure 60 – Manual Speaker Setup Menu
45