System Configuration
System Setup
Once the speakers have been placed in the room and connected, the remaining steps in the setup process are to program the AVR 500’s bass management system for the type of speakers used in your system, calibrate the output levels, and set the delay times used by the surround sound processor.
You are now ready to power up the AVR 500 to begin these final adjustments.
1.Plug the Power Cable ¡ into an unswitched AC outlet.
2.Press the Main Power Switch 1 in so that it latches in with the word “OFF” appearing on the top of the switch inside the front panel. Note that the Power Indicator 3 will turn amber, indicating that the unit is in the Standby mode.
3.Install the four supplied AAA batteries in the remote as shown. Be certain to follow the (+) and
4.Turn the AVR 500 on either by pressing the System Power Control 2on the front panel, or via the remote by first pressing the AVR Selector aor any of the CD/Tape/ DVD selectors bon the remote. The Power Indicator 3will turn green to confirm that the unit is on, and the Information Display 35will also light up.
Using the On-Screen Display
When making the following adjustments, you may find them easier to make if you use the unit’s
To view the
IMPORTANT NOTE: When viewing the displays on a projection TV it is important that they not be left on the screen for an extended period of time. As with any video display, but particularly with projectors, constant display of a static image such as these menus or video- game images may cause the image to be permanently “burned into” the CRT. This type of damage is not covered by the AVR 500 warranty and may not be cov- ered by the projector TV set’s warranty.
The AVR 500 has two
To view the
When either OSD mode has been selected, a message will appear at the bottom of the screen any time the mode or source is changed. First, the new mode or source will show, and if the source is changed there will also be a con- firmation of the mode in use.
Note that the
A U D I O S O U R C E | : D I G I T A L |
V I D E O S O U R C E | : D V D |
A U D I O I N P U T | : O P T 1 |
B I T S T R E A M I N | : 3 / 2 . 1 C H |
S U R R . | M O D E | : D O L B Y | ||
|
|
| D I G I T A L | |
M U L T I | R O O M | : | O F F | O N |
M A S T E R V O L U M E : Ð 2 0 D B
Figure 1
When making most setup adjustments, the full
Speaker Configuration
The first few adjustments tell the AVR 500 which type of speakers are in use. This is important as it adjusts the settings that deter- mine which speakers receive
With the AVR 500 turned on, follow these steps to configure the speakers:
1.Put the AVR 500 in the Dolby Pro Logic mode by pressing the Dolby Pro Logic Selector î on the front panel or by
pressing the Surround Mode Selector ●31 on the remote, followed by the Ú/ Û buttons guntil PRO LOGIC appears in the Main Information Display Vand the PRO LOGIC indicator Glights.
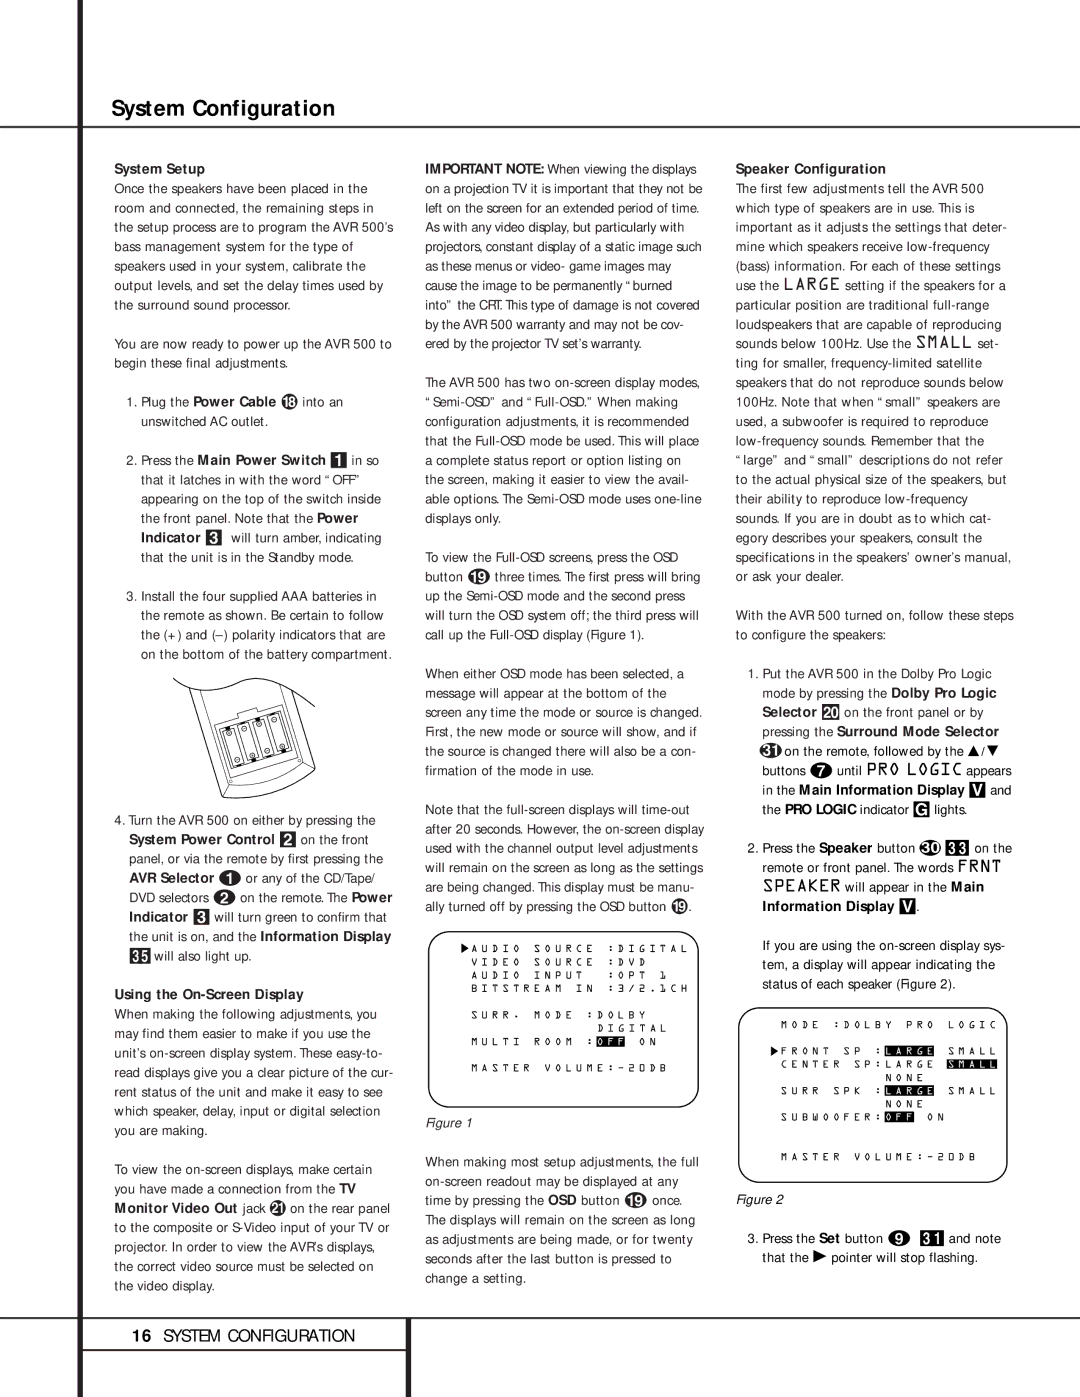
2.Press the Speaker button k 33 on the remote or front panel. The words FRNT SPEAKER will appear in the Main Information Display V.
If you are using the
M O D E : D O L B Y P R O L O G I C
![]() F R O N T S P : L A R G E S M A L L C E N T E R S P : L A R G E S M A L L
F R O N T S P : L A R G E S M A L L C E N T E R S P : L A R G E S M A L L
N O N E
S U R R S P K : L A R G E S M A L L N O N E
S U B W O O F E R : O F F O N
M A S T E R V O L U M E : Ð 2 0 D B
Figure 2
3.Press the Set button i 31 and note that the Ý pointer will stop flashing.
16SYSTEM CONFIGURATION