System Configuration
To set the delay times, follow these steps:
1.Put the AVR 500 in the Dolby Pro Logic mode by pressing the Dolby Pro Logic Selector î on the front panel or by
pressing the Surround Mode Selector ●31 on the remote, followed by the Ú/ Û buttons guntil PRO LOGIC appears in the Main Information Display Vand the PRO LOGIC indicator Glights up.
2.Press the Delay button i ÷ on the remote or front panel. The words
S DELAY TIME will appear in the Main Information Display Vand at the bottom of a video screen when the Semi- OSD display is in use.
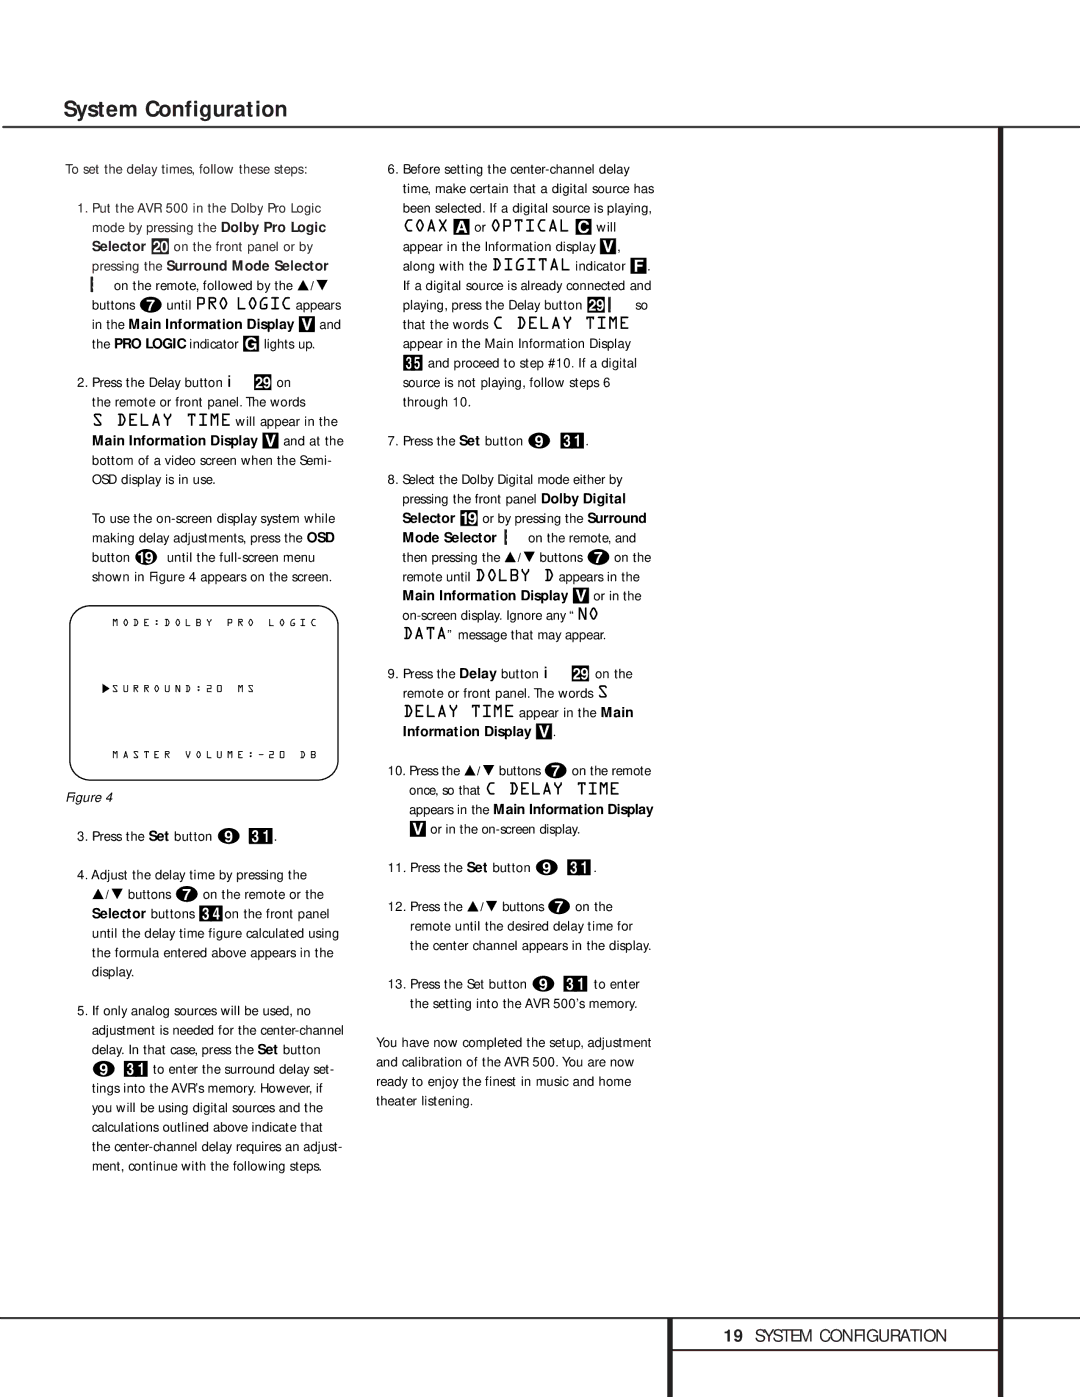
To use the
M O D E : D O L B Y P R O L O G I C
![]() S U R R O U N D : 2 0 M S
S U R R O U N D : 2 0 M S
M A S T E R V O L U M E : Ð 2 0 D B
Figure 4
3.Press the Set button i 31.
4.Adjust the delay time by pressing the Ú/ Û buttons g on the remote or the Selector buttons 34on the front panel until the delay time figure calculated using the formula entered above appears in the display.
5.If only analog sources will be used, no adjustment is needed for the
6.Before setting the
35 and proceed to step #10. If a digital source is not playing, follow steps 6 through 10.
7.Press the Set button i 31.
8.Select the Dolby Digital mode either by pressing the front panel Dolby Digital Selector (or by pressing the Surround Mode Selector ●31 on the remote, and
then pressing the Ú/ Û buttons gon the remote until DOLBY D appears in the Main Information Display Vor in the
9.Press the Delay button i ÷ on the remote or front panel. The words S DELAY TIME appear in the Main Information Display V.
10.Press the Ú/Û buttons gon the remote once, so that C DELAY TIME appears in the Main Information Display
Vor in the on-screen display.
11.Press the Set button i 31.
12.Press the Ú/Û buttons g on the remote until the desired delay time for the center channel appears in the display.
13.Press the Set button i 31 to enter the setting into the AVR 500’s memory.
You have now completed the setup, adjustment and calibration of the AVR 500. You are now ready to enjoy the finest in music and home theater listening.
19SYSTEM CONFIGURATION