Installation and Connections
Audio Connections
After unpacking the unit and placing it on a solid surface capable of supporting its weight, you will need to make the connections to your pre amplifier or integrated amplifier. These steps need to be done only when the tuner is first installed.
Audio Equipment Connections
We recommend that you use
When making connections to audio source equipment it is always a good practice to unplug the unit from the AC wall outlet. This prevents any possibility of accidentally sending audio or transient signals to the speakers that may dam- age them.
1.Connect the analog output of the TU 970 to the tuner input of your pre amplifier or integrat- ed amplifier.
2.For DAB signals, connect the optical or coaxial digital output of the TU 970 to an optical digital audio input of your pre amplifier or integrated amplifier, if available.
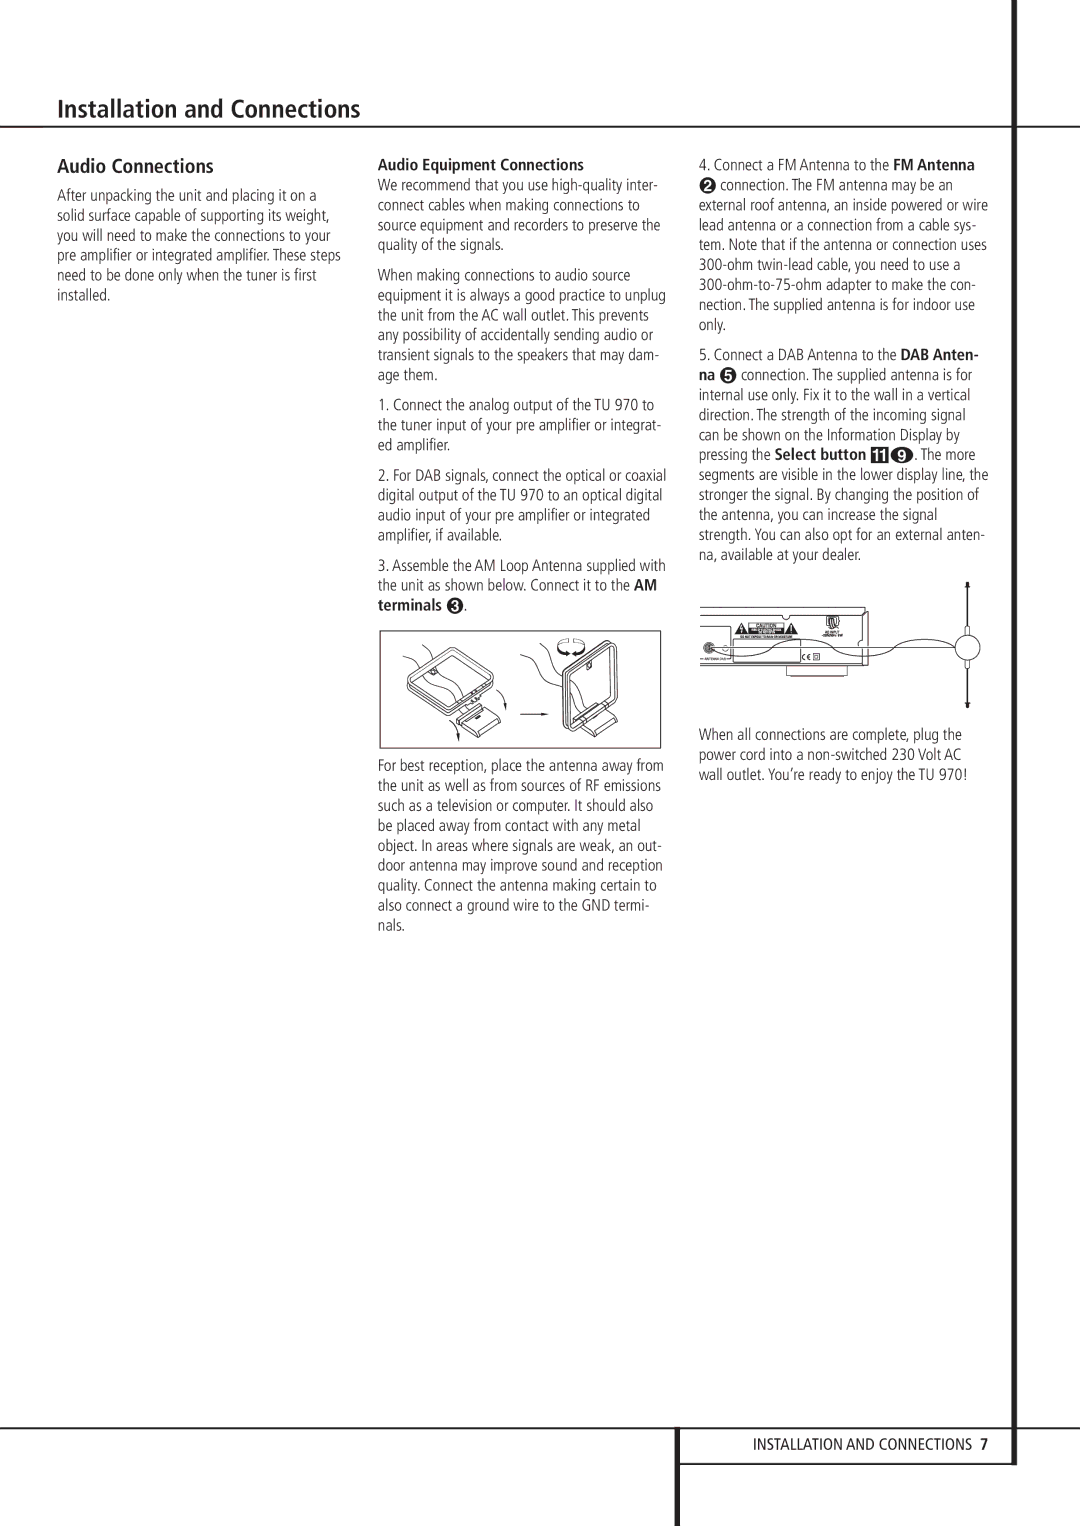
3.Assemble the AM Loop Antenna supplied with the unit as shown below. Connect it to the AM terminals .
4. Connect a FM Antenna to the FM Antenna
connection. The FM antenna may be an external roof antenna, an inside powered or wire lead antenna or a connection from a cable sys- tem. Note that if the antenna or connection uses
5.Connect a DAB Antenna to the DAB Anten-
na connection. The supplied antenna is for internal use only. Fix it to the wall in a vertical direction. The strength of the incoming signal can be shown on the Information Display by pressing the Select button !8. The more segments are visible in the lower display line, the stronger the signal. By changing the position of the antenna, you can increase the signal strength. You can also opt for an external anten- na, available at your dealer.
For best reception, place the antenna away from the unit as well as from sources of RF emissions such as a television or computer. It should also be placed away from contact with any metal object. In areas where signals are weak, an out- door antenna may improve sound and reception quality. Connect the antenna making certain to also connect a ground wire to the GND termi- nals.
When all connections are complete, plug the power cord into a
INSTALLATION AND CONNECTIONS 7