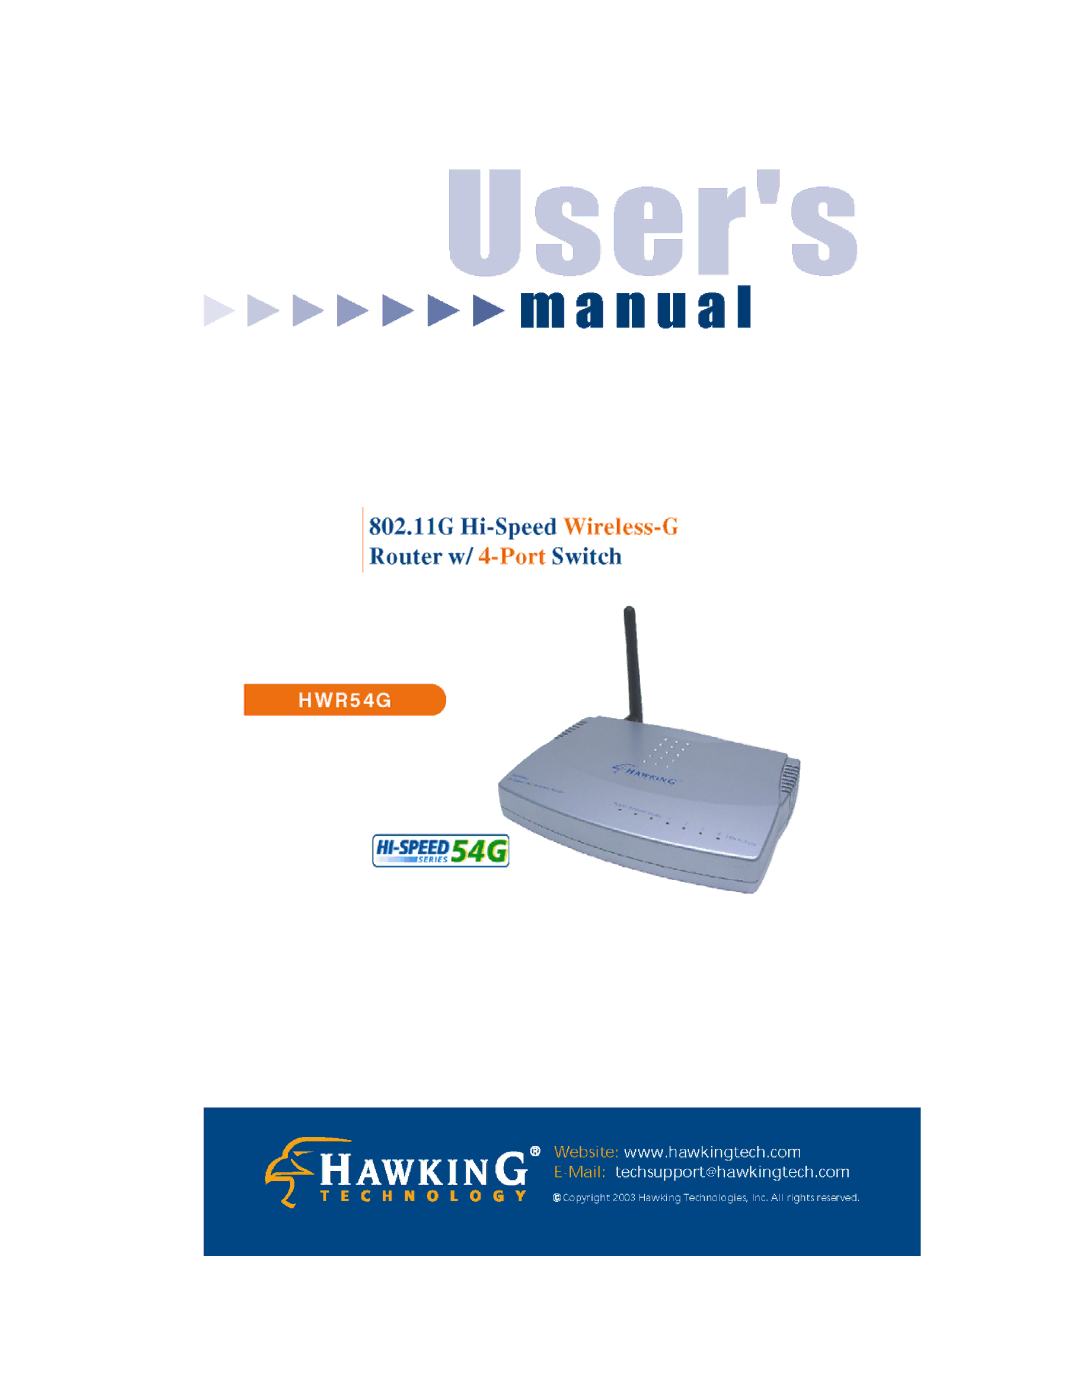
Manuals
/
Hawking Technology
/
Computer Equipment
/
Network Router
Hawking Technology
HWR54G manual
Models:
HWR54G
1
1
94
94
Download
94 pages
36.13 Kb
1
2
3
4
5
6
7
8
<
>
Troubleshooting
Specs
Install
Warranty
Configuration Program
Wireless Router
This Appendix covers the most likely problems and their solutions
Reset Button
Setup
Default Key
Page 1
Image 1
Page 2
Page 1
Image 1
Page 2
Contents
Page
Page
LIMITED WARRANTY
WARRANTY
Table of Contents
APPENDIX A TROUBLESHOOTING
Page
Internet Access Features
Wireless Router Features
Introduction
Chapter
LAN Features
Wireless Features
Advanced Internet Functions
Configuration & Management
Package Contents
Security Features
Front-mounted LEDs Rear Panel
Physical Details
Power port
Connect the supplied power adapter here
To Clear All Data and restore the factory default values
Reset Button
Procedure
Installation
Requirements
This Chapter covers the physical installation of the Wireless Router
2. Connect LAN Cables
4. Power Up
3. Connect WAN Cable
5. Check the LEDs
Overview
Setup
This Chapter provides Setup details of the Wireless Router
Chapter
Setup
Preparation
Configuration Program
If you cant connect
Common Connection Types
Setup Wizard
Type
Details
Type
Other Modems e.g. Broadband Wireless
Details
ISP Data required
Navigation & Data Input
Home Screen
Figure 4 Home Screen
Cancel
LAN Screen
Figure 5 LAN Screen
TCP/IP
Using the Wireless Routers DHCP Server
DHCP
Using another DHCP Server
To Configure your PCs to use DHCP
Figure 6 Wireless Screen
Wireless Screen
Identification
Station name
Enable Access
Access Point
access by …
access by …
Authentication
WEP Screen
Default Key
Figure 7 WEP Screen
Figure 8 Password Screen
Password Screen
Figure 9 Password Dialog
TCP/IP Settings - Overview
PC Configuration
Windows Clients
Chapter
Using DHCP
Checking TCP/IP Settings - Windows 9x/ME
Using Specify an IP Address
Figure 10 Network Configuration
Figure 12 Gateway Tab Win 95/98
PC Configuration
Figure 13 DNS Tab Win 95/98
Wireless Router User Guide
Checking TCP/IP Settings - Windows NT4.0
Figure 14 Windows NT4.0 - TCP/IP
Specify an IP Address
Obtain an IP address from a DHCP Server
Figure 15 Windows NT4.0 - IP Address
Figure 16 - Windows NT4.0 - Add Gateway
Figure 17 Windows NT4.0 - DNS
PC Configuration
Figure 18 Network Configuration Win
Checking TCP/IP Settings - Windows
1. Select Control Panel - Network and Dial-up Connection
Figure 19 TCP/IP Properties Win
Figure 20 Network Configuration Windows XP
Checking TCP/IP Settings - Windows XP
1. Select Control Panel - Network Connection
Figure 21 TCP/IP Properties Windows XP
Accessing AOL
Internet Access
1. Select Start Menu - Settings - Control Panel - Internet Options
2. Select Set up or change your Internet Connection
Linux Clients
Macintosh Clients
Other Unix Systems
Ensure you are logged in as root before attempting any changes
Mode
Wireless Station Configuration
SSID ESSID
Note! The SSID is case sensitive
Operation
Operation and Status
Status Screen
Chapter
Internet
the Administration menu
Connection Method
Wizard or WAN Port screen
Figure 23 PPPoE Status Screen
Connection Status - PPPoE
Connection
Physical Address
Clear Log
Disconnect
Refresh
Message
Figure 24 PPTP Status Screen
Connection Status - PPTP
Connection
Physical Address
Disconnect
Connection Status - L2TP
Clear Log
Refresh
Connection Log
Connection Log
Buttons
Connect
Default Gateway
Connection Details - Fixed/Dynamic IP Address
Figure 26 Connection Details - Fixed/Dynamic IP Address
Internet
Update the data shown on screen
If an IP Address has been allocated to the Wireless Router by
Renew
Renew button will attempt to re-establish the connection and
Access Control
Advanced Features
Overview
If required, you can also define your own Services
Figure 27 Access Control Screen
Access Control Screen
Group
Group
Services
Internet Access
Edit Service List
Edit Service List
PCs not assigned to any group will be in the Default group
Group Members Screen
PCs deleted from any other Group will be added to the Default group
Figure 28 Group Members
Figure 29 Default Schedule Screen
Default Schedule Screen
Enter the start using a 24 hr clock
Enter the finish time using a 24 hr clock
Figure 30 Access Control - Services
Services Screen
Available Services
Available Services
Cancel
Access Control Log
Save
Date/Time
Dynamic DNS Screen
Dynamic DNS Domain Name Server
The Service works as follows
Password/Key
Wireless Router User Guide
Normally, this message should be Update successful
DDNS Status
This message is returned by the DDNS Server
Communication Applications
Advanced Internet Screen
Figure 32 Internet Screen
Communication Applications
Special Applications Screen
Special Applications
Select a PC
Figure 33 Special Applications Screen
Multi-DMZ
Using a Special Application
Checkbox
Name
URL Filter Screen
URL Filter
Figure 34 URL Filter Screen
Filter Strings
IP Address seen by Internet Users
Virtual Servers
Wireless
Using Web Server
Enable
Virtual Servers Screen
Figure 36 Virtual Servers Screen
Servers
Defaults
Defining your own Virtual Servers
Disable All
Update Selected
From the Internet, ALL Virtual Servers have the IP
Connecting to the Virtual Servers
Address allocated by your ISP
http//203.70.212.52 ftp//203.70.212.52
To perform the Firmware Upgrade
Upgrade Firmware
Figure 37 Upgrade Firmware Screen
Figure 38 WAN Port Screen
WAN Port Configuration
Identification
Hostname
Login Method
Login
Login User Name
Login Password
Default
Connect/Disconnect setting
Cancel
Connection
Config File
Advanced Configuration
Administration
Chapter
Figure 39 Config Screen
Config File
Backup Config
Restore Config
Enable Logs
Logs
Access Control
Figure 40 Logs Screen
Send E-mail alert
E-Mail Reports
E-mail Logs
Send
Backup DNS
Options
Enable
Upgrade using
access to be
Configuration
disabled
Allow
PC Database Screen
PC Database
Figure 42 PC Database
Known PCs
Administration
Name
IP Address
Figure 43 PC Database Admin
PC Database Admin
Known PCs
PC Properties
MAC Address
Update Selected
Buttons
Add as New
Routing Screen
Routing
Using this Screen
Open Routing and Remote Access
Data - Routing Screen
Enable RIP
Figure 44 Routing Screen
Static Routing
Update
Configuring Other Routers on your LAN
Properties
Buttons
Wireless Router
Static Routing - Example
Router A
Segment
192.168.1.80 Wireless Routers local router
For Router Bs Default Route
Advanced Configuration
Destination IP Address
Enable DoS
Security
Figure 46 Security Screen
Firewall
Respond to
Options
ICMP
Allow IPsec
General Problems
Troubleshooting
Internet Access
Appendix A
Problem 1 My PC cant locate the Wireless Access Point
Wireless Access
Problem 2 Wireless connection speed is very slow
Wireless Router User Guide
to the Wireless Router
Appendix B
About Wireless LANs
Modes
BSS/ESS
Channels
Wireless LAN Configuration
WEP Authentication
Mode
Wireless Interface
Multi-Function Wireless Router
Appendix C Specifications
FCC Radiation Exposure Statement
FCC Statement
CE Marking Warning