Burner Ignition and Operation
Frequency: Annually
By: Service Technician
Tools needed: Protective gloves, vacuum cleaner, whisk broom, flashlight, voltmeter, indexed drill bit set, and a manometer.
•Verify burner is properly secured and aligned with pilot or igniter.
•Clean off burner top, inspect for plugged ports, corrosion or deterioration. Replace burner if necessary.
•Replace Glowing embers with new
•Verify batteries have been removed from battery
•Check for smooth lighting and ignition carryover to all ports. Verify that there is no ignition delay.
•Inspect for lifting or other flame problems.
•Verify air shutter setting is correct. See Section 12 for required air shutter setting. Verify air shutter is clear of dust and debris.
•Inspect orifice for soot, dirt and corrosion. Verify orifice size is correct. See Service Parts List for proper orifice sizing.
•Verify manifold and inlet pressures. Adjust regulator as required.
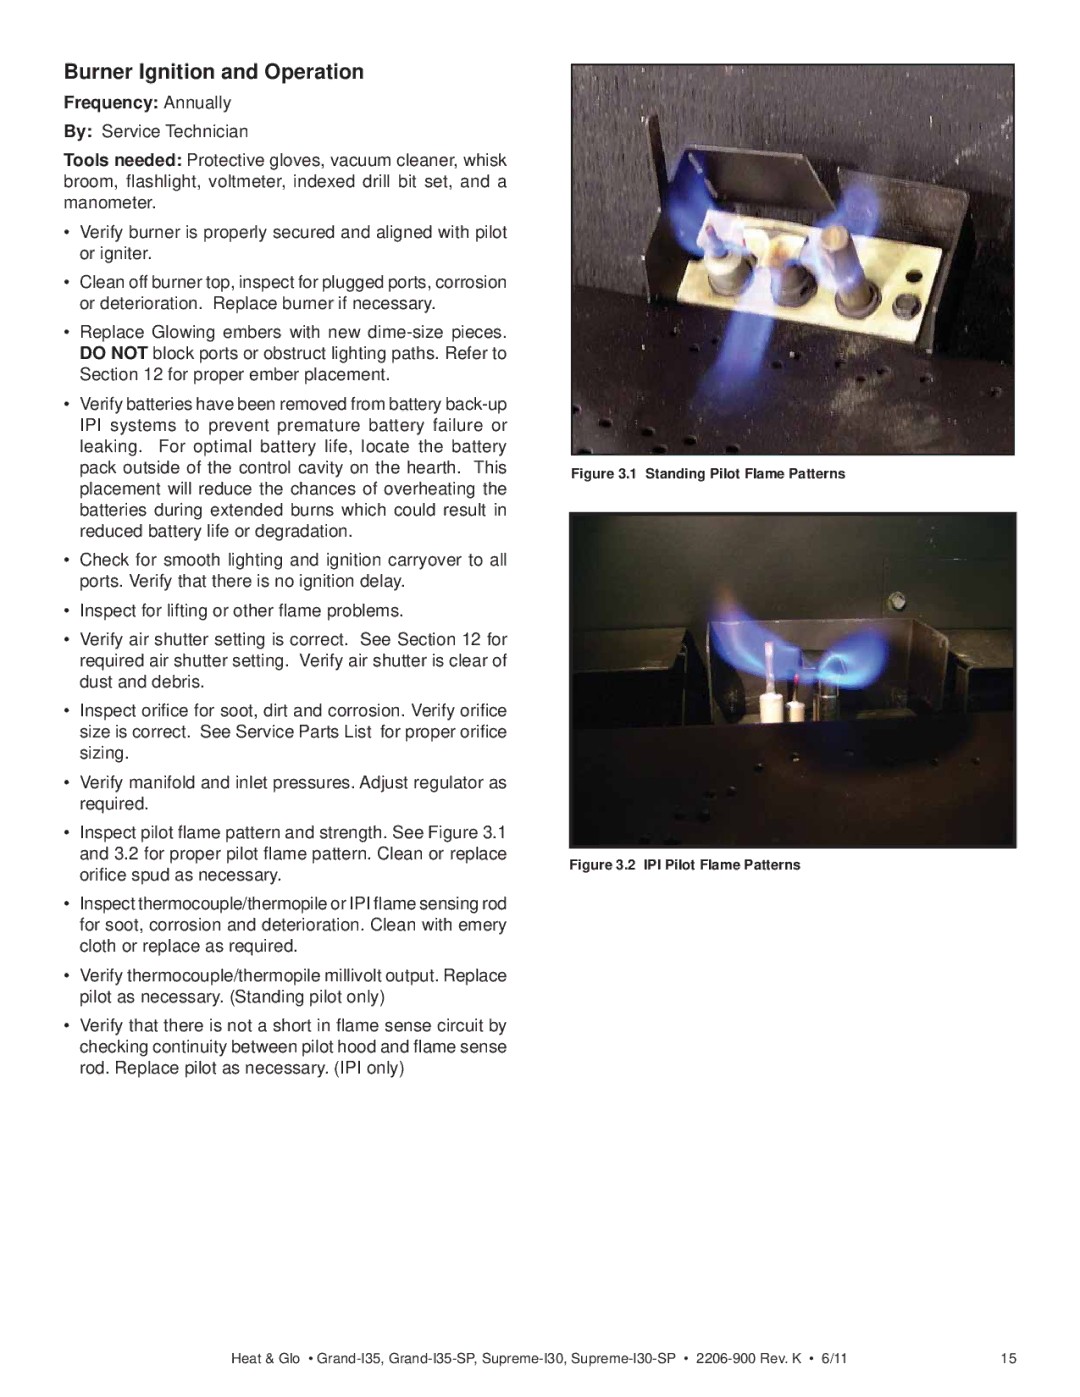
•Inspect pilot flame pattern and strength. See Figure 3.1 and 3.2 for proper pilot flame pattern. Clean or replace orifice spud as necessary.
•Inspect thermocouple/thermopile or IPI flame sensing rod for soot, corrosion and deterioration. Clean with emery cloth or replace as required.
•Verify thermocouple/thermopile millivolt output. Replace pilot as necessary. (Standing pilot only)
•Verify that there is not a short in flame sense circuit by checking continuity between pilot hood and flame sense rod. Replace pilot as necessary. (IPI only)
Figure 3.1 Standing Pilot Flame Patterns
Figure 3.2 IPI Pilot Flame Patterns
Heat & Glo • | 15 |
