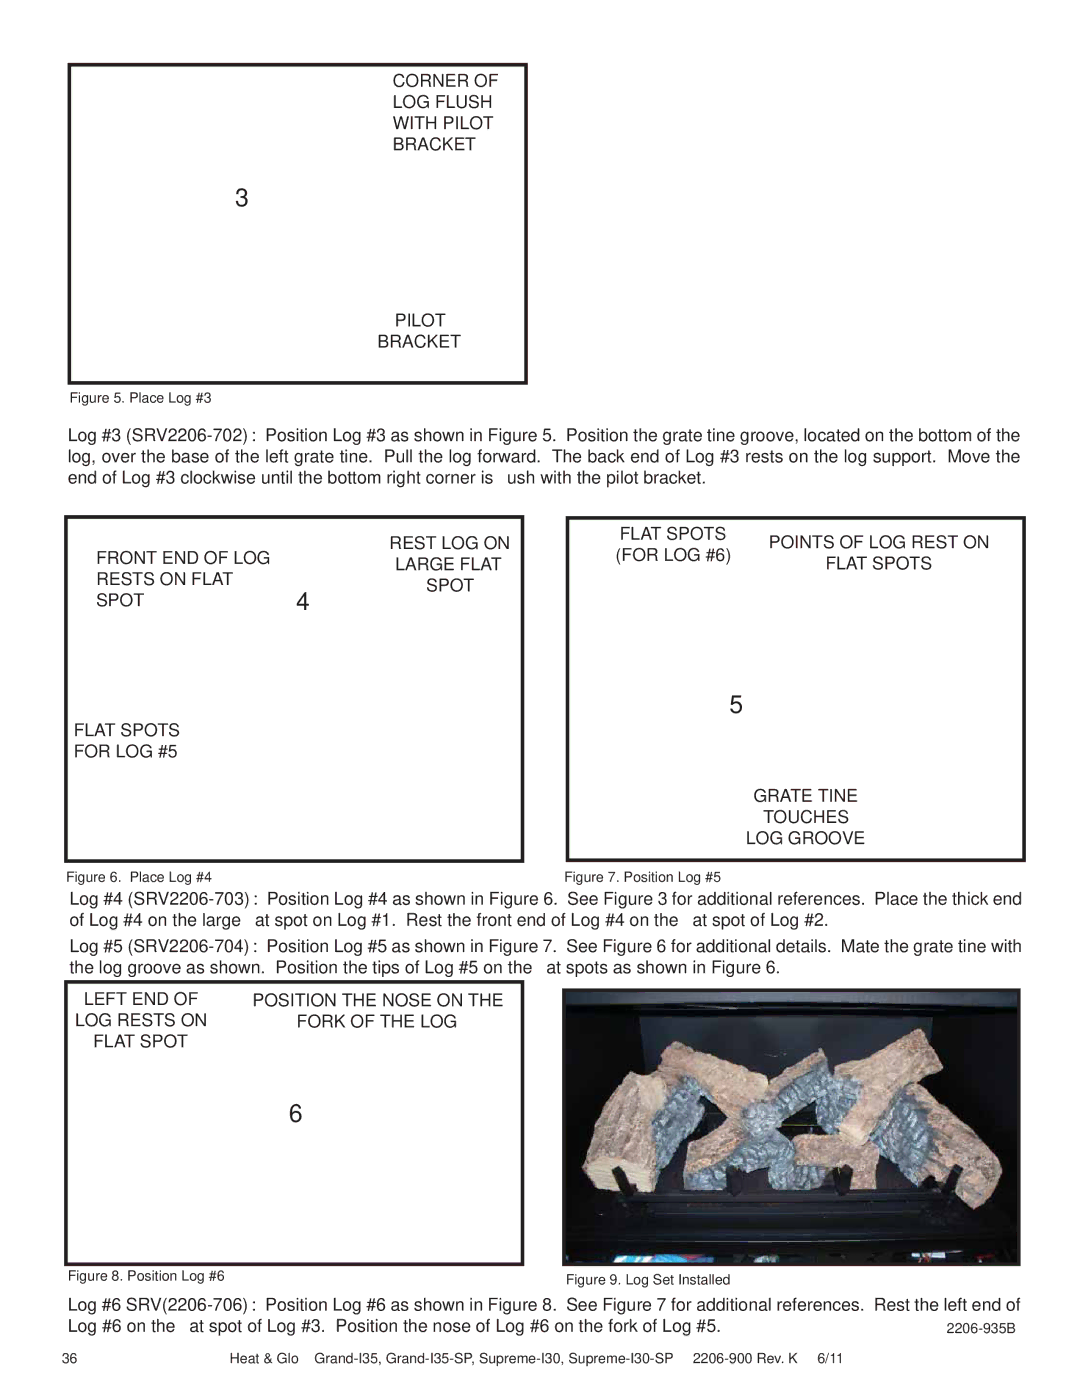
Heat & Glo LifeStyle SUPREME-I30-SP, GRAND-I35 owner manual Corner Of Log Flush With Pilot Bracket

Models: SUPREME-I30-SP GRAND-I35-SP SUPREME-I30 GRAND-I35

1 48
Download 48 pages 35.69 Kb
Page 36
Image 36
CORNER OF
2206-935B

CORNER OF

LOG FLUSH

WITH PILOT

BRACKET

3

PILOT

BRACKET

Figure 5. Place Log #3

Log #3 (SRV2206-702): Position Log #3 as shown in Figure 5. Position the grate tine groove, located on the bottom of the log, over the base of the left grate tine. Pull the log forward. The back end of Log #3 rests on the log support. Move the end of Log #3 clockwise until the bottom right corner is flush with the pilot bracket.

FRONT END OF LOG


REST LOG ON


LARGE FLAT

RESTS ON FLAT


4

SPOT

SPOT


FLAT SPOTS

FOR LOG #5 Manual background

FLAT SPOTS

POINTS OF LOG REST ON

(FOR LOG #6)

FLAT SPOTS


5

GRATE TINE

TOUCHES

LOG GROOVE

Figure 6. Place Log #4

Figure 7. Position Log #5

Log #4 (SRV2206-703): Position Log #4 as shown in Figure 6. See Figure 3 for additional references. Place the thick end of Log #4 on the large flat spot on Log #1. Rest the front end of Log #4 on the flat spot of Log #2.

Log #5 (SRV2206-704): Position Log #5 as shown in Figure 7. See Figure 6 for additional details. Mate the grate tine with the log groove as shown. Position the tips of Log #5 on the flat spots as shown in Figure 6.

LEFT END OF

POSITION THE NOSE ON THE

LOG RESTS ON

FORK OF THE LOG

FLAT SPOT


6

Figure 8. Position Log #6

Figure 9. Log Set Installed

Log #6 SRV(2206-706): Position Log #6 as shown in Figure 8. See Figure 7 for additional references. Rest the left end of Log #6 on the flat spot of Log #3. Position the nose of Log #6 on the fork of Log #5.

36

Heat & Glo • Grand-I35, Grand-I35-SP, Supreme-I30, Supreme-I30-SP2206-900 Rev. K • 6/11

Page 36
Image 36
Heat & Glo LifeStyle SUPREME-I30-SP, GRAND-I35-SP owner manual Corner Of Log Flush With Pilot Bracket