
9700LeD specifications
The Heath Zenith 9700LeD is a cutting-edge outdoor motion sensor light designed to enhance security and visibility around your home. This innovative product combines modern technology with user-friendly features, making it an ideal choice for homeowners who value safety and convenience.One of the standout features of the Heath Zenith 9700LeD is its advanced motion sensing capability. Equipped with a state-of-the-art PIR (Passive Infrared) sensor, this unit can detect movement from up to 30 feet away, ensuring that it activates when someone approaches your property. The adjustable sensitivity settings allow users to customize the responsiveness of the sensor, minimizing false alarms from passing vehicles or animals.
In addition to its impressive detection capabilities, the Heath Zenith 9700LeD offers a powerful LED lighting system. Unlike traditional incandescent bulbs, LEDs provide bright illumination while consuming significantly less energy. With a lifespan of approximately 50,000 hours, users can enjoy long-lasting performance and lower energy bills, making this product not only eco-friendly but also cost-effective.
The design of the Heath Zenith 9700LeD also deserves mention. It has a sleek and modern aesthetic that complements various home exteriors, from contemporary to traditional styles. The durable construction ensures that it can withstand harsh weather conditions, while the adjustable light heads allow for customized lighting angles to optimize coverage.
Another key feature of the Heath Zenith 9700LeD is its versatile operation modes. Users can select from multiple modes, including the motion-activated mode, which turns the light on when movement is detected, or the dusk-to-dawn mode, keeping it illuminated throughout the night for continuous safety. The built-in photocell ensures that the light activates based on ambient light levels, providing convenience and reliability.
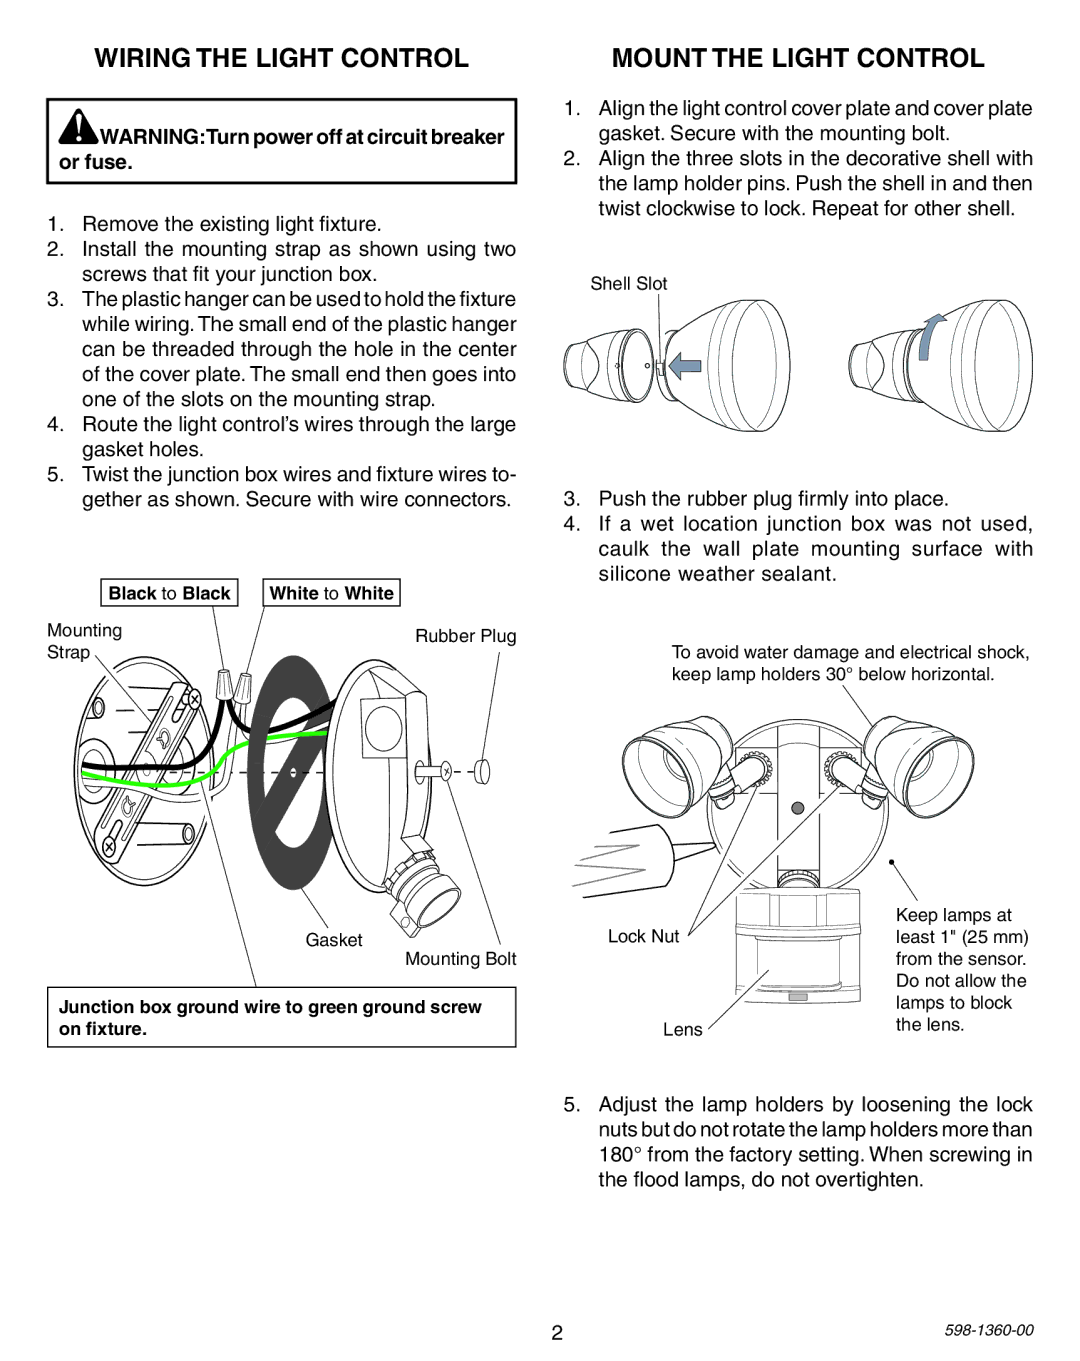
Installation is straightforward, thanks to the included mounting hardware and clear instructions. The unit can be easily mounted on walls or eaves, and it is compatible with various mounting surfaces, ensuring a secure and stable placement.
Overall, the Heath Zenith 9700LeD is a reliable and efficient outdoor lighting solution that combines advanced sensing technology with energy-efficient LED illumination. Its features, durability, and versatility make it a top choice for anyone looking to enhance their property's security while enjoying the benefits of modern lighting technology.