G. Cut out Hole in Roof
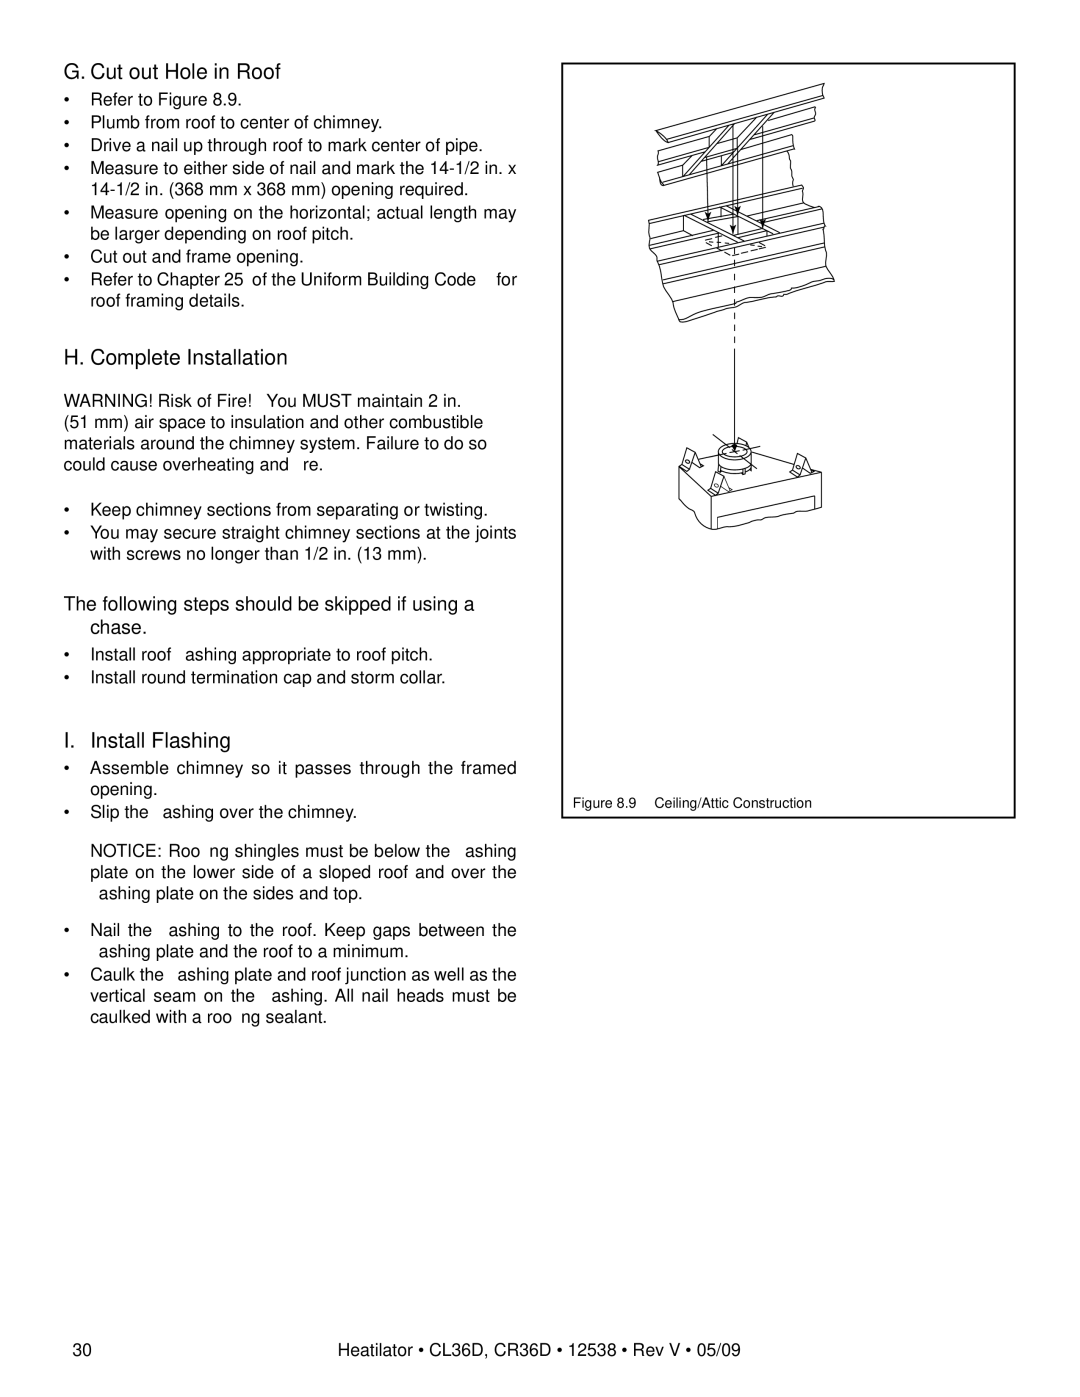
•Refer to Figure 8.9.
•Plumb from roof to center of chimney.
•Drive a nail up through roof to mark center of pipe.
•Measure to either side of nail and mark the
•Measure opening on the horizontal; actual length may be larger depending on roof pitch.
•Cut out and frame opening.
•Refer to Chapter 25 of the Uniform Building Code for roof framing details.
H. Complete Installation
WARNING! Risk of Fire! You MUST maintain 2 in.
(51 mm) air space to insulation and other combustible materials around the chimney system. Failure to do so could cause overheating and fire.
•Keep chimney sections from separating or twisting.
•You may secure straight chimney sections at the joints with screws no longer than 1/2 in. (13 mm).
The following steps should be skipped if using a chase.
•Install roof flashing appropriate to roof pitch.
•Install round termination cap and storm collar.
I. Install Flashing
•Assemble chimney so it passes through the framed opening.
•Slip the flashing over the chimney.
NOTICE: Roofing shingles must be below the flashing plate on the lower side of a sloped roof and over the flashing plate on the sides and top.
•Nail the flashing to the roof. Keep gaps between the flashing plate and the roof to a minimum.
•Caulk the flashing plate and roof junction as well as the vertical seam on the flashing. All nail heads must be caulked with a roofing sealant.
Figure 8.9 Ceiling/Attic Construction
30 | Heatilator • CL36D, CR36D • 12538 • Rev V • 05/09 |