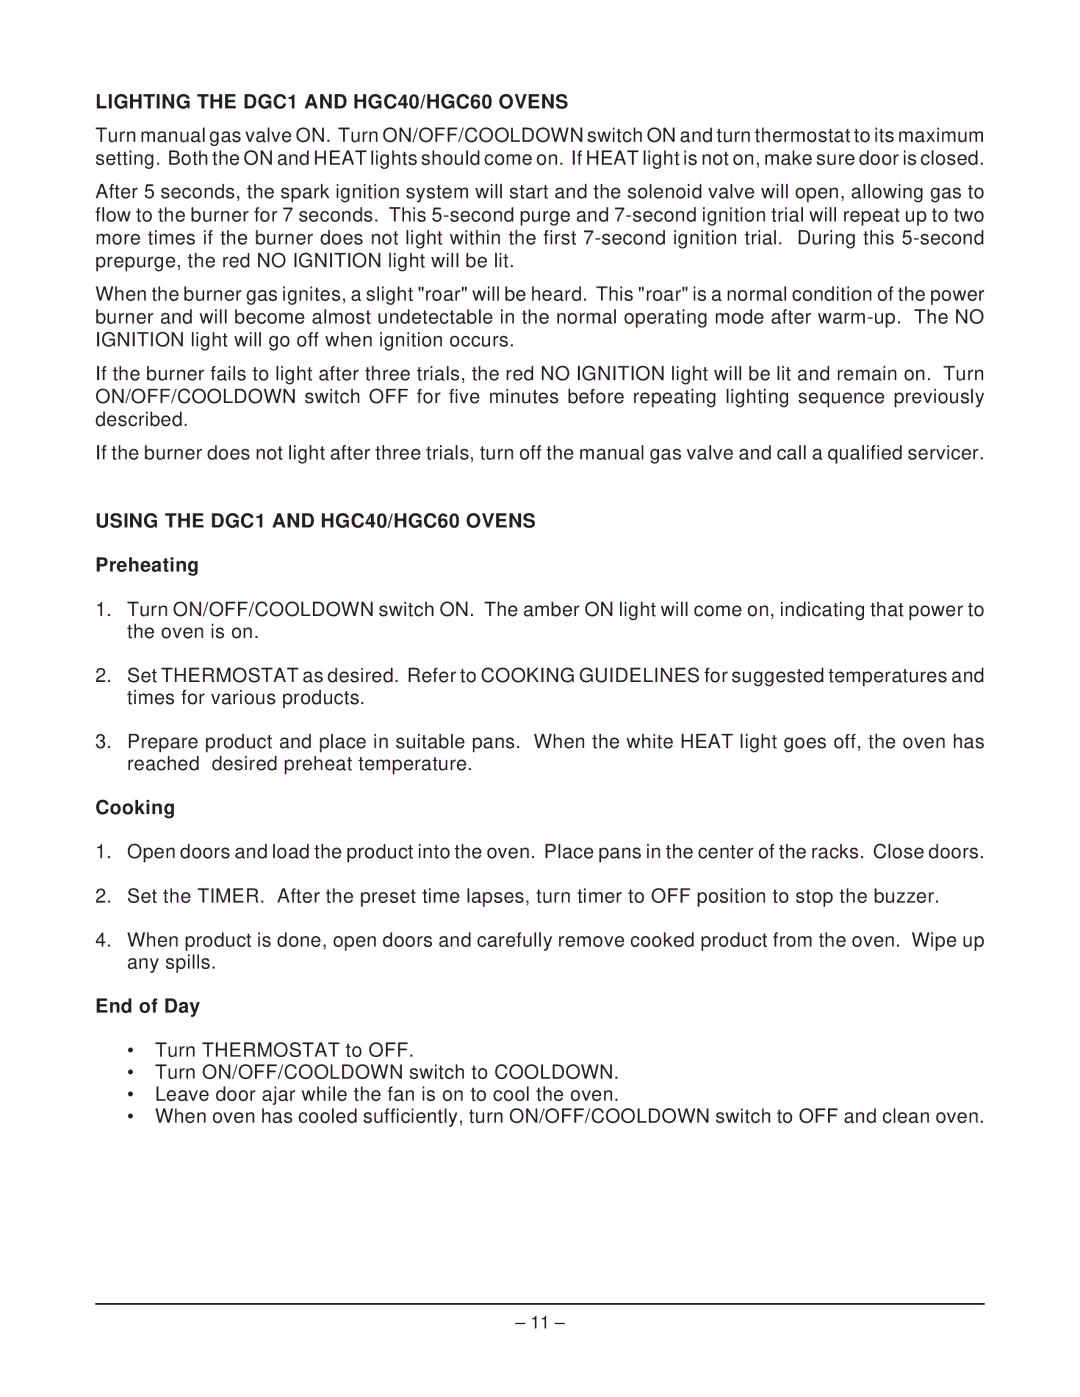
DGC1, HGC40D & HGC60D, HGC60, HGC40 specifications
Hobart is a well-known name in the foodservice industry, particularly recognized for its commitment to innovation, reliability, and efficiency in commercial kitchen equipment. Among its impressive lineup are the HGC40, HGC60, HGC40D, HGC60D, and DGC1 models, each designed to cater to different operational needs while maintaining the brand's hallmark quality.The HGC40 and HGC60 models represent Hobart’s commitment to outstanding performance in countertop cooking equipment. The HGC40 is designed with a cooking capacity suitable for smaller establishments or those with limited kitchen space. It features a powerful heating element that ensures quick and consistent cooking results. The HGC60, on the other hand, provides a more extensive cooking area, ideal for high-volume kitchens. Both models incorporate advanced technology such as digital controls for precise temperature management, ensuring that food is cooked to perfection every time.
Hobart also offers the HGC40D and HGC60D, which elevate the same reliable models with added versatility. The 'D' signifies that these units have an integrated drying feature, allowing operators to streamline operations by not just cooking but also efficiently drying foods. This versatility can be particularly advantageous in establishments requiring rapid food preparation and serving times. Both types of units maintain energy efficiency, essential for reducing operational costs and promoting sustainability in a commercial setting.
The DGC1 model introduces an innovative option for smart cooking and management. It utilizes advanced technologies that allow for remote monitoring and programming, providing operators with the ability to control the cooking process from a distance. This not only enhances convenience but also ensures that food quality is maintained over long cooking periods. The DGC1 is equipped with a user-friendly interface that simplifies operations, making it accessible for all kitchen staff.
Key characteristics across these Hobart models include robust stainless steel construction for durability, easy-to-clean surfaces, and energy-efficient designs. They are crafted to withstand the demands of a bustling kitchen while minimizing downtime due to their reliable performance. Each model reflects Hobart's industry-leading approach to product design, focusing on ease of use, functionality, and adaptability to diverse cooking environments.
In summary, Hobart's HGC40, HGC60, HGC40D, HGC60D, and DGC1 models cater to various cooking needs, offering features that promote efficiency, quality, and control, making them invaluable assets in any commercial kitchen context.
