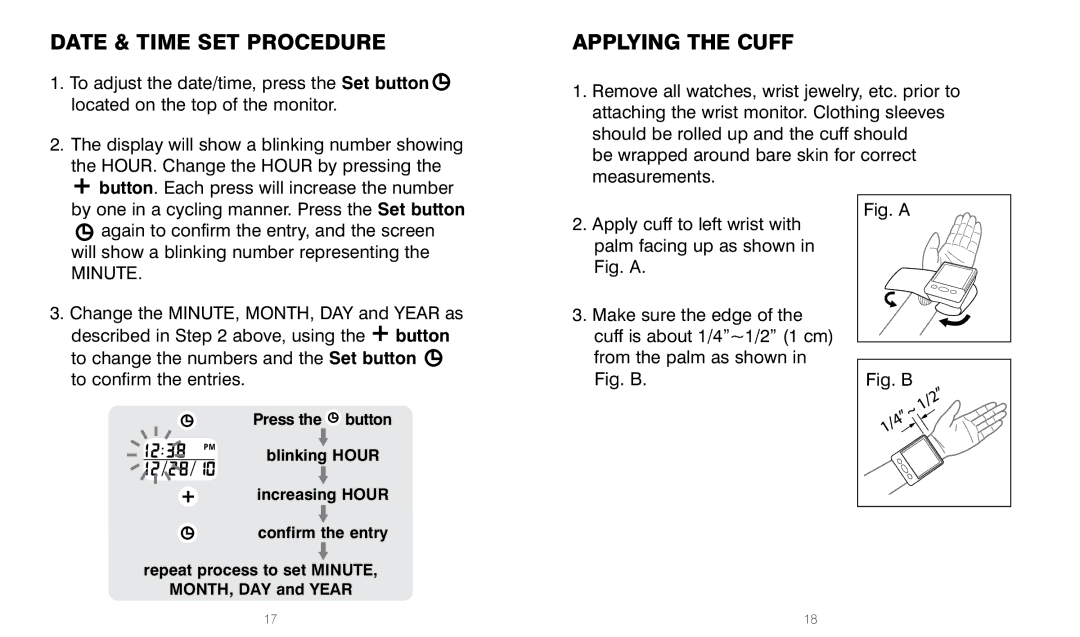
DATE & TIME SET PROCEDURE
1.To adjust the date/time, press the Set button ![]() located on the top of the monitor.
located on the top of the monitor.
2.The display will show a blinking number showing the HOUR. Change the HOUR by pressing the
![]() button. Each press will increase the number by one in a cycling manner. Press the Set button
button. Each press will increase the number by one in a cycling manner. Press the Set button
![]() again to confirm the entry, and the screen will show a blinking number representing the
again to confirm the entry, and the screen will show a blinking number representing the
MINUTE.
3.Change the MINUTE, MONTH, DAY and YEAR as described in Step 2 above, using the ![]() button
button
to change the numbers and the Set button ![]() to confirm the entries.
to confirm the entries.
Press the ![]() button
button
blinking HOUR
increasing HOUR
confirm the entry
repeat process to set MINUTE,
MONTH, DAY and YEAR
APPLYING THE CUFF
1.Remove all watches, wrist jewelry, etc. prior to attaching the wrist monitor. Clothing sleeves should be rolled up and the cuff should
be wrapped around bare skin for correct measurements.
2. | Apply cuff to left wrist with | Fig. A |
| ||
| palm facing up as shown in |
|
| Fig. A. |
|
3. | Make sure the edge of the |
|
| cuff is about 1/4”~1/2” (1 cm) |
|
| from the palm as shown in |
|
|
| |
| Fig. B. | Fig. B |
|
|
|
17 | 18 |