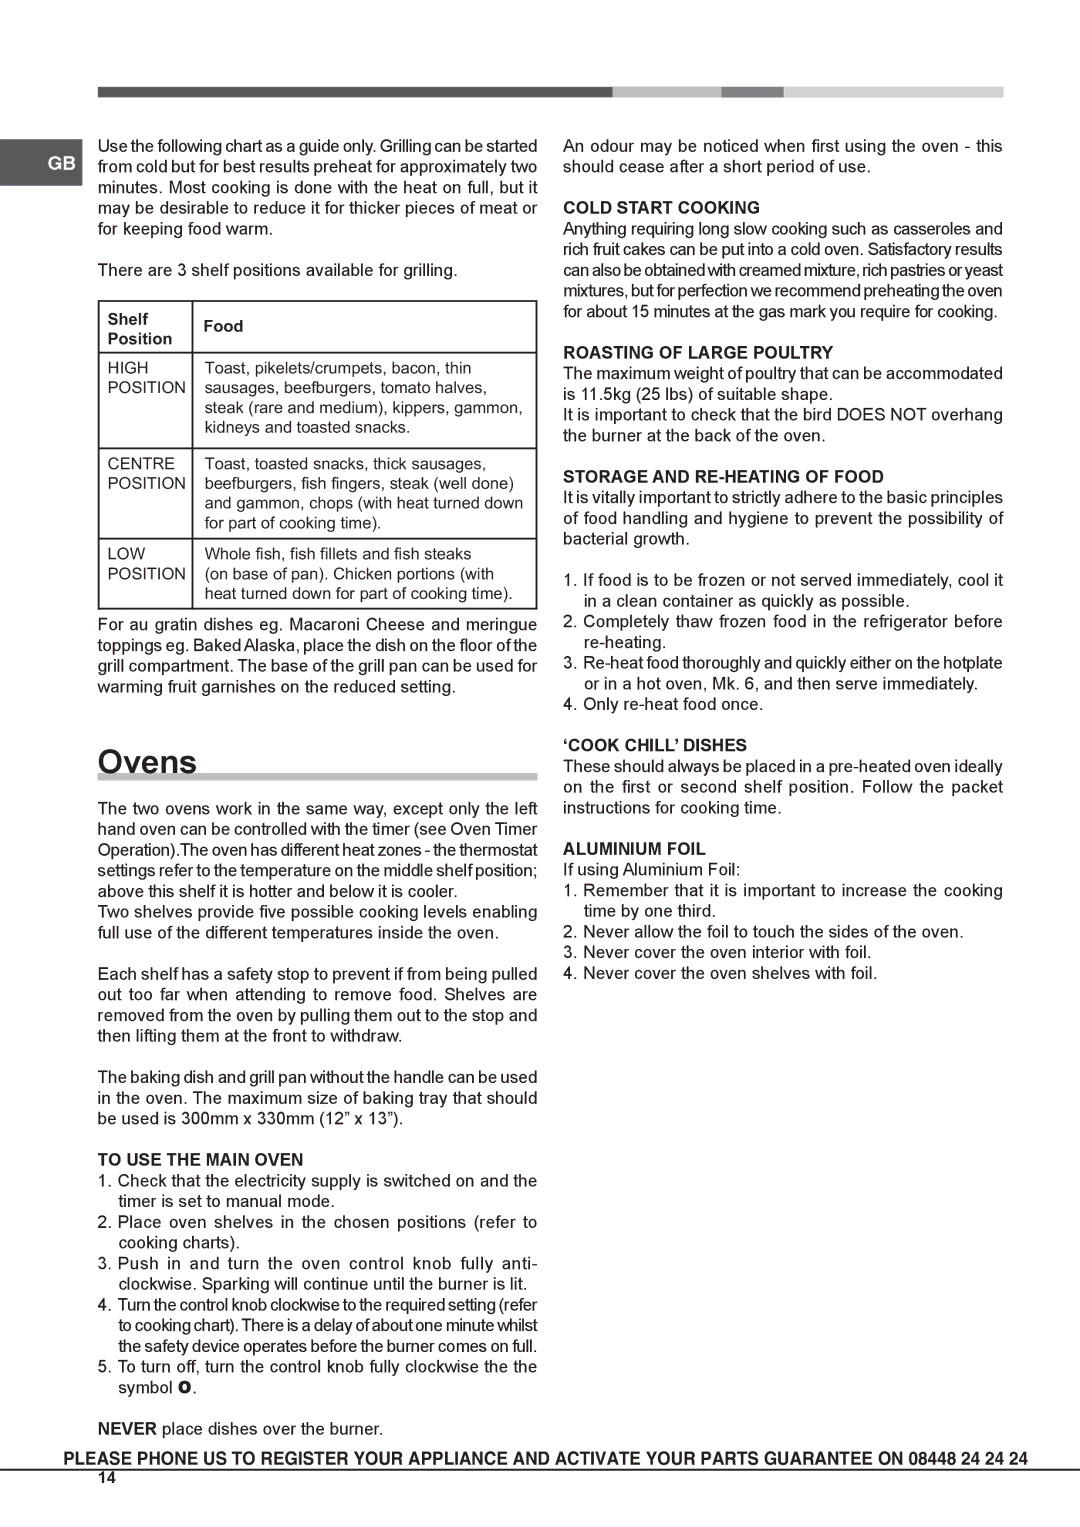
Use the following chart as a guide only. Grilling can be started GB from cold but for best results preheat for approximately two minutes. Most cooking is done with the heat on full, but it may be desirable to reduce it for thicker pieces of meat or
for keeping food warm.
There are 3 shelf positions available for grilling.
Shelf | Food | |
Position | ||
| ||
HIGH | Toast, pikelets/crumpets, bacon, thin | |
POSITION | sausages, beefburgers, tomato halves, | |
| steak (rare and medium), kippers, gammon, | |
| kidneys and toasted snacks. | |
|
| |
CENTRE | Toast, toasted snacks, thick sausages, | |
POSITION | beefburgers, fish fingers, steak (well done) | |
| and gammon, chops (with heat turned down | |
| for part of cooking time). | |
|
| |
LOW | Whole fish, fish fillets and fish steaks | |
POSITION | (on base of pan). Chicken portions (with | |
| heat turned down for part of cooking time). | |
|
|
For au gratin dishes eg. Macaroni Cheese and meringue toppings eg. Baked Alaska, place the dish on the floor of the grill compartment. The base of the grill pan can be used for warming fruit garnishes on the reduced setting.
Ovens
The two ovens work in the same way, except only the left hand oven can be controlled with the timer (see Oven Timer Operation).The oven has different heat zones - the thermostat settings refer to the temperature on the middle shelf position; above this shelf it is hotter and below it is cooler.
Two shelves provide five possible cooking levels enabling full use of the different temperatures inside the oven.
Each shelf has a safety stop to prevent if from being pulled out too far when attending to remove food. Shelves are removed from the oven by pulling them out to the stop and then lifting them at the front to withdraw.
The baking dish and grill pan without the handle can be used in the oven. The maximum size of baking tray that should be used is 300mm x 330mm (12” x 13”).
TO USE THE MAIN OVEN
1.Check that the electricity supply is switched on and the timer is set to manual mode.
2.Place oven shelves in the chosen positions (refer to cooking charts).
3.Push in and turn the oven control knob fully anti- clockwise. Sparking will continue until the burner is lit.
4.Turn the control knob clockwise to the required setting (refer to cooking chart). There is a delay of about one minute whilst the safety device operates before the burner comes on full.
5.To turn off, turn the control knob fully clockwise the the symbol O.
NEVER place dishes over the burner.
An odour may be noticed when first using the oven - this should cease after a short period of use.
COLD START COOKING
Anything requiring long slow cooking such as casseroles and rich fruit cakes can be put into a cold oven. Satisfactory results can also be obtained with creamed mixture, rich pastries or yeast mixtures, but for perfection we recommend preheating the oven for about 15 minutes at the gas mark you require for cooking.
ROASTING OF LARGE POULTRY
The maximum weight of poultry that can be accommodated is 11.5kg (25 lbs) of suitable shape.
It is important to check that the bird DOES NOT overhang the burner at the back of the oven.
STORAGE AND RE-HEATING OF FOOD
It is vitally important to strictly adhere to the basic principles of food handling and hygiene to prevent the possibility of bacterial growth.
1.If food is to be frozen or not served immediately, cool it in a clean container as quickly as possible.
2.Completely thaw frozen food in the refrigerator before
3.
4.Only
‘COOK CHILL’ DISHES
These should always be placed in a
ALUMINIUM FOIL
If using Aluminium Foil:
1.Remember that it is important to increase the cooking time by one third.
2.Never allow the foil to touch the sides of the oven.
3.Never cover the oven interior with foil.
4.Never cover the oven shelves with foil.
PLEASE PHONE US TO REGISTER YOUR APPLIANCE AND ACTIVATE YOUR PARTS GUARANTEE ON 08448 24 24 24
14
