Mounting the RP2 to a wall, swing arm, or
The RP2 can be attached to a wall, swing arm,
![]()
![]()
![]()
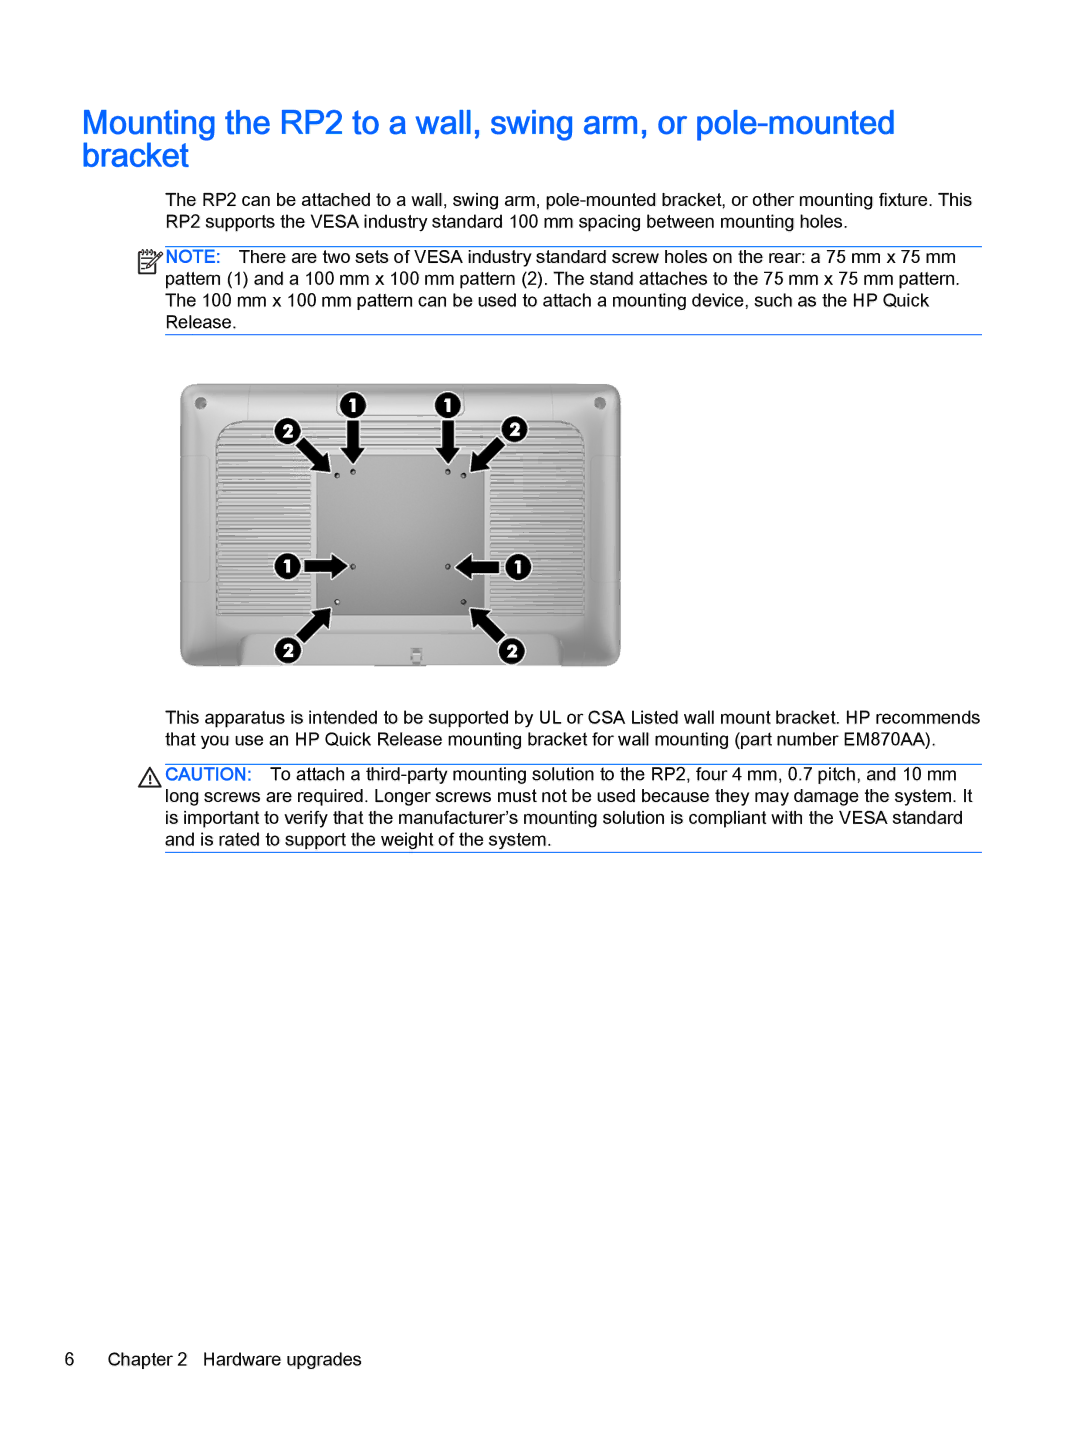
![]() NOTE: There are two sets of VESA industry standard screw holes on the rear: a 75 mm x 75 mm
NOTE: There are two sets of VESA industry standard screw holes on the rear: a 75 mm x 75 mm ![]()
![]() pattern (1) and a 100 mm x 100 mm pattern (2). The stand attaches to the 75 mm x 75 mm pattern. The 100 mm x 100 mm pattern can be used to attach a mounting device, such as the HP Quick Release.
pattern (1) and a 100 mm x 100 mm pattern (2). The stand attaches to the 75 mm x 75 mm pattern. The 100 mm x 100 mm pattern can be used to attach a mounting device, such as the HP Quick Release.
This apparatus is intended to be supported by UL or CSA Listed wall mount bracket. HP recommends that you use an HP Quick Release mounting bracket for wall mounting (part number EM870AA).
CAUTION: To attach a
6Chapter 2 Hardware upgrades