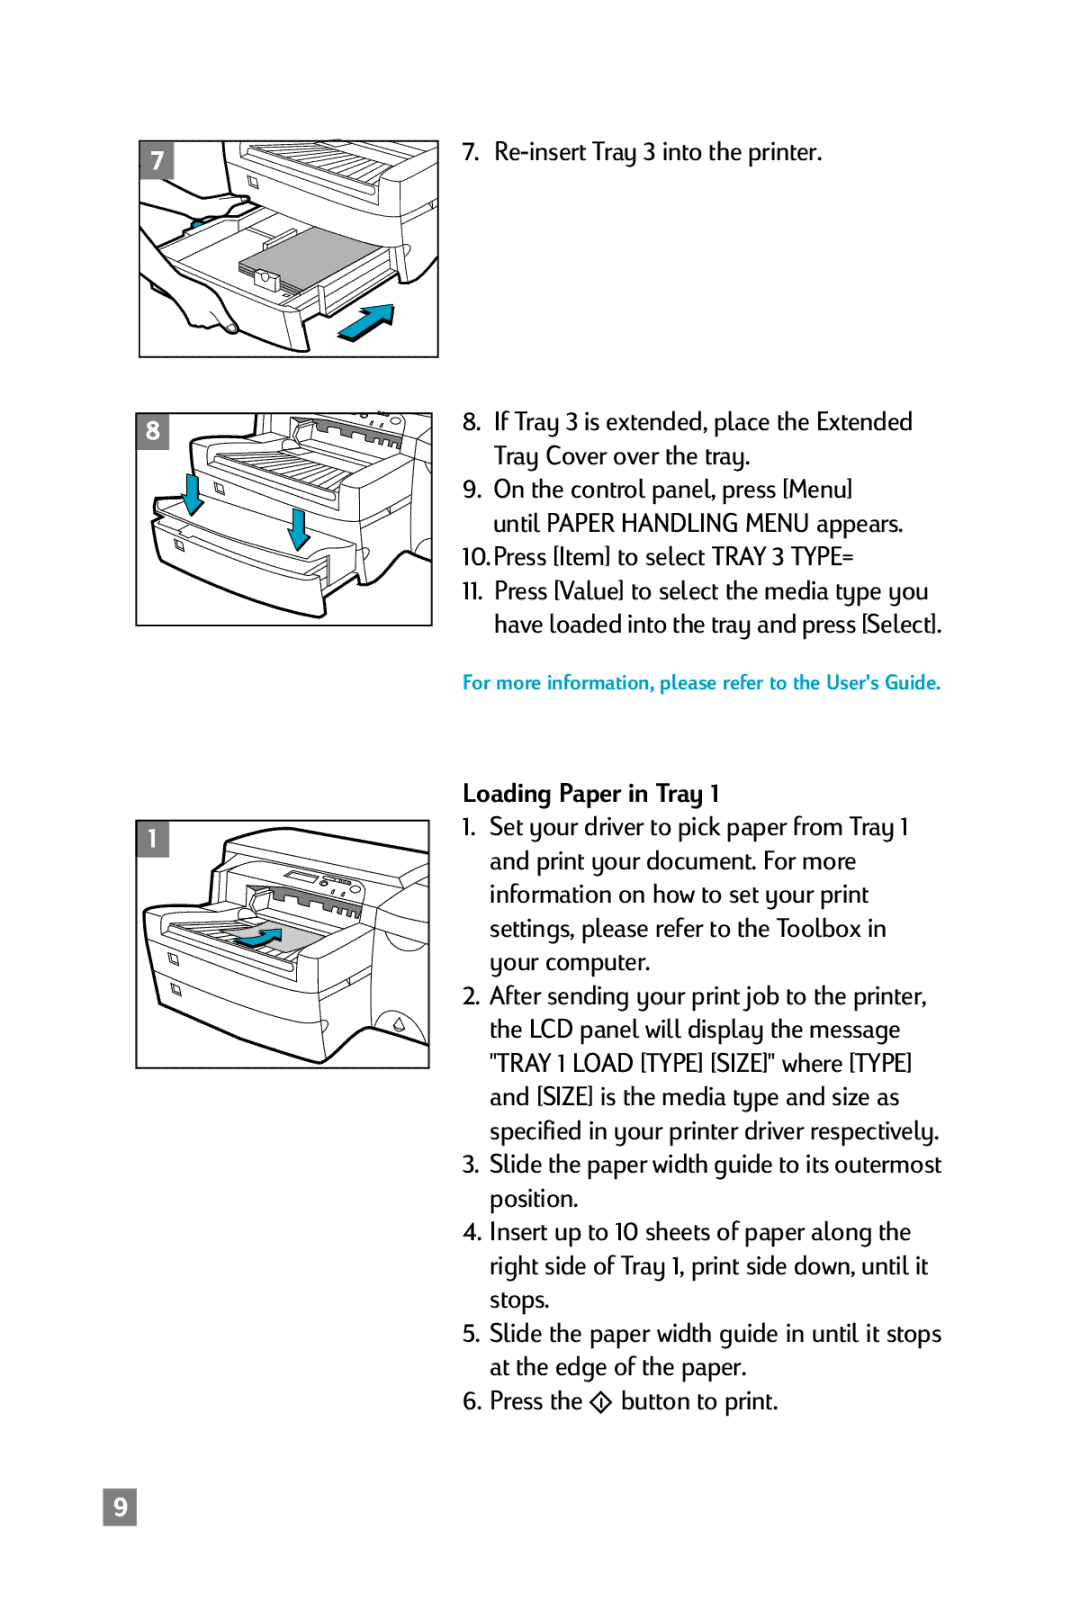
7. Re-insert Tray 3 into the printer.
8.If Tray 3 is extended, place the Extended Tray Cover over the tray.
9.On the control panel, press [Menu] until PAPER HANDLING MENU appears.
10.Press [Item] to select TRAY 3 TYPE=
11.Press [Value] to select the media type you have loaded into the tray and press [Select].
For more information, please refer to the User's Guide.
Loading Paper in Tray 1
1.Set your driver to pick paper from Tray 1 and print your document. For more information on how to set your print settings, please refer to the Toolbox in your computer.
2.After sending your print job to the printer, the LCD panel will display the message "TRAY 1 LOAD [TYPE] [SIZE]" where [TYPE] and [SIZE] is the media type and size as specified in your printer driver respectively.
3.Slide the paper width guide to its outermost position.
4.Insert up to 10 sheets of paper along the right side of Tray 1, print side down, until it stops.
5.Slide the paper width guide in until it stops at the edge of the paper.
